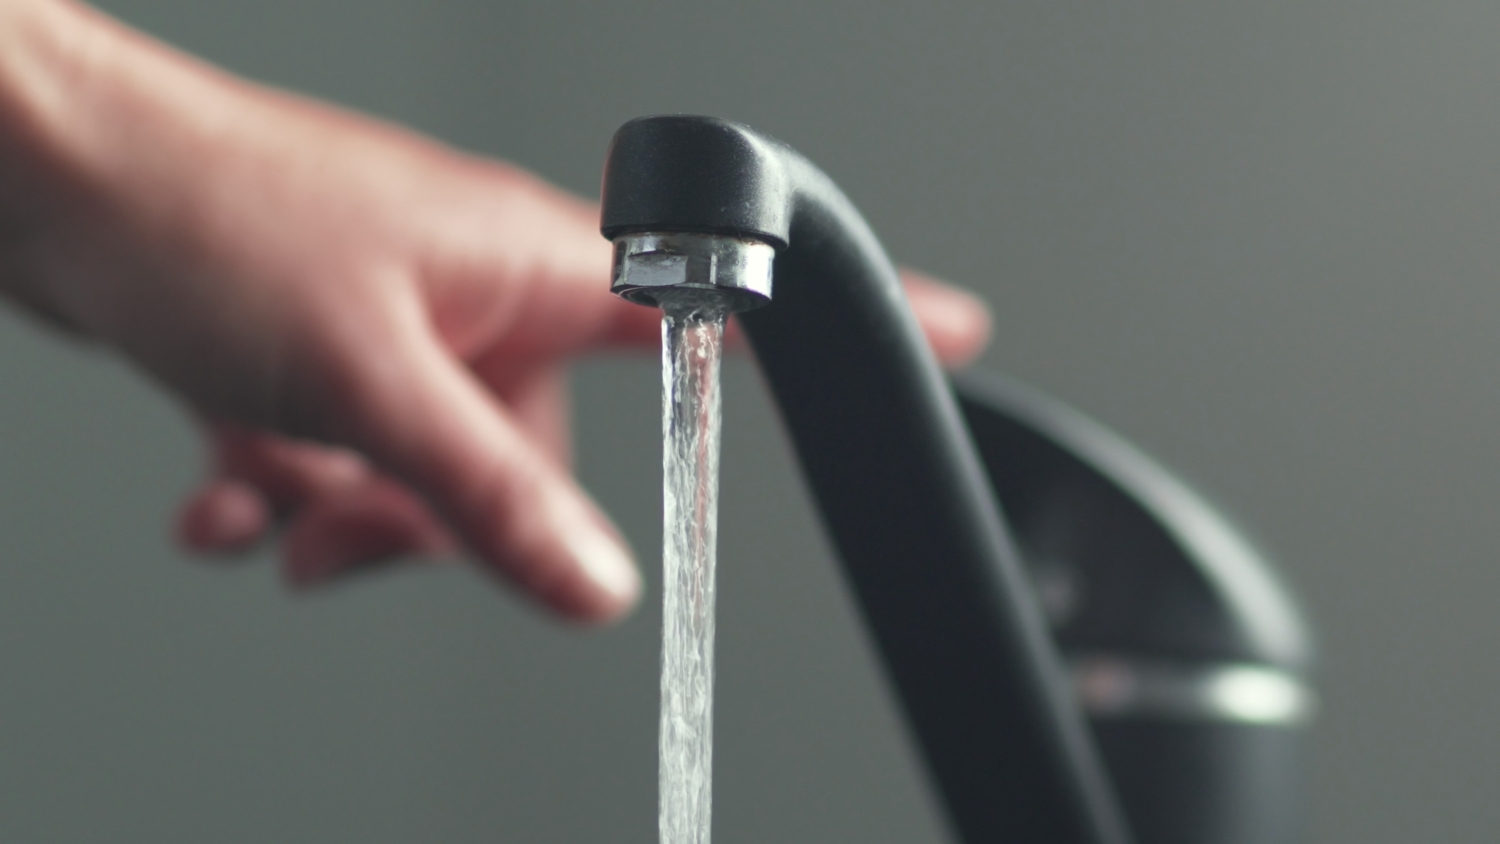
Fix a Leaky Faucet Without Calling a Plumber
Let’s fix a leaky faucet! A leaky faucet is more than just an annoyance; it’s a steady drip of wasted water, higher bills, and frustration. The good news? Most leaks can be fixed quickly and affordably right at home. In this step-by-step guide, we’ll show you how to identify and repair a variety of faucet types so you can save money and regain peace of mind.
Why Fixing a Leaky Faucet Matters
Ignoring a leaky faucet may seem harmless, but even minor drips can waste up to 20 gallons of water a day. That’s not only a waste of resources but also an unnecessary strain on your wallet. Fixing it yourself is not just cost-effective; it also gives you control over your home’s maintenance.
To help you get started, we’ll break down the step-by-step process for identifying the issue, repairing different types of faucets, and ensuring your fix is long-lasting.
Types of Faucets and Common Causes of Leaks
Before beginning repairs, it’s essential to determine the type of faucet you have. This will determine the tools and materials required for the job. Here are the four most common types of faucets and their typical issues:
- Ball-Type Faucets
These contain numerous small parts, making them slightly more complicated to repair. Worn-out seals and springs are common culprits of leaks.
- Cartridge Faucets: Known for their simple design, these faucets often leak due to worn-out cartridges or O-rings.
- Ceramic Disk Faucets: Durable and low-maintenance, these faucets can start leaking if the ceramic disk or seals wear out.
- Compression Faucets: Typically found in older homes, these are prone to leaks when washers or seals deteriorate over time.
Preparing for Faucet Repairs
Before you get started, take a few minutes to set up your workspace and gather the necessary tools. Preparation makes the repair smoother and prevents further damage.
What You’ll Need
- Adjustable wrench
- Screwdrivers (flathead and Phillips)
- Needle-nose pliers
- Plumber’s grease (nontoxic and heat-proof)
- Replacement parts (O-rings, washers, or cartridges)
- Utility knife
- Rag or sink stopper (to avoid losing small parts)
Steps to Prepare
- Shut Off Water Supply: Locate the water valves under the sink and turn them off to prevent any accidental flooding.
- Cover the Sink Drain: Use a rag or sink stopper to catch small screws or washers that might fall during disassembly.
- Organize Parts: Lay out a clean towel or tray to place faucet components in order, which makes reassembly easier.
By properly preparing, you’re already halfway to a successful repair!
Step-by-Step Guide for Each Faucet Type
Note: If you’re unsure about your faucet type, check the manufacturer’s manual or search for identifying features online.
1. Fixing a Leaky Cartridge Faucet
- Remove the handle by unscrewing the decorative cap and handle screw.
- Pull out the cartridge using needle-nose pliers.
- Replace old O-rings with new ones coated in plumber’s grease.
- Match and install a new cartridge if necessary, ensuring it’s the correct size and fit for your faucet.
- Reassemble the faucet and turn the water back on. Check for leaks.
2. Fixing a Leaky Compression Faucet
- Use a utility knife to remove the decorative cap and handle screw.
- Remove the packing nut with a crescent wrench.
- Replace the handle’s seat washer (usually the main cause of leaks).
- Check the O-ring and replace it if it’s cracked or worn out.
- Reassemble the faucet and test for leaks.
3. Fixing a Leaky Ceramic Disk Faucet
- Remove the handle by loosening the set screw.
- Take out the ceramic disk cylinder and inspect the neoprene seals.
- If seals are damaged, replace them, and clean the cylinder openings with distilled white vinegar.
- Reassemble the faucet slowly to avoid breaking the ceramic disk and turn the water back on.
4. Fixing a Ball-Type Faucet
- Use a hex key to remove the faucet handle.
- Disassemble the faucet, removing the cap, cam, and ball assembly.
- Replace springs and rubber seats using a pencil tip to guide them into place.
- Reassemble the faucet and ensure all components are aligned correctly.
Pro Tips for a Lasting Repair
- Apply Plumber’s Grease: Lubricate O-rings and seals to reduce wear and improve functionality.
- Use Proper Replacement Parts: Always match the size and type of parts to your faucet’s specifications.
- Don’t Overtighten Components: Tightening too much can damage the faucet and cause further leaks.
- Inspect For Further Issues: After reassembly, run water to ensure the leak is resolved and there are no hidden problems.
When to Call a Professional
While most faucet repairs can be handled with basic tools and patience, certain situations may require expert assistance:
- Extensive damage to the faucet body
- Persistent leaks despite repairs
- Lack of necessary tools or comfort in handling plumbing tasks
Hiring a professional plumber ensures the problem is diagnosed and resolved efficiently while preventing further complications.

Take Control of Your Home Maintenance
Fixing a leaky faucet doesn’t have to be intimidating. By following this guide, you can restore function to your faucet, conserve water, and save on unnecessary expenses.
Don’t wait until a small drip turns into a big problem. With some preparation and the right tools, you’ve got everything you need to handle a leaky faucet like a pro.
If you’re still unsure or need expert guidance, we’re here to help. Reach out to us today to learn more about our trusted plumbing services and how we can assist with your home maintenance needs.


