
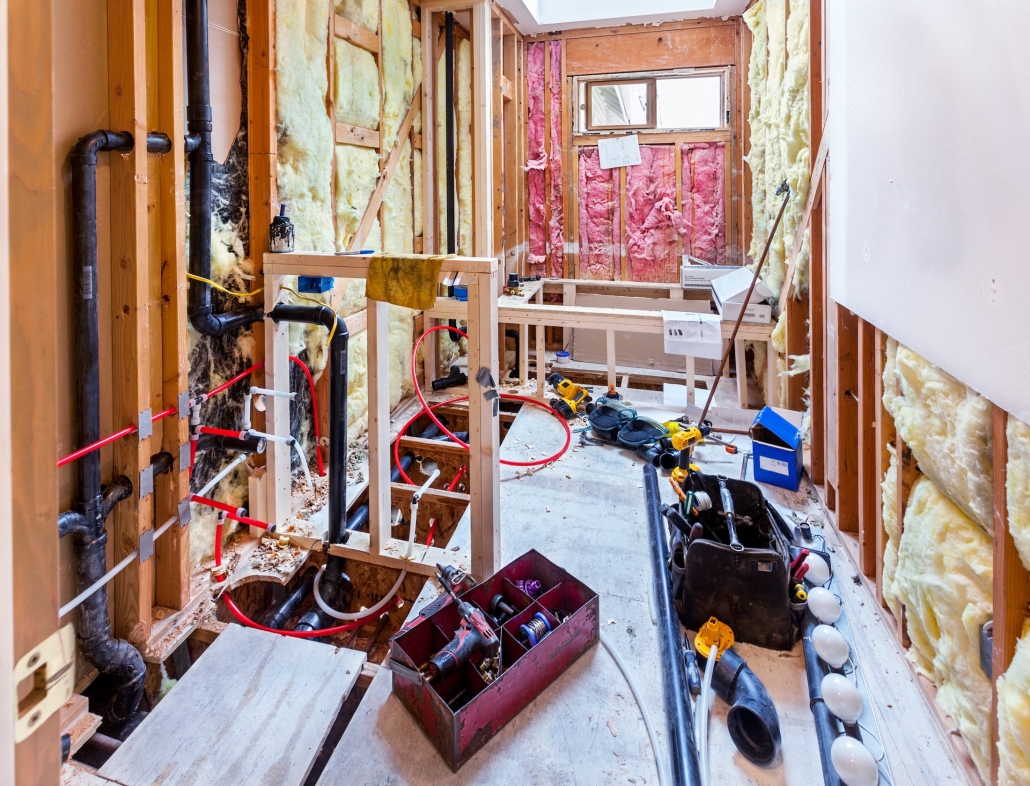
Mastering Bathroom Plumbing: A Step-by-Step Guide
Bathroom Plumbing, whether you’re an aspiring plumber, a DIY enthusiast, or a homeowner looking to tackle bathroom repairs and installations, this guide is designed to help you understand the basics of plumbing a bathroom. This step-by-step guide will cover the essentials of plumbing a shower and a toilet and outline the essential tools you’ll need for the job.
By mastering these fundamental bathroom plumbing skills, you can save money on repairs, improve the functionality of your bathroom, and gain a satisfying sense of self-reliance. Remember, while DIY projects can be advantageous, always remember to consult or hire a professional plumber if a task becomes too complex or regulations require licensed work.
Tools You’ll Need
- Plumbing Wrench
- Plunger
- Pipe Cutter
- Teflon Tape
- Adjustable Wrench
- Screwdriver
- Level
- Hacksaw
Ensure you have all the necessary tools before starting your project, as being prepared makes the process smoother and safer.
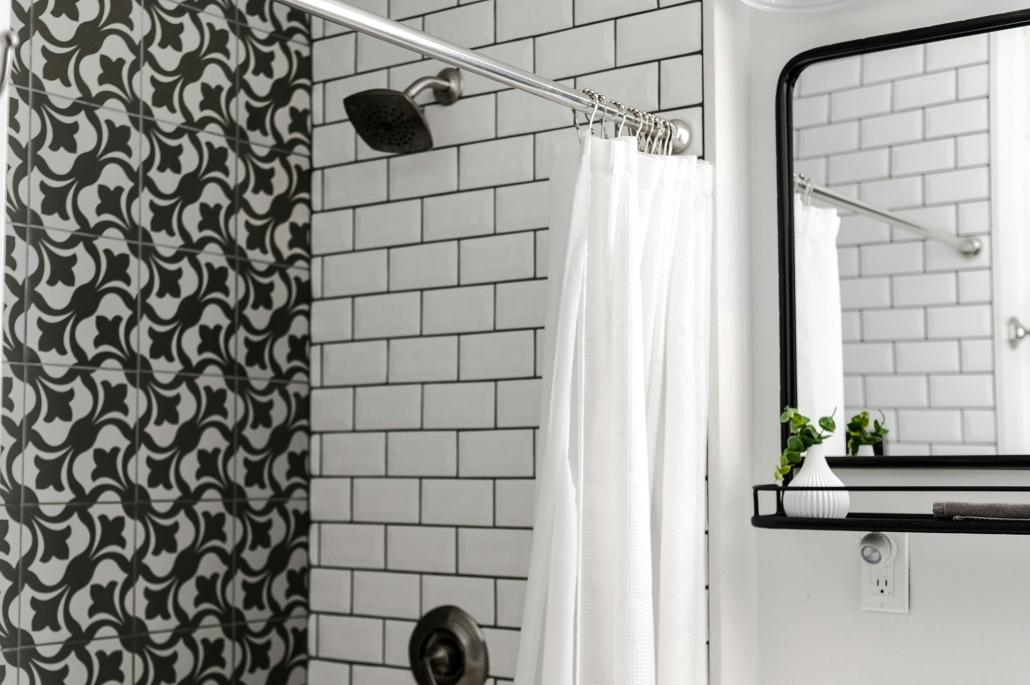
How to Plumb a Shower
Step 1: Preparation
Before you begin, ensure you have access to your bathroom’s plumbing. Shut off the water supply to avoid any unwanted spills.
Step 2: Install the Shower Tray
If you’re installing a new shower, begin by placing your shower tray and ensuring it’s level. Use the adjustable wrench to adjust the feet of the tray or add shims as necessary.
Step 3: Connect the Waste Pipe
Connect the waste pipe to your shower tray’s waste hole. Ensure this connection is tight and sealed correctly to prevent leaks.
Step 4: Fit the Shower Unit
Mount your shower unit on the wall, following the manufacturer’s instructions. Ensure the connections to your water supply are secure and leak-free.
Step 5: Install the Shower Head and Controls
Attach the shower head to the unit and the controls to the wall. Use Teflon tape on any threaded connections to create a watertight seal.
Step 6: Test the Shower
Once everything is installed, turn on the water supply and check for leaks. Make adjustments as needed.
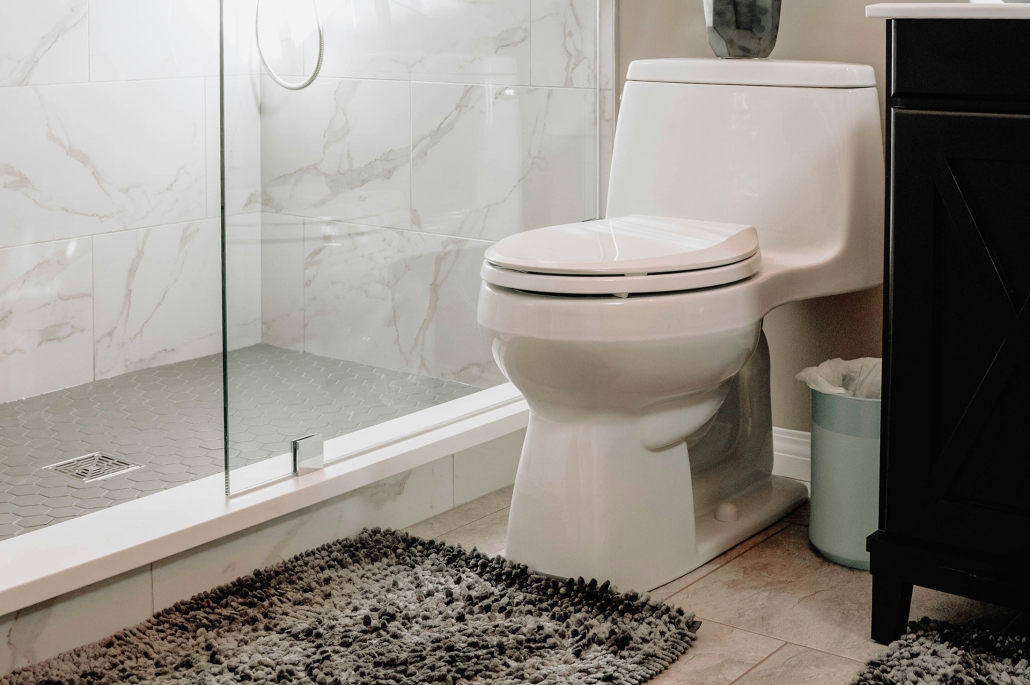
How to Plumb a Toilet
Step 1: Remove Existing Toilet (if applicable)
If replacing an old toilet, shut off the water supply and flush to remove any remaining water. Unscrew the bolts, lift the toilet, and scrape off any old wax ring material from the flange.
Step 2: Position the New Toilet Base
Place the new wax ring on the flange, put the toilet base over the ring, line up the bolts with the holes, and press down to create a seal.
Step 3: Secure the Toilet Base
Screw the nuts onto the bolts to secure the toilet base, being careful not to over-tighten and crack the porcelain.
Step 4: Attach the Toilet Tank
Set the tank on the base and secure it with the provided bolts and nuts, again avoiding over-tightening.
Step 5: Connect the Water Supply Line
Connect the water supply line to the tank and open the valve to fill the tank.
Step 6: Test the Toilet
Flush the toilet several times to ensure that it fills and drains correctly. Check around the base and the connection to the water supply for any signs of leaks.
Plumbing a bathroom requires attention to detail and a careful approach. Always double-check connections for leaks and ensure everything is secure and level. Practice makes perfect, and the more you work on plumbing, the more proficient you’ll become.
For those just starting, remember that every homeowner and professional plumber once knew nothing about plumbing—it’s all about learning and growth. Good luck with your bathroom plumbing projects, and may your pipes flow smoothly!


