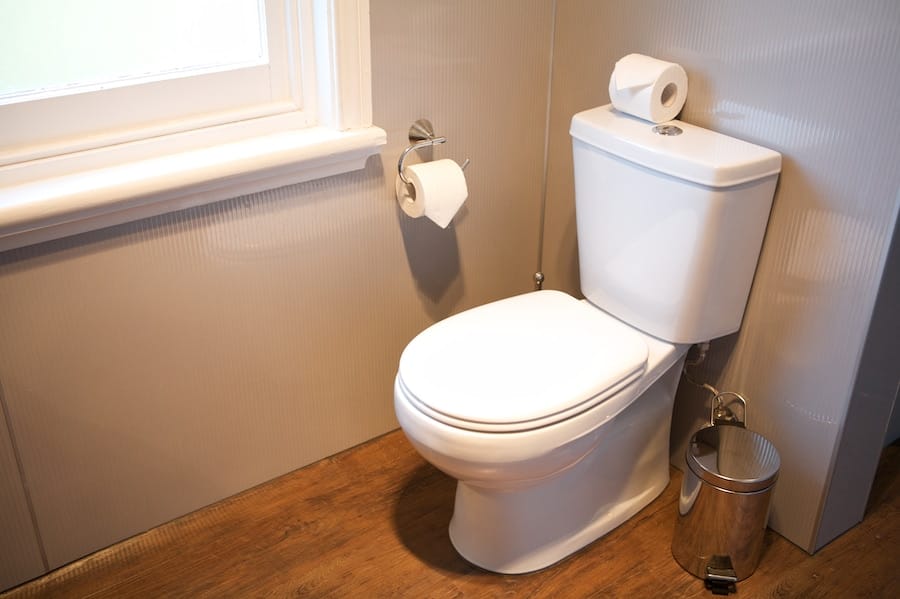
Fixing a Toilet Leak With the 3 “R’s”: Remove, Replace and Reinstall
It has happened to us all. You walk into the bathroom and around the base of the toilet and you see water on the floor. For sure, one thing you know upon sight, “this is not good. There are a few possibilities, but the most probable is there is a leak. In this, the first of two posts on dealing with leaks, we will coach you on how to deal with this type of situation. More importantly, we will take you through a few methods for Fixing a Toilet Leak.
Always Check the “Nuts and Bolts” when Fixing a Toilet Leak
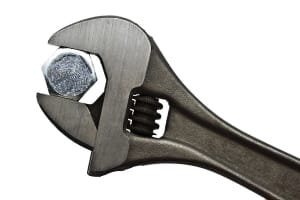
Always check the nuts and bolts to see if anything loose could be the cause of a leak.
So, let’s say we have identified that we do have a leak. While it may at first seem reason to panic, it really does not need to be. Simply follow along and you will be Fixing a Toilet Leak in no time!
All right then, time to pinpoint our problem by exact location. To begin, check the plastic caps that are around the base of your toilet. The purpose these serve are to cover up the bolts holding your toilet in place. If you notice upon removing the caps that any of these bolts are broken, this can lead to the toilet’s seal following suit.
If this is your issue, we can get moving on Fixing a Toilet Leak in fairly simple fashion. You must reposition the toilet, making sure to re-center and level it. Then tighten each of the bots as securely as you can. This will do one of two things. First, it will tighten back into place correctly and you will be leak free. If a bolt or bolts however will not tighten, it’s time to pick up a replacement set and then move forward in Fixing a Toilet Leak.
Fixing a Toilet Leak: That Sure Has a Nice “Ring” to It!
Ok, so we have identified that the bolts are in need of a replacement somewhere. Since the toilet is leaking at its base, this also means you need to replace the units wax ring more than likely. Thus, we will start Fixing a Toilet Leak and the ring will be our initial point of repair.
This is where the actual order of events in Fixing a Toilet Leak begins. Follow the bullet-pointed steps below in order to return to a dry floor around the toilet and say goodbye to your leak.
Steps in in Making the Fix
- Head to the Store – At the store, you want to purchase a new wax ring. Before heading to pick this up, take a photo of your toilet’s base. This way, you can show a professional at the store your model and issue. Then, they can better assist you in picking out a replacement that will do the job of Fixing a Toilet Leak.
- Prepare Your Toilet – Ok, time to get “prepping.” Start this process by shutting the water valve on your toilet off. Then to remove all remaining water, give the unit a flush. Any water then that will remain, you can remove by unscrewing the nut that holds the valve in place. Have a bucket ready when you do this to catch the water. The final part in this step of Fixing a Toilet Leak is to plunge the toilet for a few seconds. This makes sure there is no leftover water at the base.
- Remove the Toilet & Old Wax Ring – Unscrew the water supply line from the toilet and remove the tee bolts from the floor. The toilet should now be ready to be lifted and removed from its usual placement. Set the toilet gently down on its side and begin removing the old wax ring. Make sure you remove any dried-on wax and leftover residue before installing the new wax ring.
- Replace Your Wax Ring – Now, you want to take the new ring you bought, and it’s time to start Fixing a Toilet Leak. Place the wax ring over the flange, first, making sure all T-Bolts are in place and secure. After doing this, reposition your toilet in its usual area of placement.
- You’ve Removed and Replaced, It’s Time to Reinstall– See, this hasn’t been so hard now has it? To begin reinstalling your toilet double-check the unit’s positioning. To do this, use your body weight to push the toilet into the new wax ring. This creates a seal that will prevent form any more leaks in the immediate future. Once you create this seal, it’s on to our last step in Fixing a Toilet Leak. This entails screwing all of the bolts in place. Be sure they are tight, but not overtightened. Once sure all is tight and sealed, reconnect the waterline. Then, flush the unit and we can see how well we did in our attempt at Fixing a Toilet Leak.
Why are We Fixing a Toilet Leak?
Well, this seems an obvious question, but it for sure is one that should be fully explained. Without Fixing a Toilet Leak, you could see mold start growing. Not to mention the skyrocketing water bill that could accumulate if the unit isn’t repaired. If you are not comfortable Fixing a Toilet Leak yourself, you can always call the Raleigh professional plumbers at Poole’s Plumbing and they can take care of their needs.
A toilet leak can cause mold to grow and water bills to increase, so any leak should be addressed immediately. If you want your repairs to be done as perfect as possible, make sure you call your local plumber to make the repair for you.
This concludes this entry which is one of a two-part series on clogging or unclogging drains. In our next post, we will cover the causes of a leaky faucet. Until then, to contact the Most Trusted Name in Raleigh Plumbers, Poole’s Plumbing, visit poolesplumbing.com.