Extending Your Water Heaters Lifespan
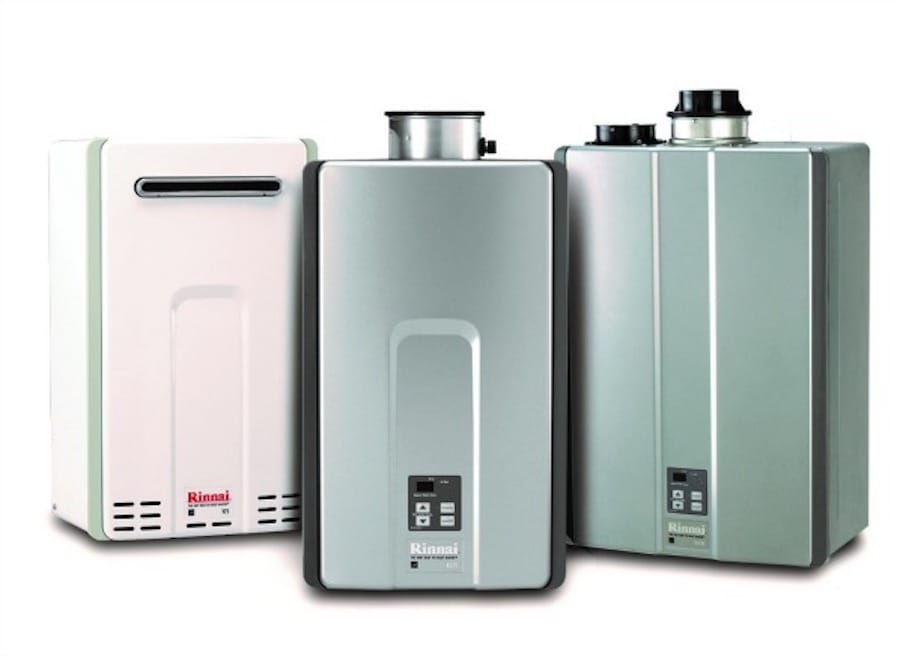
When first purchasing a water heater, many factors can weigh into your selection process. Upon completing the proper research and settling on a specific unit that best fits your needs, you then want to keep up with maintenance. In an effort to help you maximize your purchase, this post will offer up some pointers to help you with Extending Your Water Heater Lifespan. In following these easy tips, you will not only optimize its efficiency but also save yourself money in the long run.
How Long Should My Water Heater Last?
This is a very valid question that basically anyone purchasing a water heater would be curious about. The actual answer to this question may vary slightly depending on your brand, type, or usage. However, generally, a water heater will work perfectly for a decade and in some cases longer.
While ten years is a long time, why not take a few simple measures towards Extending Your Water Heaters Lifespan? With just a few easy maintenance tips and regular checking, you can make the heater last longer, while running safer and more efficiently.
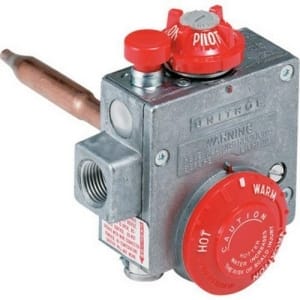
Testing the valve on your water heater is your very important first step
Tips for Extending Your Water Heaters Lifespan: Step One…the Valve Test
To begin with our water heater’s maintenance check, we will analyze the unit’s valve. This can be as easy as one action “test,” if all goes right upon our first method of checking. Regardless, even if it comes to a valve replacement, this is a simple procedure and one that is important in Extending Your Water Heaters Lifespan.
1- Test the Valve
Our first tip in Extending Your Water Heaters Lifespan will have you taking a look at the valve. In case you aren’t sure, the valve can be found on the top or side of the unit. A function of the valve is to open automatically if the pressure has got too high in the tank. The tank could actually explode if the pressure were to get too high.
To test your valve, all you will need is an empty bucket. Then first, place the bucket under the water heater’s discharge pipe. Next, lift the lever on your pressure relief valve gently. This should release the water from the tank into your bucket. Consequently, by the water emptying out, you know that the valve is working correctly.
2- Replace the Valve (If Needed)
Just to be 100 percent clear, this step is unnecessary if the water empties from the tank as it should in the previous step. That being said, if the water does not empty, it is time to replace the valve in the best interest of Extending Your Water Heaters Lifespan.
This may sound like a big undertaking, however, replacing your valve in actuality, could not be simpler. To start the process, turn off the water, drain the tank, and unscrew the discharge pipe. Once these three steps are finished, next unscrew the old valve. Next, you will wrap the threads of the new valve you are installing with sealant tape and then screw it in.
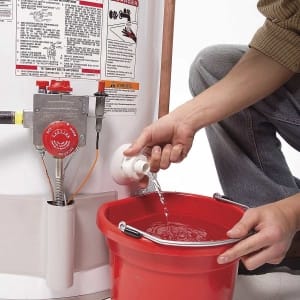
Draining your tank is essential to remove all sediment and debris.
To be sure this step is complete in this process of Extending Your Water Heaters Lifespan, check now for a leak. If the valve you replace was several years old, or never had been tested, it may leak. If that is the case, you need to replace the valve.
3-Check all of Your Work
It never hurts on any job to double-check your work and be sure that it is done correctly. To begin our check here, first close the shutoff valve. This valve is the one on the cold water supply which feeds your water heater. After this has been closed, turn on the hot water of any faucet in your home.
This will release all pressure inside the water heater’s tank. If you have an electric unit, you will want to turn the power off at your main panel. Those with gas water heaters will simply turn the gas control dial to the off position.
Tips for Extending Your Water Heaters Lifespan: Step Two…Drain the Tank
After you have completed checking the valves, step two in Extending Your Water Heaters Lifespan is draining the tank. More specifically, this part of our process is to flush any sediments or debris out of the bottom of the tank. The reasoning behind this is that the buildup of sediment in your tank will shorten the life of your water heater. Likewise, the sediment being present makes your unit have to work harder which equals a higher energy bill. Because there are many issues that can come about from sediment or debris in your tank, our next blog article will actually solely focus on draining your tank.
Most times when draining your tank, you will empty two or three gallons to be sure and get all sediment removed. However, always be sure to let the water flow out of the tank until you are no longer seeing any particles in the water. Basically, you are slowly opening the drain valve and letting all water run out until it’s is clear of any debris.
Tips for Extending Your Water Heaters Lifespan: Step Three…a Double Check and a Listen
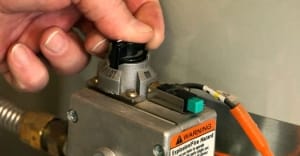
One of your last steps is to relight the pilot and restart your unit.
As you are readying to restart your water heater, there is no need to worry about a few noises you may hear. The sounds spoke of would resemble a gurgling or almost groaning type sound coming from your water heater. This is not anything to be alarmed by, it is simply the noise from air entering the system as the water drains.
That being said, you now want to be sure that your drain valve was closed tightly. If it does not, drain the tank completely, and replace that valve with a new one. Then you will want to restart your unit. Again, don’t worry about any gurgling or groaning noises coming from the heater. That sound is just air entering the system as water drains out.
Tips for Extending Your Water Heaters Lifespan: Step Four…Time for a Restart
To continue with our final step in Extending Your Water Heaters Lifespan, we are going to restart the unit. To do so, open the shutoff valve and again let any faucet in the houses hot water run. This will purge any air from your system. Next, turn the power back on and relight your pilot.
If the drain valve won’t close tightly when you’re done, drain your tank completely, unscrew the old valve and screw in a new one. To restart the water heater, open the shutoff valve and let the hot water run at any faucet to purge air from the system. Then turn on the power or relight the pilot. A turn of the dial to set the temperature to 120 degrees, and your check is done.
Summary and Items Needed to Extend the Lifespan
One of the very few items you need for this job is a simple pair of slip joint pliers.
So, that was easier than you thought, wasn’t it? Just to recap, we start off on the road to Extending Your Water Heaters Lifespan by checking your valve. So upon finding out the valve is functioning right (or if it isn’t replacing it), we moved on to emptying the tank. Once we are sure all sediment and debris are gone, we double-check everything we have done before restarting the water heater.
One last helpful hint in this process is to list materials you will need. However, it is a shortlist, as you only need four items. You need a bucket, plumbers tape, rags, and slip-joint pliers. Oh yeah, and if the pressure relief valve did not work, you will need to replace that. So, now we think you will agree that this is an easy way to help Extending Your Water Heaters Lifespan.
For more information on installation or maintaining water heaters, visit poolesplumbing.com.