Bathroom DIY Projects: Two Easy, Yet Important Fixes Anyone Can Do
Plumbing is not everyone’s bag. We are well aware of this. In some cases, we realize that even if someone is capable of a plumbing task, the severity of possible plumbing issues may see them defer to the pros. This, we understand, as we’ve voiced many times before, always “better safe than sorry.” However, we understand how those not used to handling a wrench would not feel safe with themself doing any plumbing, as a botched job can turn pricey. However, we are certain, that if focused and you gather the correct tools, you will be able to follow along on these two projects. Thus, you will also have the confidence for future Bathroom DIY Projects as well.
You may need to replace the two items we include in our Bathroom DIY Projects. Likewise, you may be replacing them for a newer look. Either way, what follows in the paragraphs below will detail how you can step by step handle each assignment.
Bathroom DIY Projects: A Replacement and an Install
Two items in the bathroom that both are in need of repairs at times are the toilet and the sink. Below, we will walk through Bathroom DIY Projects that will help you with two of the most common plumbing jobs associated with these two appliances.
Replacing a Toilet Seat
The toilet seat is essential to the bathroom for several reasons. Comfort being one. With a cracked toilet seat or just wanting a new look what follows here are four steps to replace a toilet.
1) Select the Correct Size and Shape- Most of the modern toilets have standard mounting widths and holes for their seats. Be sure when you are ready for this Bathroom DIY Project that you get either round or oblong based upon the shape of the seat you are going to replace.
2) Remove the Old Seat- Pry the plastic covers off at the back of the toilet seat with a flat head screwdriver. Then proceed to unscrew the bolts beneath. These may be plastic or metal bolts depending on your toilet. Pliers might come in handy in this step of our DIY Bathroom Projects to hold the nuts in place as you unscrew the bolts. Once unscrewed, lift off the old seat and discard it.
3) Clean the Toilet- Once the bolts are gone and the old seat is removed, you may notice it’s rather dirty. This is since this area behind the bolts is normally unreachable. To move along with this step of our Bathroom DIY Projects, just use normal toilet bowl cleaner or any that is made for rust or mold removal. Dry the area once fully cleaned.
4) Attach the New Seat- Told you these were not that difficult! Here we are already on our final step of the first Bathroom DIY Projects. To attach the new seat, screw the new bolts into the mounting holes. If needed, attach new nuts as well. Snap the plavers back over the new bolt heads. Then…enjoy your new toilet seat!!!
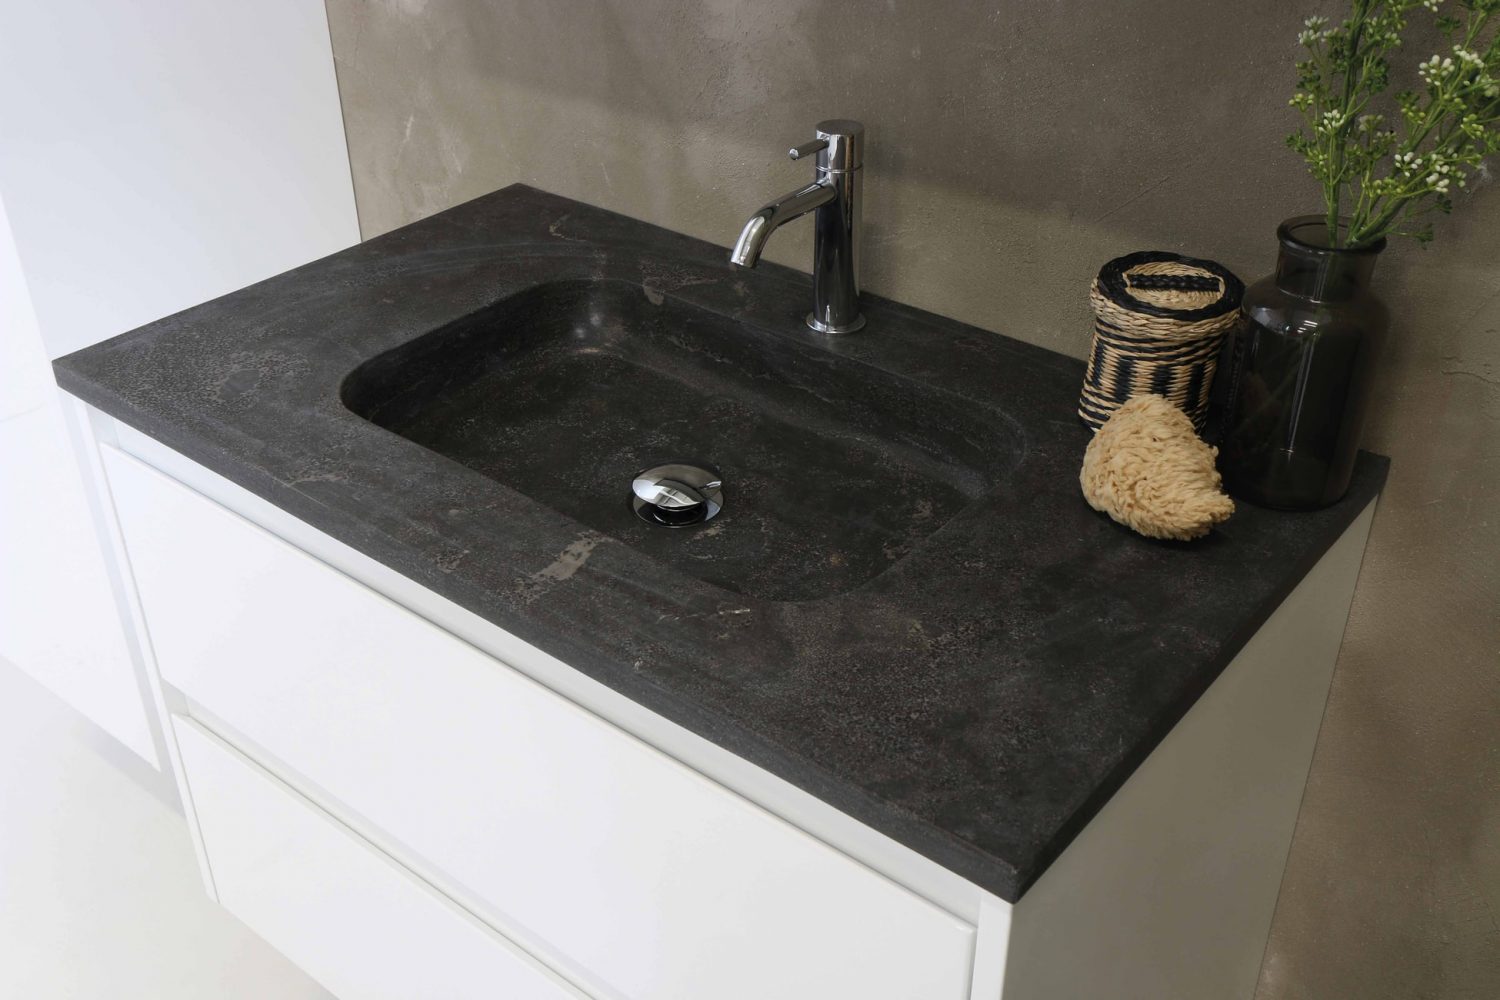
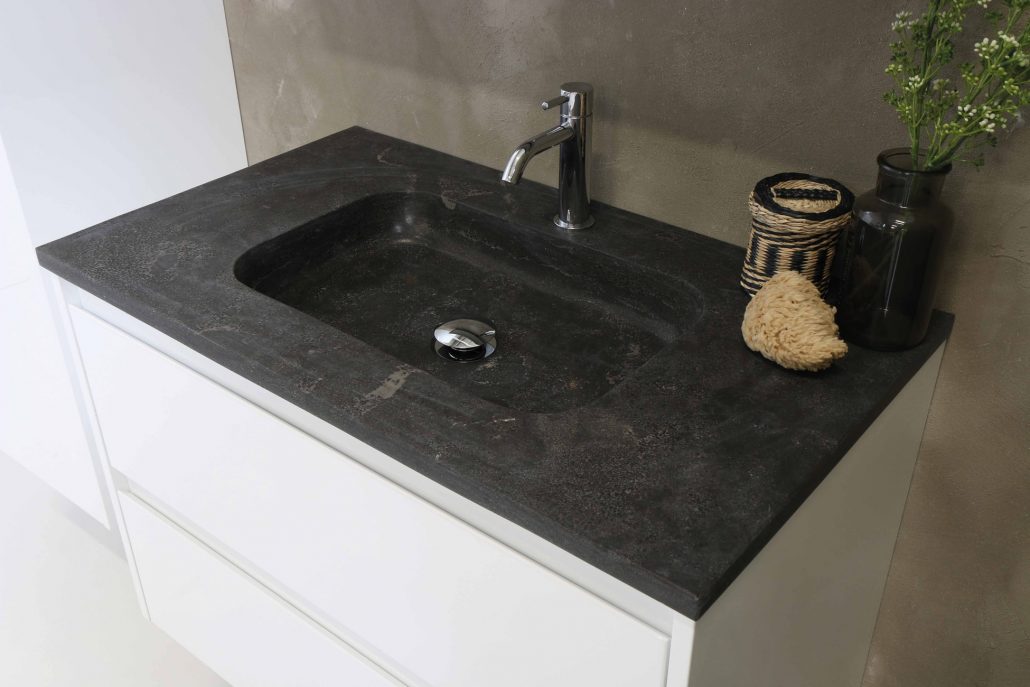
Installing a New Bathroom Faucet
Once again, this may be a switch you are doing because it looks better. Likewise, you may have a slow, steady drip that is driving you nuts. Either way at the end of these steps, you will be able to complete the second of our Bathroom DIY Projects.
1) Turn off the Water- Essential to avoiding a real messy start to our Bathroom DIY Projects. But also an easy step, simply go to the main shut off valve and turn it off. Always be sure to open the faucet to relieve pressure.
2) Remove the Old Faucet- Moving along in our Bathroom DIY Projects, start here by unscrewing the water supply lines. Either by hand or with a basin wrench will work for this step. Once fully unscrewed disconnect the lift rod and remove the nuts from below the toilet.
3) Remove the Drain- Continuing, next, unscrew the P-Trap’s slip nut. Before you do this though, be sure you have a bucket in place to catch some water. Then unscrew the drain flange from the tailpiece and clean around the drain and faucet holes. This will remove any residue or sealant still on the unit.
4) Install the New Faucet- You might need either some type of sealant or plumber’s putty to start the next step of the Bathroom DIY Projects. Now, attach the faucet to the mounting holes and tighten the nuts. You may need to assemble the handles at this point too.
5) Put in the New Drain- First, screw the nut tightly on the new drain body. Slide the gasket over that nut and apply silicone or plumbers putty under the flange, then position it in the sinkhole. Next, screw your drain body into place, making sure the pivot hole is facing the back. To complete this step in our Bathroom DIY Projects, tighten the nut and gasket from below. Lastly install the drain rod, by unscrewing the pivot nut and inserting the rod through the stopper’s hole. In doing this you will have replaced the nut and screw the lift rod to the strap.
6) Completing the Final Steps-You are almost finished completing the Bathroom DIY Projects. However, you first must reconnect the water supply lines to the new faucet’s shanks. Turn off your shut off valve to restore water flow. Next, remove the aerator and turn on both the hot and cold sides of the faucet. This will flush out any remaining sediment. lastly, double-check that all connections are tight. Now, your new faucet is set and ready to try out.
Bathroom DIY Projects: We are Just a Call Away
So, you now have step-by-step details on how to install a new faucet and replace a toilet seat. In the case of both of these Bathroom DIY Problems, if you aren’t comfortable with your own work, feel free to give a call to Raleigh’s Number One Emergency Plumber, Poole’s Plumbing. To reach us, visit our website. at poolesplumbing.com.


