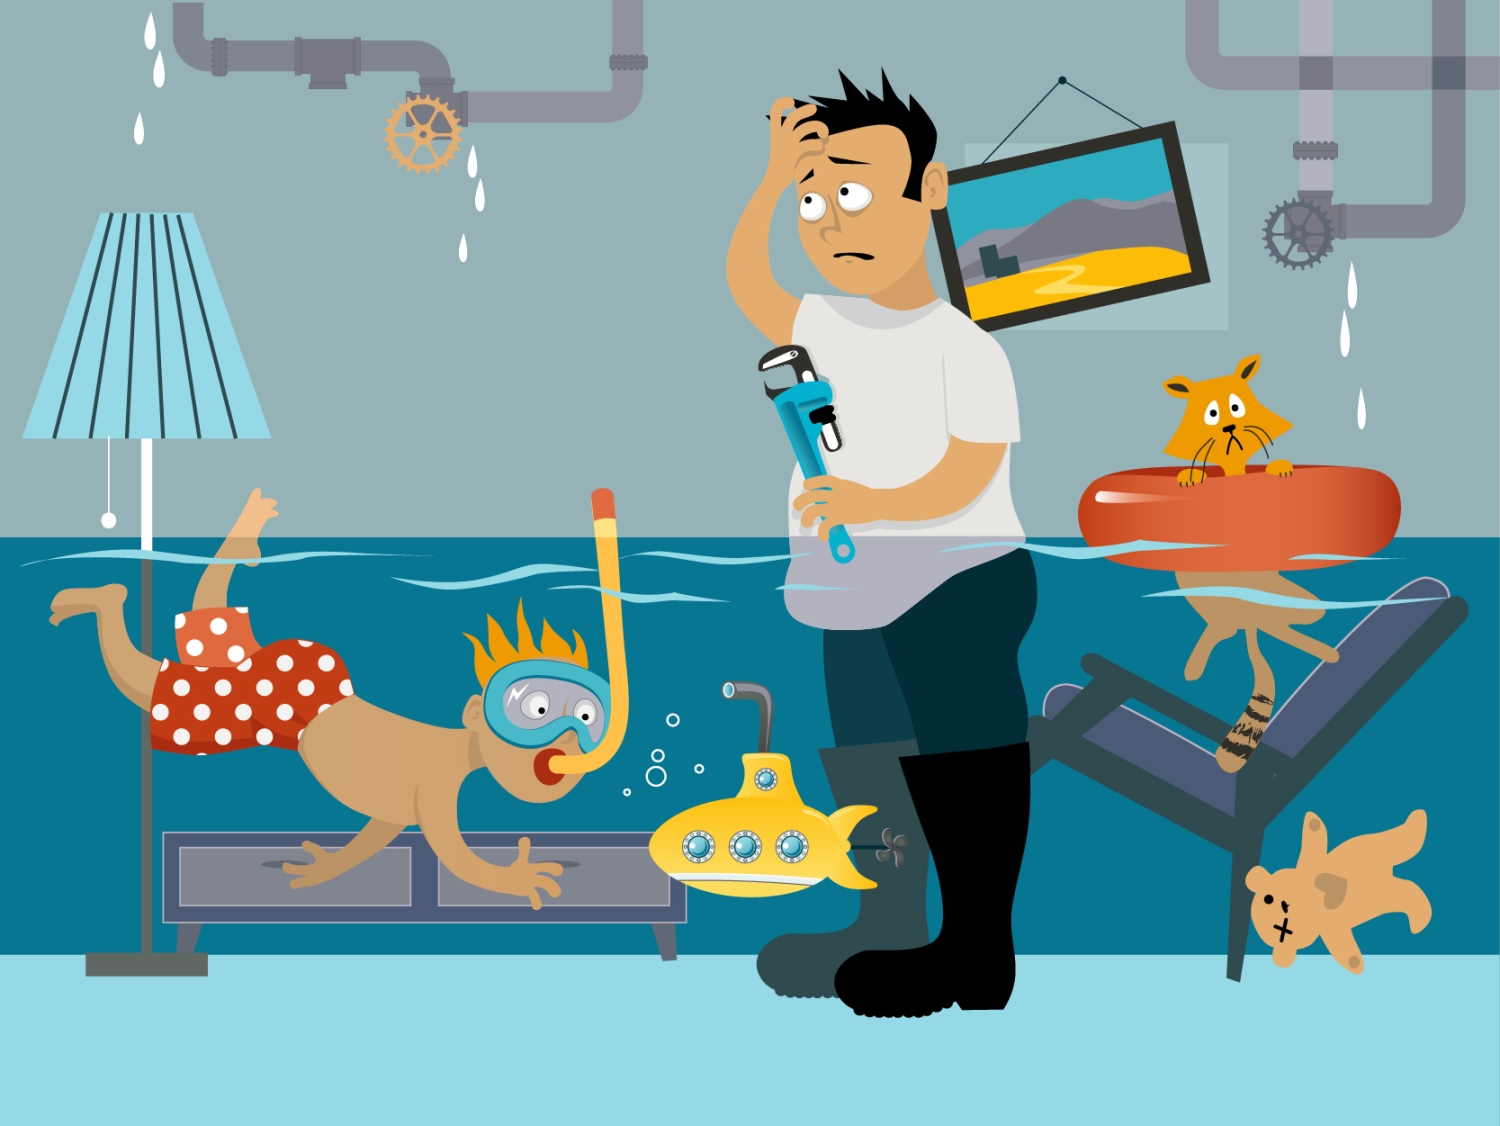
Home plumbing checklist! When you are in the market to buy a new or old home, there are countless things to check and clean. One essential thing is the plumbing system. While part of this is covered by the seller and done before you take occupancy, there may still be things that need your attention when you start using it.
Check for Leaks
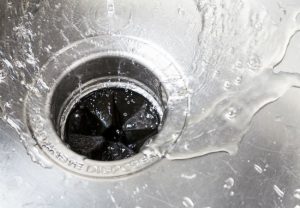
Checking for leaks or water damage is one of the most crucial things the seller usually looks at. Leakage in sinks and showers, but something that often slips through the cracks is slow-draining sinks and fixtures. If these haven’t been replaced, make sure to deal with them as soon as possible because leaks may cause serious damage to your home if left unattended for too long.
Check Water Quality
There’s not much point in getting a new home if the water quality is terrible. It’s usually listed somewhere on the deed, but it never hurts to ask about it. A water softener can be installed on every tap in your home for around $100, and you may find them at most hardware or plumbing store.
Check Water Pressure
If it isn’t already, make sure the place you’re buying has decent water pressure. Water pressure usually isn’t an issue for most people, but if you like to take long showers, it might be more of a problem than you expect, and while some things can be done about it (like installing a water tower), they aren’t cheap or easy solutions.
Check Local Water Regulations
This won’t matter much unless you’re planning on doing some major renovations to your home, but it’s good to know before you buy. Most municipalities will require any plumber working in their jurisdiction to be licensed. So, this means that if you hire an independent contractor (recommended for all plumbing work), they’ll need to go through the local licensing process, which can take up to three months.
Keep Utilities Separate
If the house doesn’t already have separate utilities (gas and water bills), make sure they are installed as soon as possible. Not only does this help keep track of your expenses, but it also makes repairs much more accessible since everything isn’t connected.
Check Quality of Pipes
While not necessarily dangerous, old galvanized steel piping should be replaced whenever possible. Galvanized steel is a good and inexpensive material, but it erodes very quickly in water at high temperatures and can lead to leaks and breakages.
According to many sources, PVC piping is the most accessible replacement if you need upgrades because it has over 100 years. Ensure that local codes have approved everything before making any changes and that a permit has been acquired if necessary.
The sewer line should be inspected every couple of years to make sure it isn’t cracked, collapsed, or damaged in any way by tree roots. Tree roots can be one of the most severe causes of damage to piping, which is why many areas have decided to prevent them from entering their systems by banning trees (or at least big ones) from being planted near where pipes lie. Suppose you’re buying a house with an existing tree. In that case, you might want to consider removing it even if it doesn’t seem like there’s much risk involved since having to replace your system later on, is not only inconvenient but very expensive as well.
Check for Signs of Damage
A big part of a plumbing checklist is looking for past damager. So, even if everything appears to be in perfect working order and there are no signs of damage at home, you still want to ensure that everything looks as it should. Look for discoloration and peeling paint which can indicate aging pipes and rusting joints. If there is any, they will need to be replaced before long, or they’ll soon become a problem.

Check out the article on Realtor.com What does a home inspector Look for?
Check the Floor Drains
The floor usually drains last forever, but if something has gone wrong with them, then it’s best if you know about it right away, so you don’t have to deal with flooding later on. Floor drains are most commonly used for washing machines, sinks, and dishwashers, but sometimes the lines connecting them back up main lines enter your home, then call a professional right away. You don’t want anything catastrophic happening before you know about it.
Inspect Floors
It never hurts for new homeowners to look under their homes from time to time and cause them to flood after use or when water pressure increases (like during a storm). Installing an overflow kit on your drains ($20 or less at any hardware store) is very easy and quick, and it could save you a lot of money in the long run.
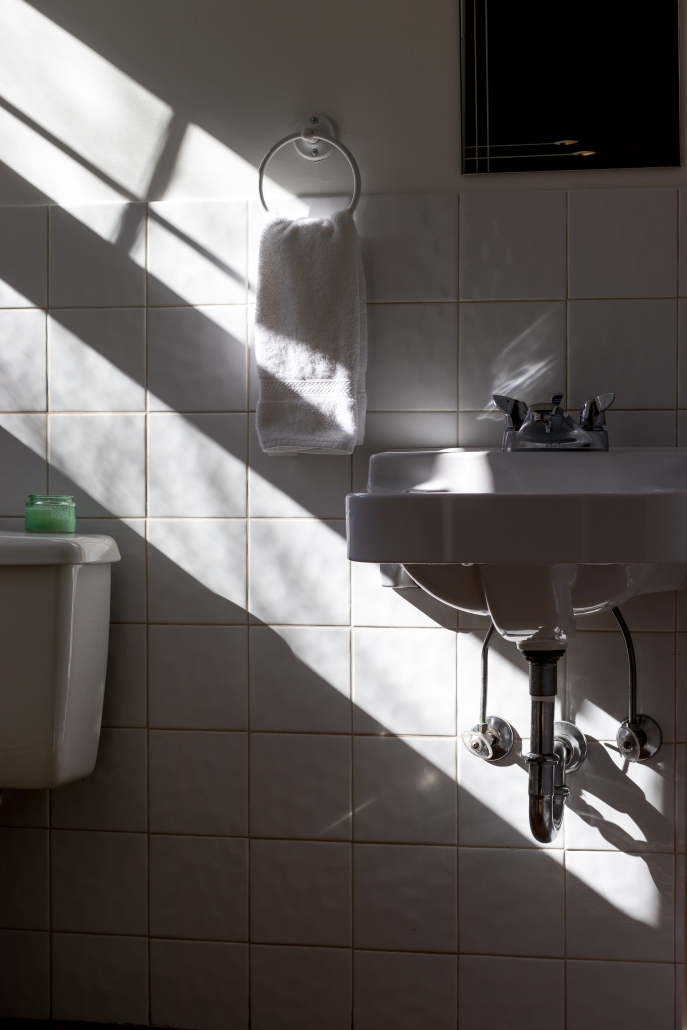
Check for Signs of Leaks
Leaks can be a huge annoyance, especially if they go unnoticed for too long. They can lead to severe water damage, which will make your home less desirable to others and can even lead to rot in flooring and other materials if gone unchecked. If you see any signs of dampness or discoloration near where pipes are entering, don’t hesitate to call a plumber.
It’s also wise to turn off your house’s main shutoff valve (usually near the water meter) whenever there is a chance of it being frozen during the winter months. If this happens, turning off your home’s supply can be as simple as flicking a switch from inside.
Floating Manifold Problems
Many homes have a “floating” water heater manifold. That means that the individual supply lines from each fixture are connected to it, so they all share one shutoff. If only two of those connections were made instead of three, there might be a problem.
For example, if both washers and showers tap into this shared manifold but only one is hooked up via supply line, the water heater won’t get any hot unless someone is using both appliances at once or unless someone turns on every faucet in the house (since cold connections cause them to draw heat instead).
You’ll need to call your plumber, who will run an additional line between fixtures to solve this issue. It’s not something most homeowners can do themselves.
Inspecting “floating” or wall-hung manifolds has been compared to feeling around in the dark because there isn’t any visible sign of damage. However, if enough metal fatigue accumulates, it could cause a leak, quickly leading to rot and rust. So, be sure to keep a check on any signs of corrosion and have them replaced as soon as possible.
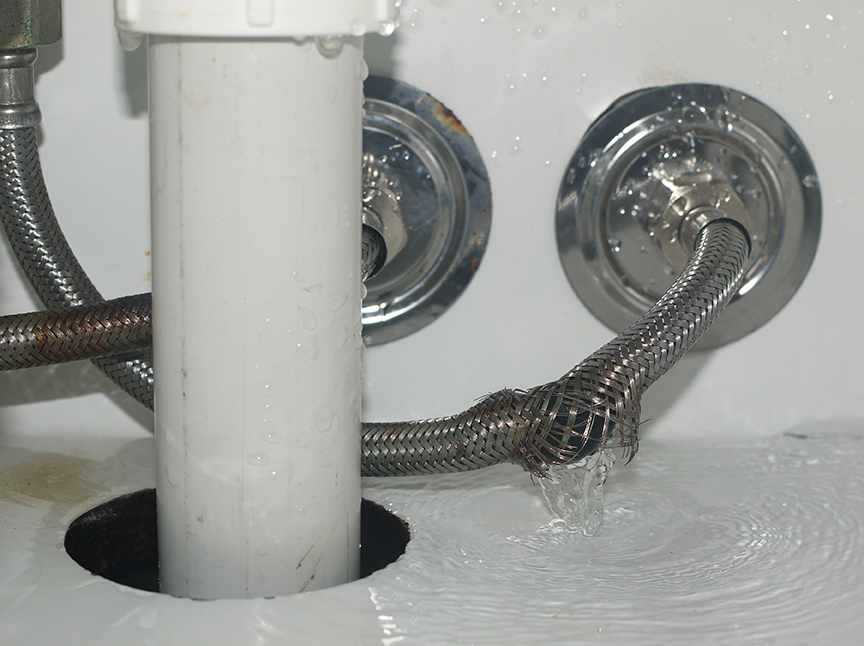
Washing Machine Hoses
One of the most common household repairs seen everywhere is replacing washing machine hoses. Washing machine hoses are typically designed to only last around five years. When new, these hoses should be nice and rigid, but after time they begin to get soft and “squishy.” Furthermore, if ignored for too long, their inner lining can become brittle, which will lead to splitting when water pressure suddenly increases or when somebody moves an appliance that it’s connected to. Such a hose could leak quickly, so older homeowners may want to inspect them more often than newer homeowners.
To accomplish this, you’ll need a plumber whose couple of other warning signs are bulging in the middle of the hose or small leaks around the ends where it attaches to appliances or fixtures. If any of this happens, replace the hose as soon as possible. Washing machines and water heaters typically work harder when somebody is washing their clothes or taking a shower, so if your home’s pressure suddenly drops, it might indicate that the old hose has started to fail.
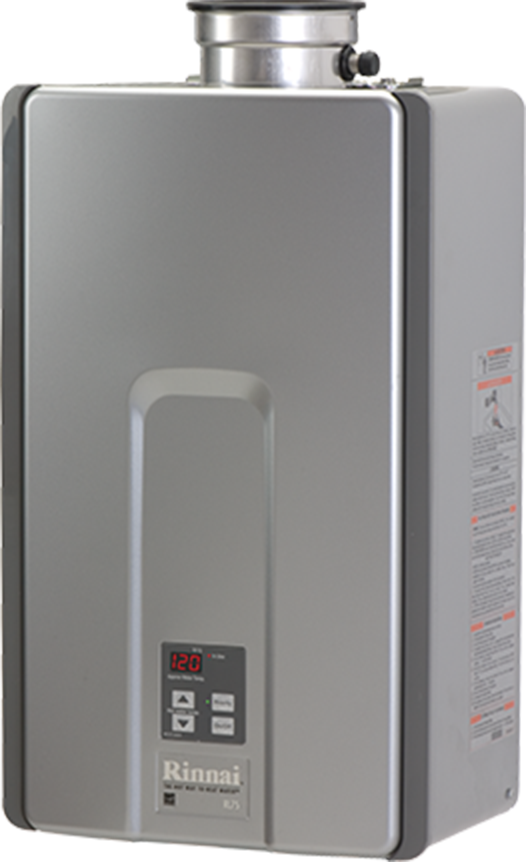
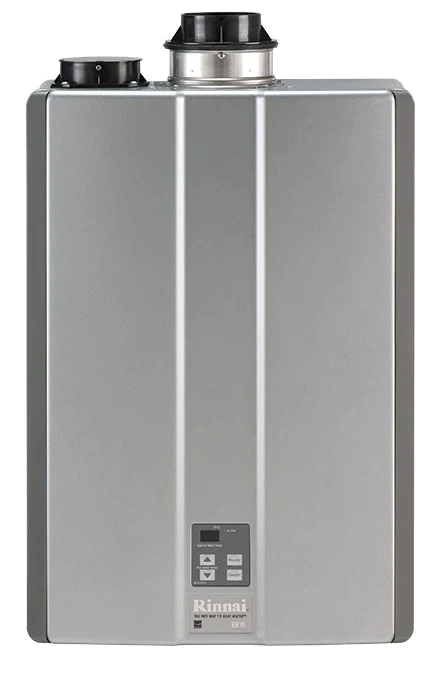
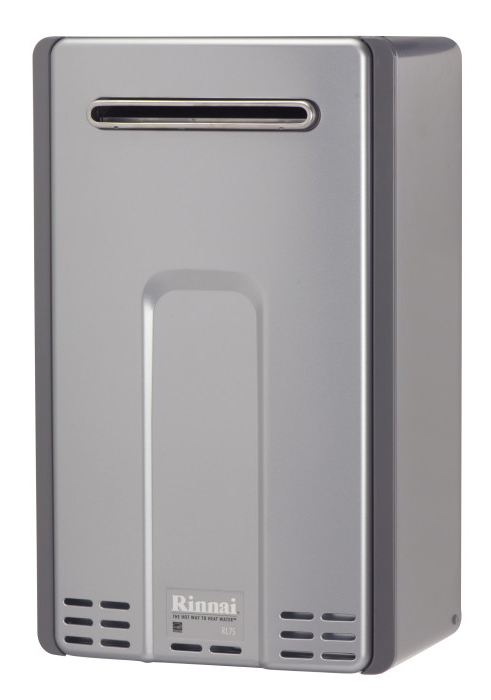
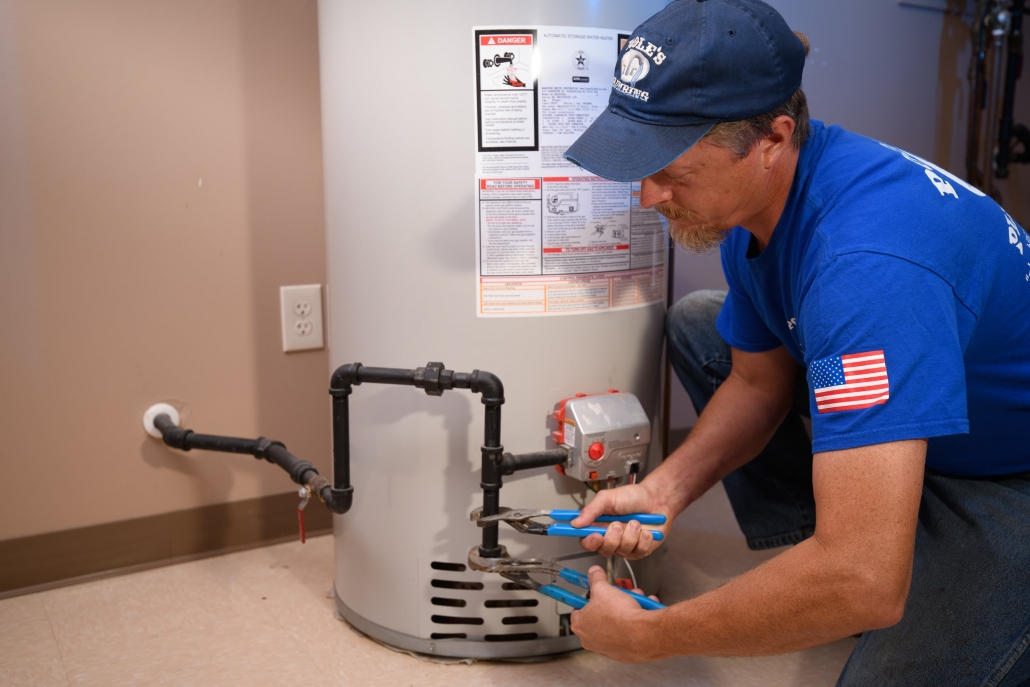
Flush Out Your Water Heater
Water heaters are built with small tubes inside them that help distribute hot water to appliances all over your home. These tubes are prone to mineral buildup over time, even though newer models have much better insulation, which slows this process down. The only way to clean these hot water heating elements is by draining the tank completely, flushing out all of the sediments, then refilling with fresh water.
To accomplish this, you’ll need a plumber who can safely shut off your home’s main shutoff, drain the water heater and hook up a hose to the bottom of it. Afterward, flushing will begin and should take anywhere from one to two hours.
One warning sign that it’s time for an element flush is when the water coming out of your hot faucets starts to look brown or grey. Clothes washed in such water will come out dingy because they’ll get covered in sediment as well. You may also be able to hear sediment flowing through the pipes, which could indicate that it’s entering your washing machine (this causes gray residue on fabrics).
If any of this sounds too familiar, it might be time to call a trusted plumber. This job shouldn’t cost more than a few hundred dollars since you can do most of the work yourself, so it’s worthwhile, especially if you have low water pressure or your water heater is older than ten years.
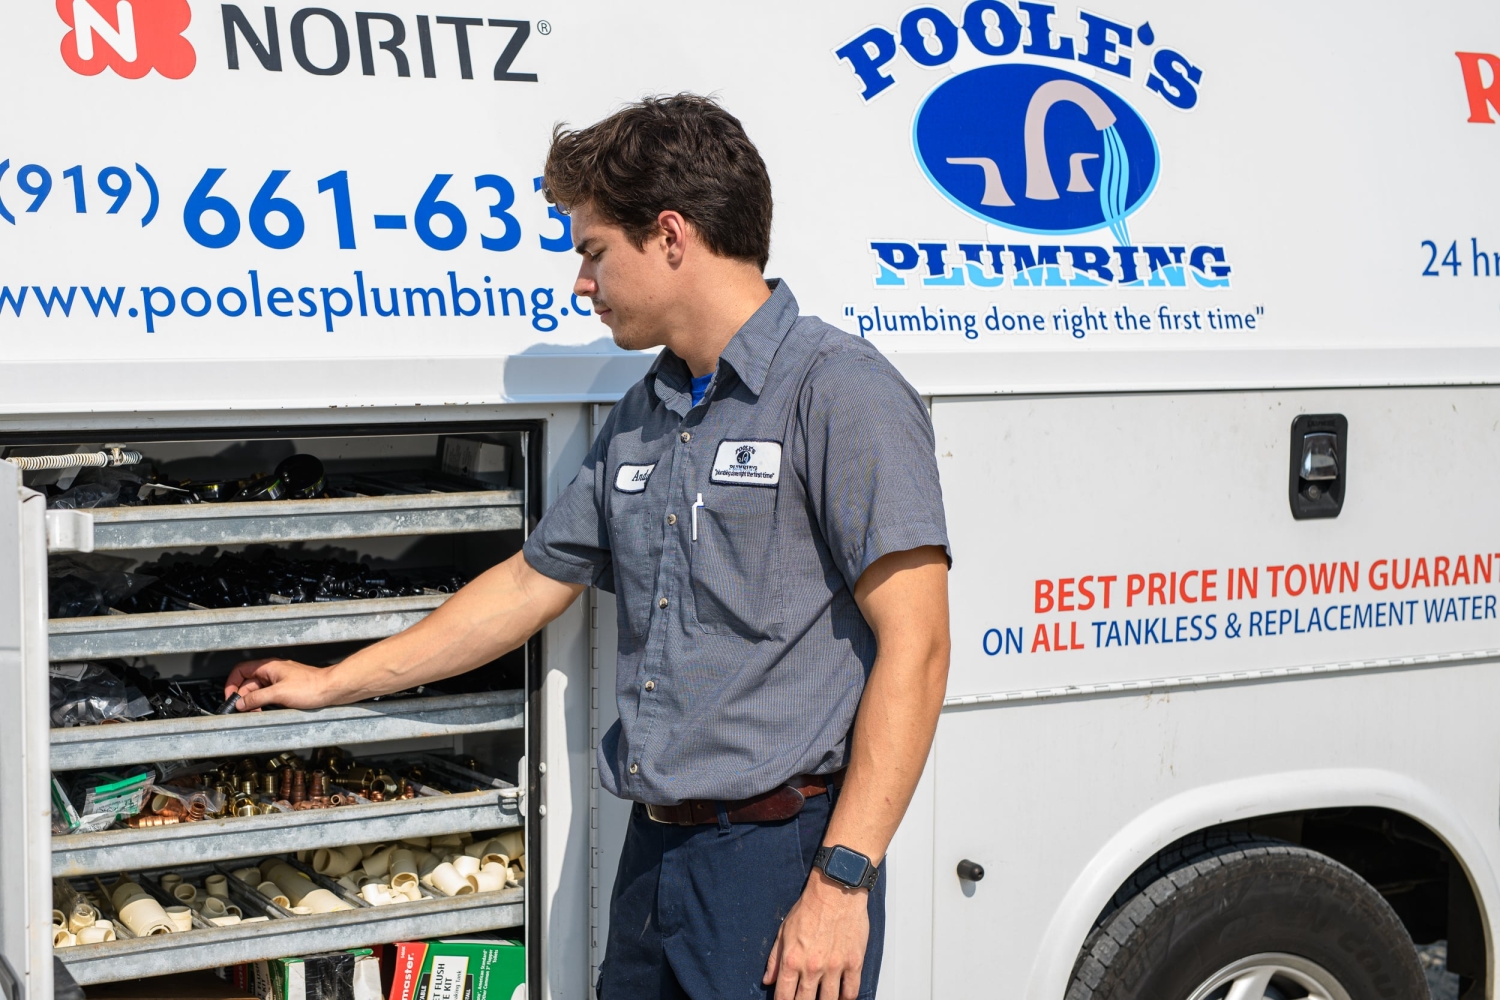
New help with your plumbing checklist? Call Poole’s Pluming to learn all of your options, or learn more at: www.poolesplumbing.com
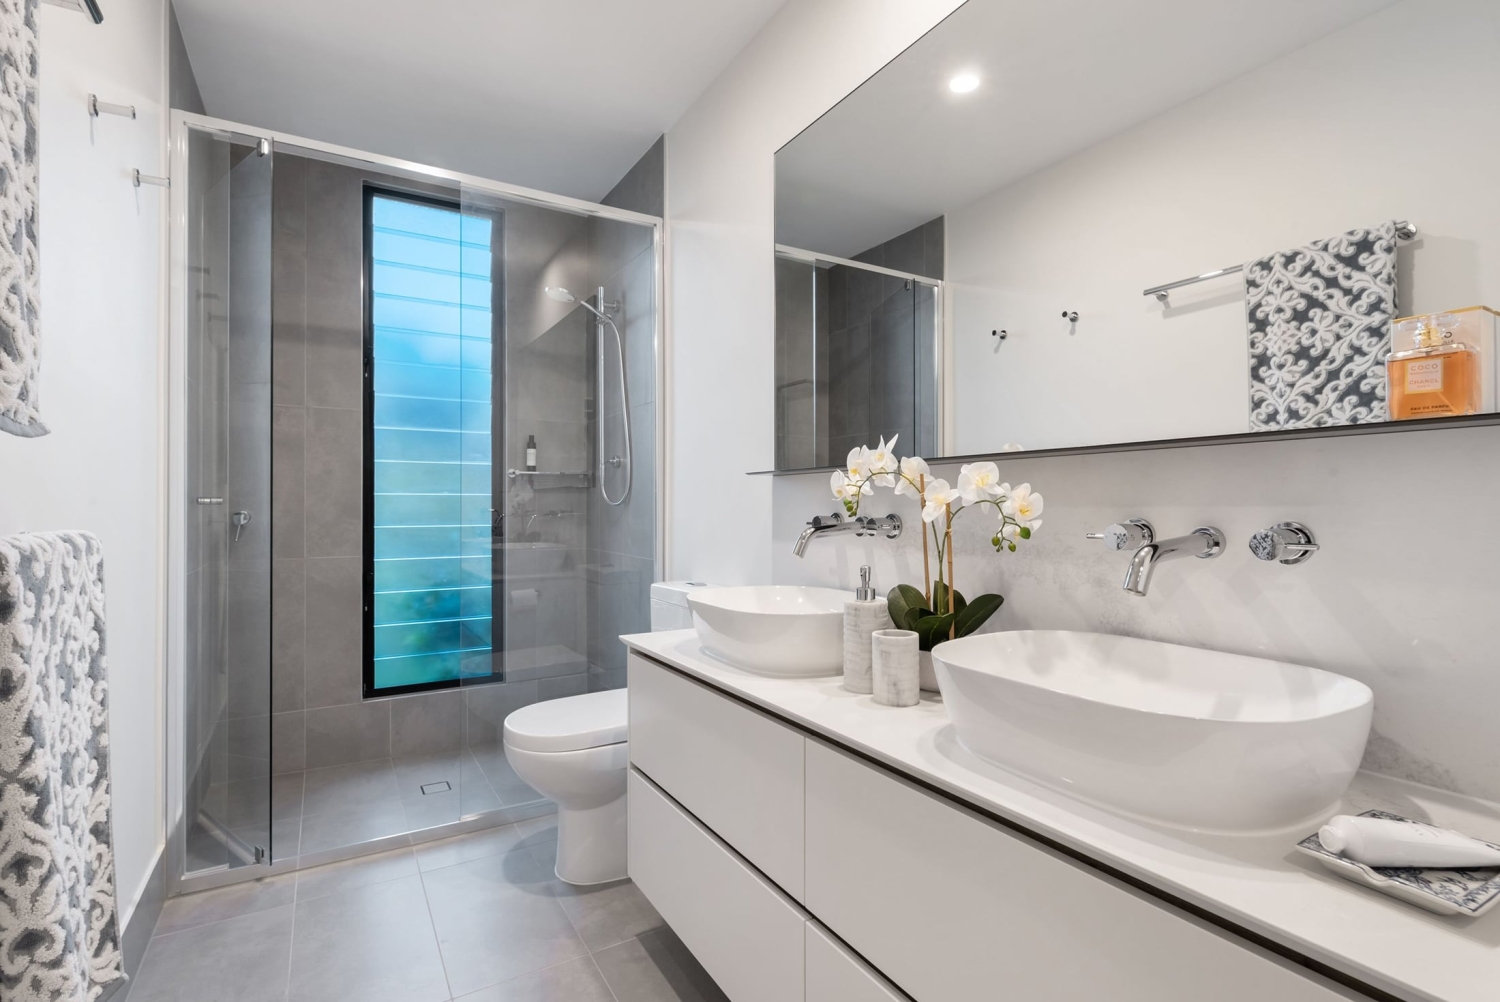


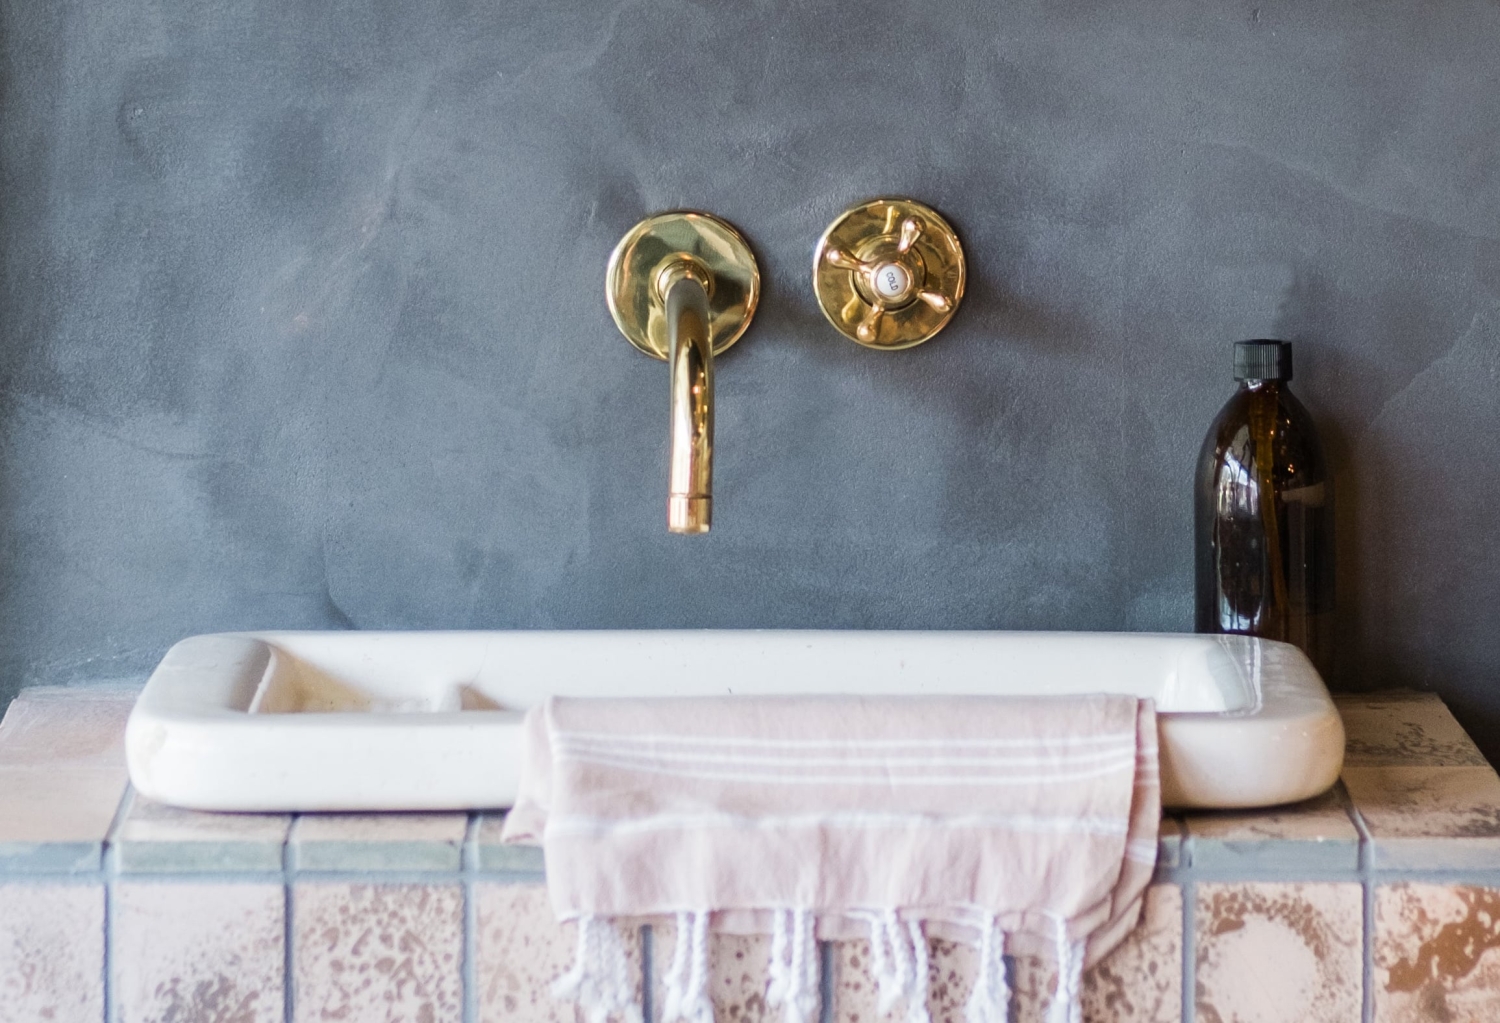
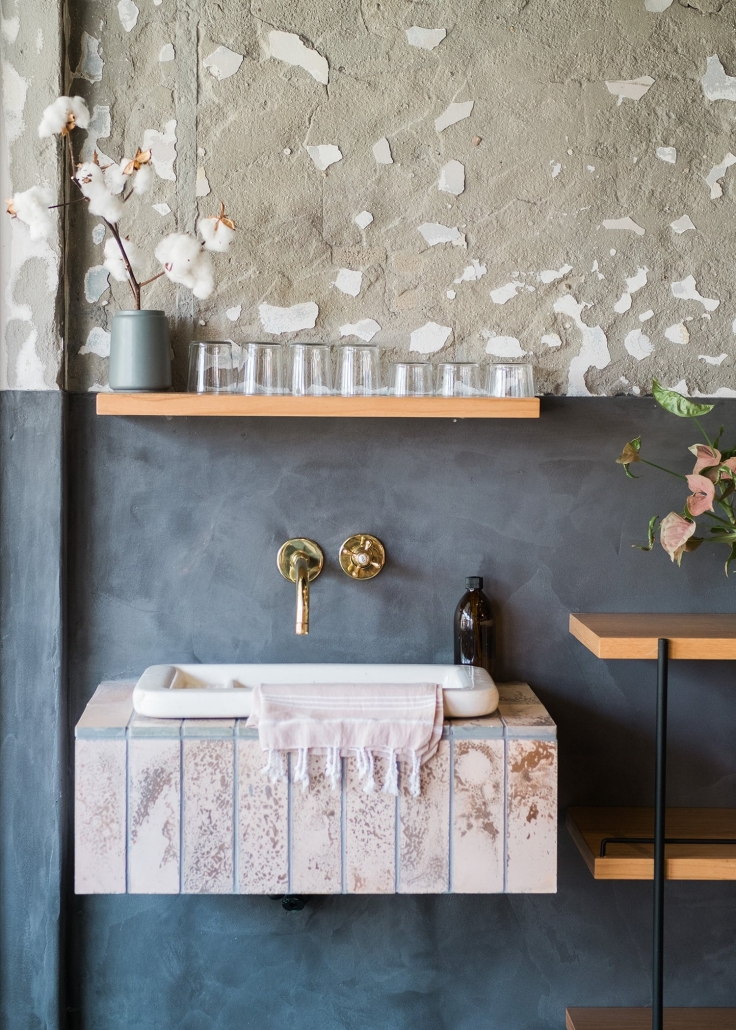


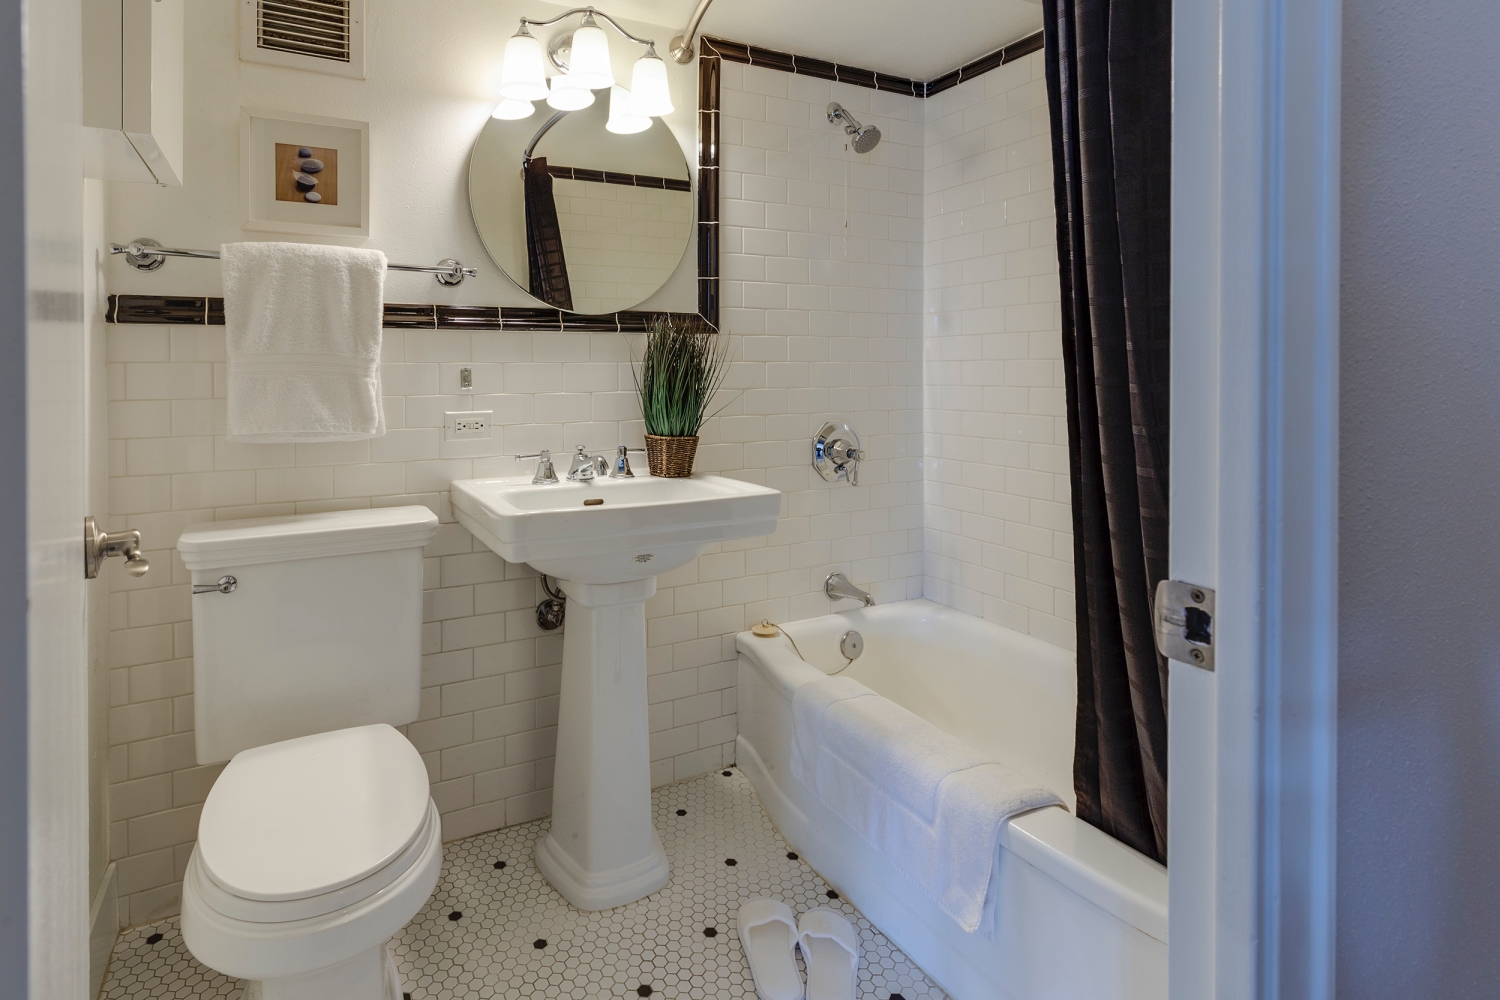
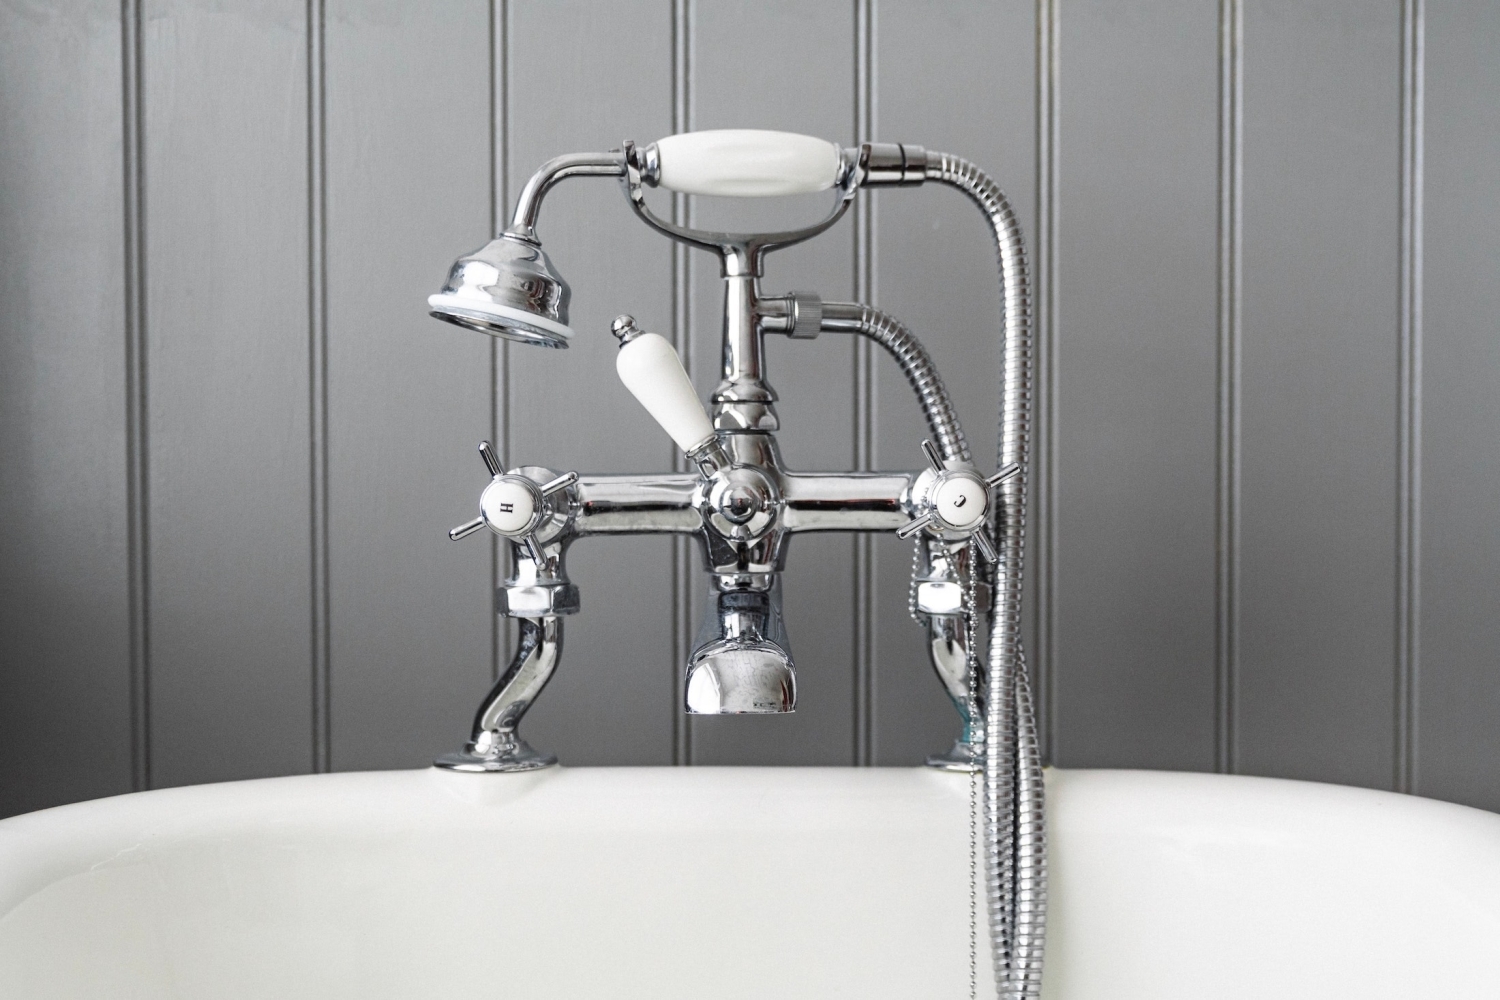
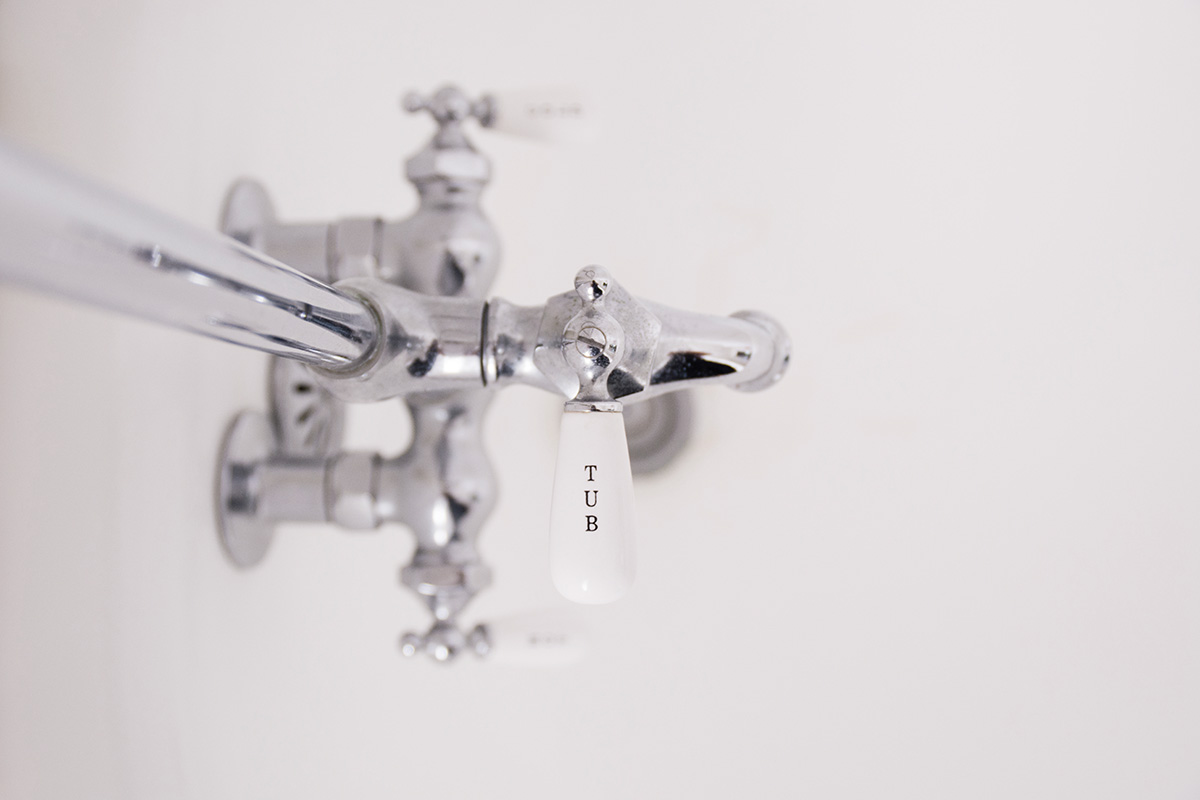
 Replacing bathroom fixtures can be a great way to update your bathroom and get it looking new again. If you need parts, the most important thing is that you find the best deal and buy from a retailer with good reviews. After replacing the elements, you will use your bathroom without any problems.
 We will make no mistakes about it; even if you aren’t interested in buying or renting the home, this is a critical issue to consider either way. You don’t want your real estate agent, the home’s owner, or any future potential buyers to think that you are trying to hide anything by keeping quiet about a severe plumbing problem. If you find out about something like this after buying or renting, then it could typically make your investment cost you more money in the long run. The right way to handle the situation would be to contact the relevant parties and let them know to fix it. However, if you find out about a problem beforehand, you will avoid wasting time and money.