
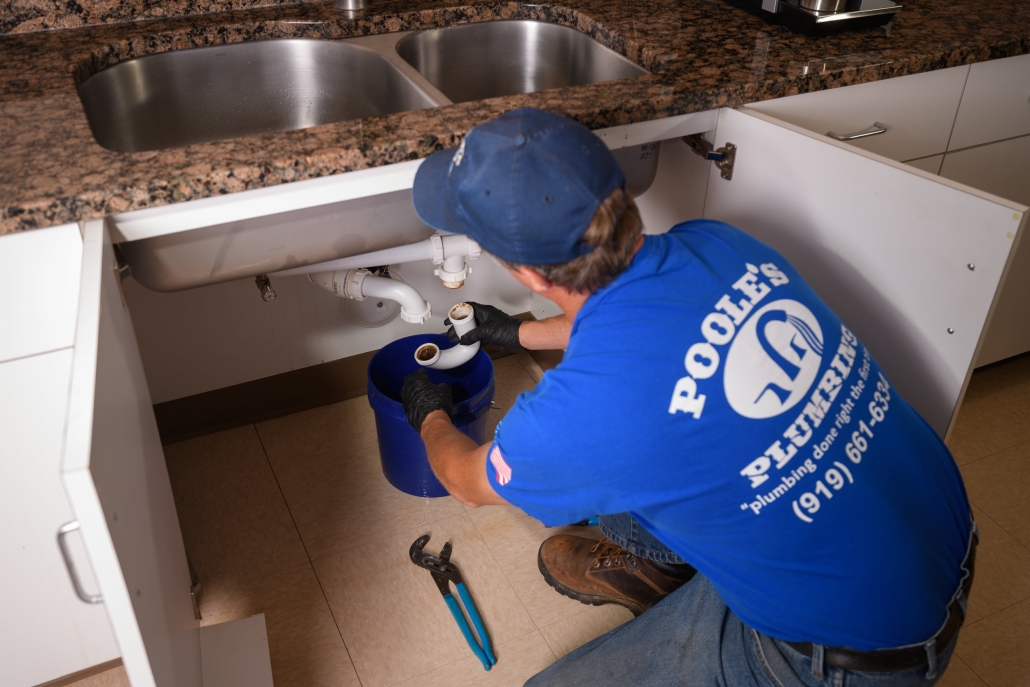
The Most-Searched Water Heater Problems (and Safe DIY Fixes) — from Poole’s Plumbing, Raleigh’s Pro Plumbers
Water heater repair Raleigh, homeowners search these issues every day. Here’s how to troubleshoot safely—and when to call the pros at Poole’s Plumbing. We also offer the best-priced water heater in town—guaranteed.
Quick Answers for the Top Water Heater Searches
- No hot water: Check power/gas, reset button (electric), pilot/igniter (gas).
- Water not hot enough / runs out fast: Thermostat setting, sediment buildup, failing element.
- Leaking tank or fittings: Turn off water & power—leaks rarely “self-heal.”
- Smelly hot water (rotten-egg): Anode reaction—shock chlorination or anode swap.
- Heater making noise (popping/rumbling): Sediment—perform a flush.
- Water too hot: Turn thermostat to ~120°F for comfort & safety.
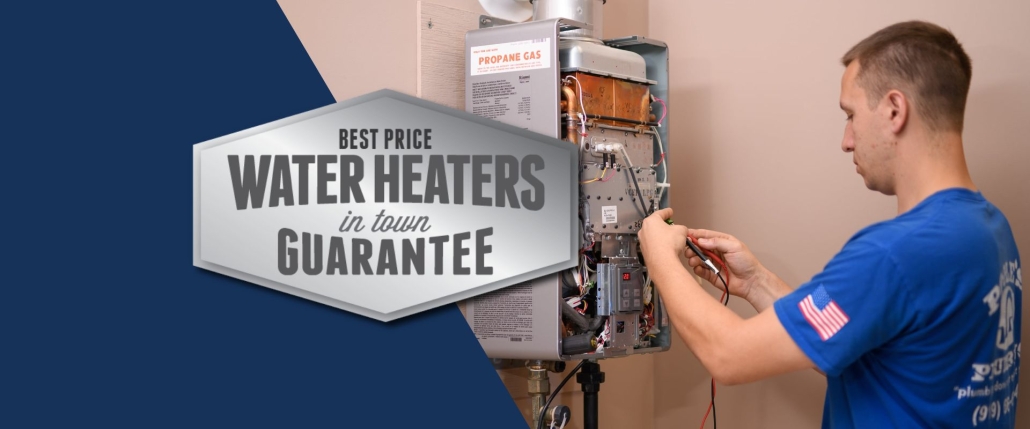
Live in Raleigh, Cary, Apex, Garner, or Wake Forest? Poole’s can diagnose, repair, or replace the same day in most cases—and we back it up with the best price water heater in town, guaranteed.
Why This Guide? It’s Built for Raleigh DIYers
Search data shows Raleigh homeowners most often Google: “no hot water,” “water heater leaking,” “pilot won’t stay lit,” “how to flush a water heater,” and “water smells like sulfur.” Below you’ll find safe, step-by-step checks you can try before calling for service.
Safety First
- Cut power at the breaker (electric) or set gas valve to OFF (gas).
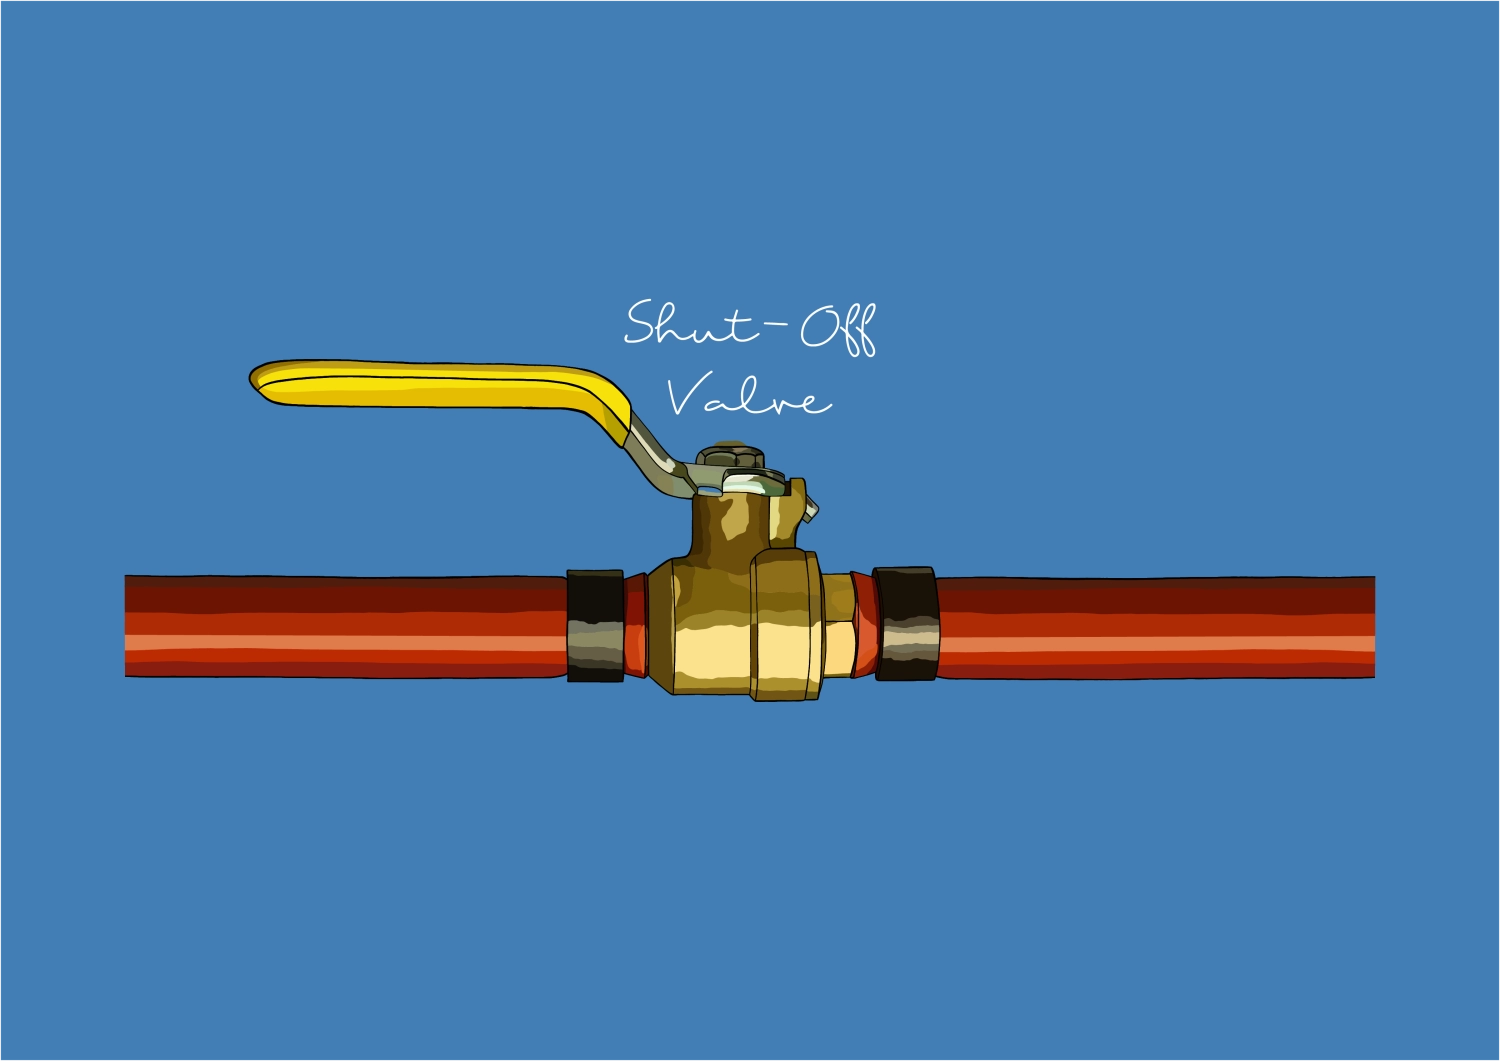
- Close the cold-water inlet if you see active leaking.
- If you smell gas, skip DIY and call a pro immediately.
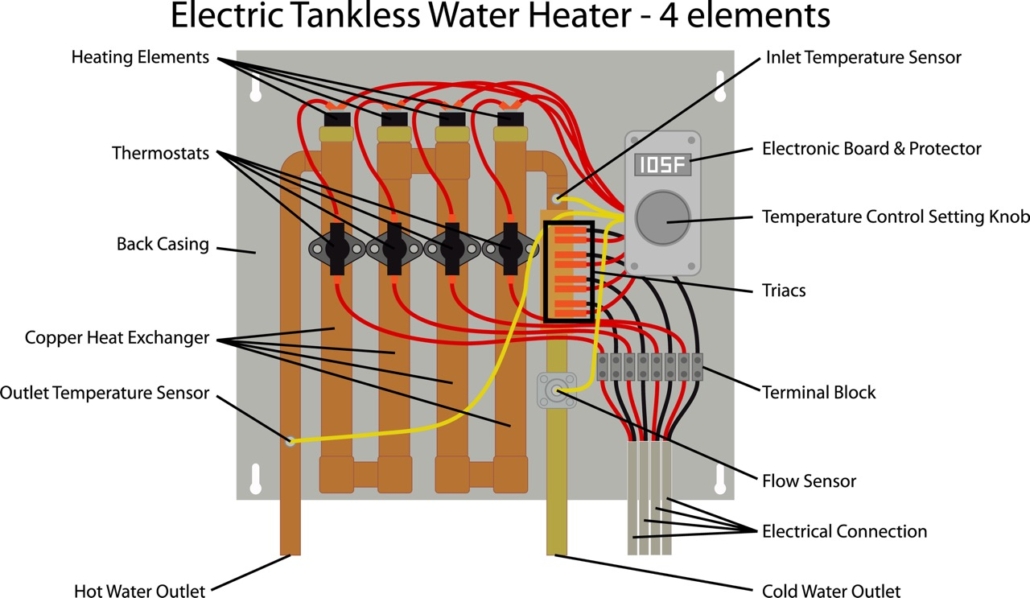
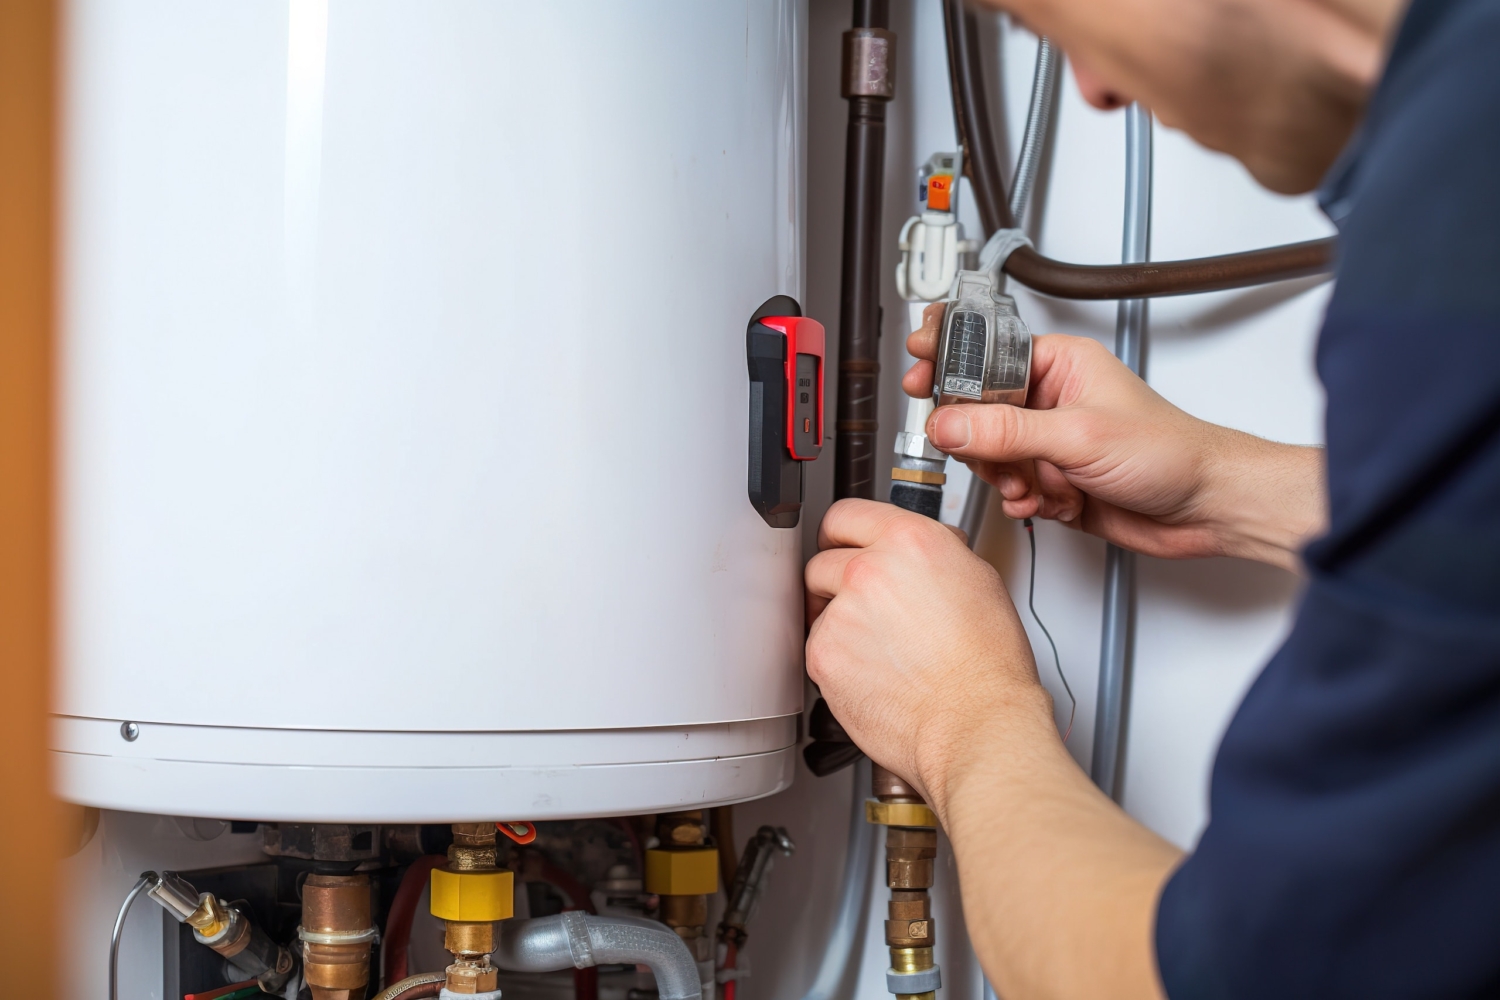
1) “No Hot Water” (Electric)
What to check:
- Breaker / power: Verify the water heater breaker is ON.
- High-limit reset: Remove upper access panel/insulation, press the red reset button on the upper thermostat.
- Thermostat & elements: If it trips again, you may have a bad thermostat, element, or wiring.
DIY OK? Reset & breaker checks—yes.
Call Poole’s if: The reset trips repeatedly, wiring looks burned, or you need elements/thermostats tested or replaced.
2) “No Hot Water” (Gas)
What to check:
- Pilot/igniter: Follow the lighting instructions on the unit label.
- Gas supply: Ensure the gas valve is ON and other gas appliances work.
- Flame sensor/thermocouple: If the pilot won’t stay lit, these parts may be dirty or failing.
DIY OK? Relight per manufacturer instructions if you’re comfortable.
Call Poole’s if: The pilot won’t stay lit, the igniter fails, or you suspect a venting issue.
3) “Water Not Hot Enough” or “Runs Out Fast”
Likely causes:
- Thermostat too low (target ~120°F for comfort & safety).
- Sediment buildup reducing effective tank volume and heat transfer.
- Failed heating element (electric) or partially blocked burner (gas).
- Demand mismatch: Your family simply needs a larger tank or a tankless upgrade.
DIY step: Try a full tank flush (see Step 6) and check thermostat setting.
Pro help: If performance is still poor, Poole’s can test components or size a right-fit replacement.
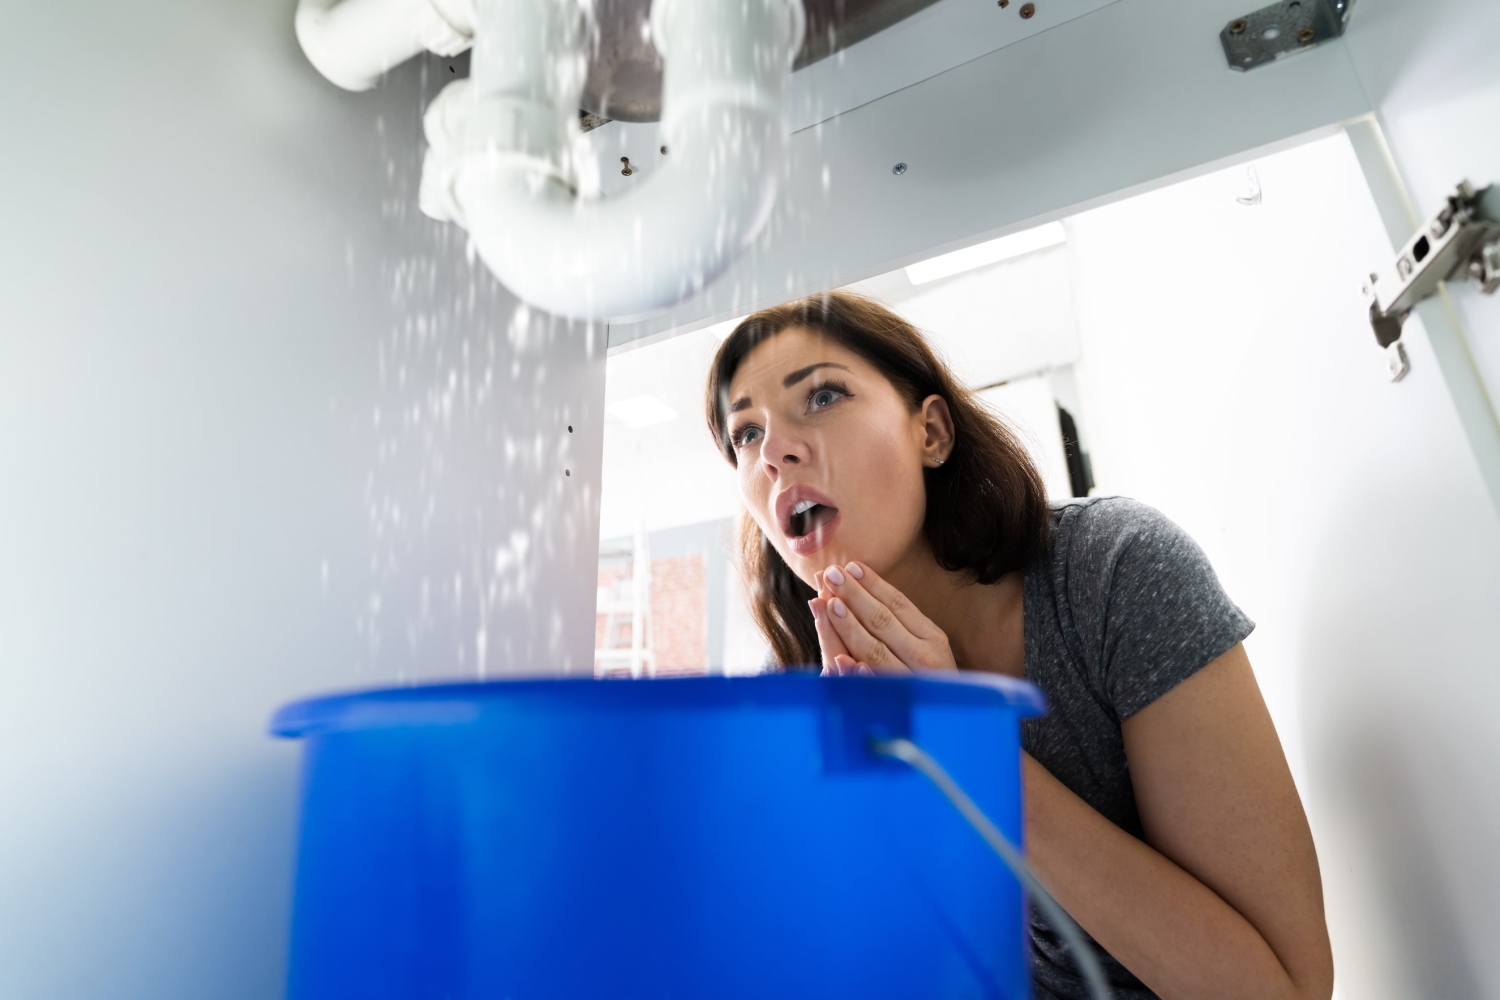
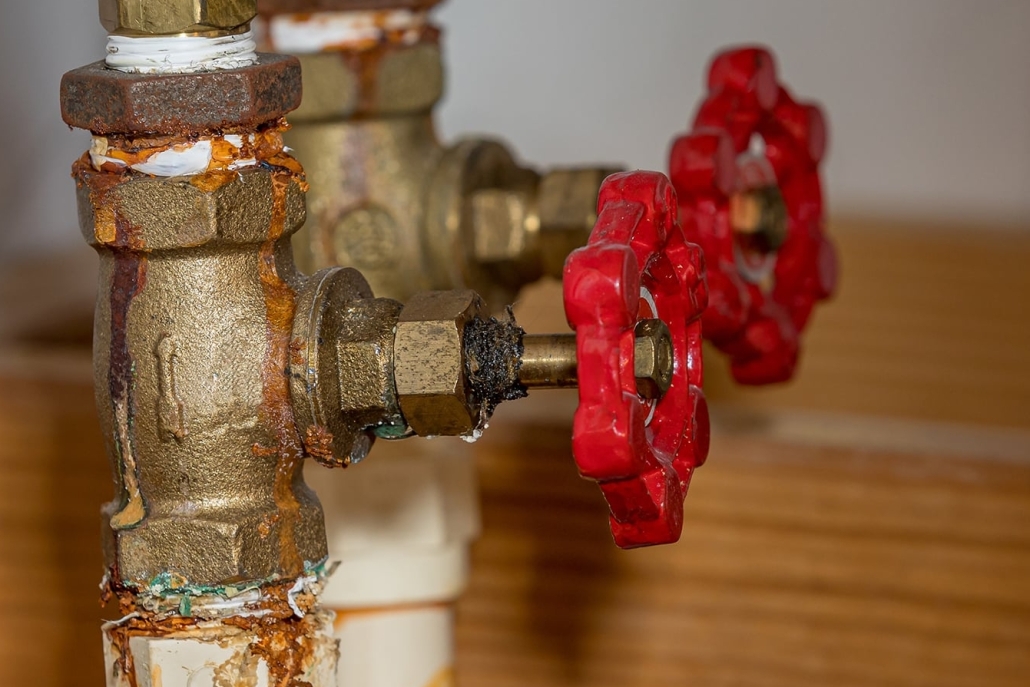
4) “Water Heater Leaking (Top or Bottom)”
Immediate actions:
- Shut power/gas to the heater.
- Close cold inlet valve to stop incoming water.
- Isolate the source:
- Top leaks: flex lines, nipples, T&P valve piping.
- Bottom leaks: drain valve, internal tank corrosion (often terminal).
DIY OK? Tightening a flex line or replacing a drain cap—maybe.
Call Poole’s if: Leak is from the tank or T&P valve is discharging—those are safety-critical.
5) “Rotten-Egg Smell in Hot Water”
The odor is typically hydrogen sulfide produced by bacteria reacting with the magnesium anode.
Options:
- Shock chlorination and system flush.
- Swap to an aluminum/zinc anode or a powered anode designed to reduce odor.
- Raise temp temporarily (carefully) to disinfect—then restore to ~120°F.
Pro tip: Let Poole’s recommend anode solutions that balance odor control with tank protection.
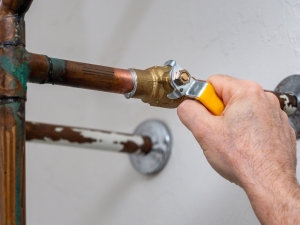
6) “Water Heater Making Noise” (Popping/Rumbling/Hissing)
Noise usually means sediment.
DIY flush (basic):
- Turn off power/gas and cool the tank.
- Close cold inlet; connect hose to drain valve to a safe drain.
- Open T&P lever slightly to vent, then open the drain.
- Briefly open the cold inlet to stir sediment, then drain again until clear.
- Close valves, refill (open a hot faucet to purge air), then restore power/gas.
Still noisy? You may need a deep descale or parts service—call Poole’s.
7) “Water Too Hot”
- Set thermostats to ~120°F.
- If overheating continues on an electric model, a stuck thermostat may be the culprit.
- For gas units, verify the dial setting and consult a pro if the water remains scalding.
8) “Low Hot-Water Pressure”
- Check aerators and showerheads for debris.
- Sediment in lines or a failing mixing valve can also restrict flow.
- If hot side runs weak all over the house, it’s time for diagnosis.
9) Replace vs. Repair: A Raleigh-Smart Decision
Consider age, efficiency, and risk:
- 8–12 years is a typical tank lifespan. Frequent repairs near end-of-life = diminishing returns.
- Newer models can cut energy use, especially heat-pump or tankless systems.
- Basement/attic installs over finished spaces? Proactive replacement reduces leak risk.
Poole’s Advantage: We carry and install top brands and back it with the best price water heater in Raleigh—guaranteed. If you have a quote, ask us to beat it.
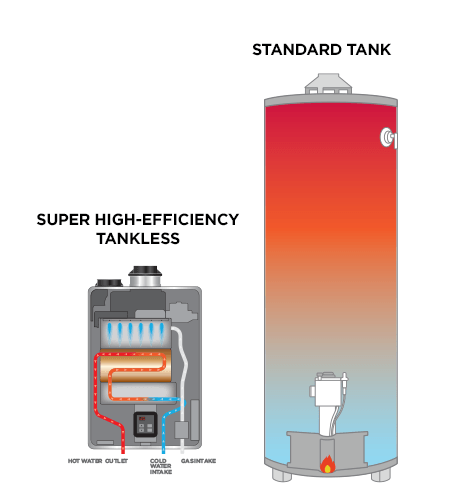
10) Tank vs. Tankless vs. Heat-Pump (Quick Guide)
- Standard Tank: Lowest upfront cost; simple and reliable.
- Tankless (Gas or Electric): Endless hot water; saves space; great for North Hills condos or Five Points bungalows with limited utility closets.
- Heat-Pump (Hybrid): Highest efficiency for many Raleigh homes; may qualify for rebates; needs space and adequate ambient air.
Unsure? Poole’s will size the right capacity for your home in Raleigh, Cary, Apex, Garner, Knightdale, or Holly Springs.
Preventive Maintenance for Raleigh Water
- Annual flush: Limits sediment from municipal or well sources around Wake County.
- Anode check every 2–3 years: Extends tank life and reduces odor.
- Set to 120°F: Safer, saves energy, slows scale buildup.
- Leak alarms & pan drains: Especially for attic installations common in newer builds.
When to Call Poole’s Plumbing (Skip DIY)
- Persistent pilot or breaker trips
- Active leaks from tank or T&P valve
- Gas smells, scorch marks, or venting concerns
- Repeated lukewarm performance after a full flush
- End-of-life units or upgrades (tankless/heat-pump)
We’re local. We’re fast. And we’ll treat you like family we’ll also match or beat any comparable written quote on water heaters—best price in town, guaranteed.
Raleigh-Focused FAQs
Q: What temperature should I set my water heater to in Raleigh?
A: 120°F balances comfort, safety, and efficiency for most Triangle homes.
Q: How often should I flush my water heater?
A: Once a year is a good rule—especially with Raleigh’s sediment and scale potential.
Q: Is a tankless water heater worth it?
A: If your household uses hot water throughout the day or wants space savings and lower energy use, yes—Poole’s can size and install the right model.
Q: Who has the best price on water heaters in Raleigh?
A: Poole’s Plumbing—we offer the best-priced water heater in town, guaranteed. Bring us a comparable quote.
Still no hot water?
Need same-day diagnosis or a guaranteed-best-price replacement?
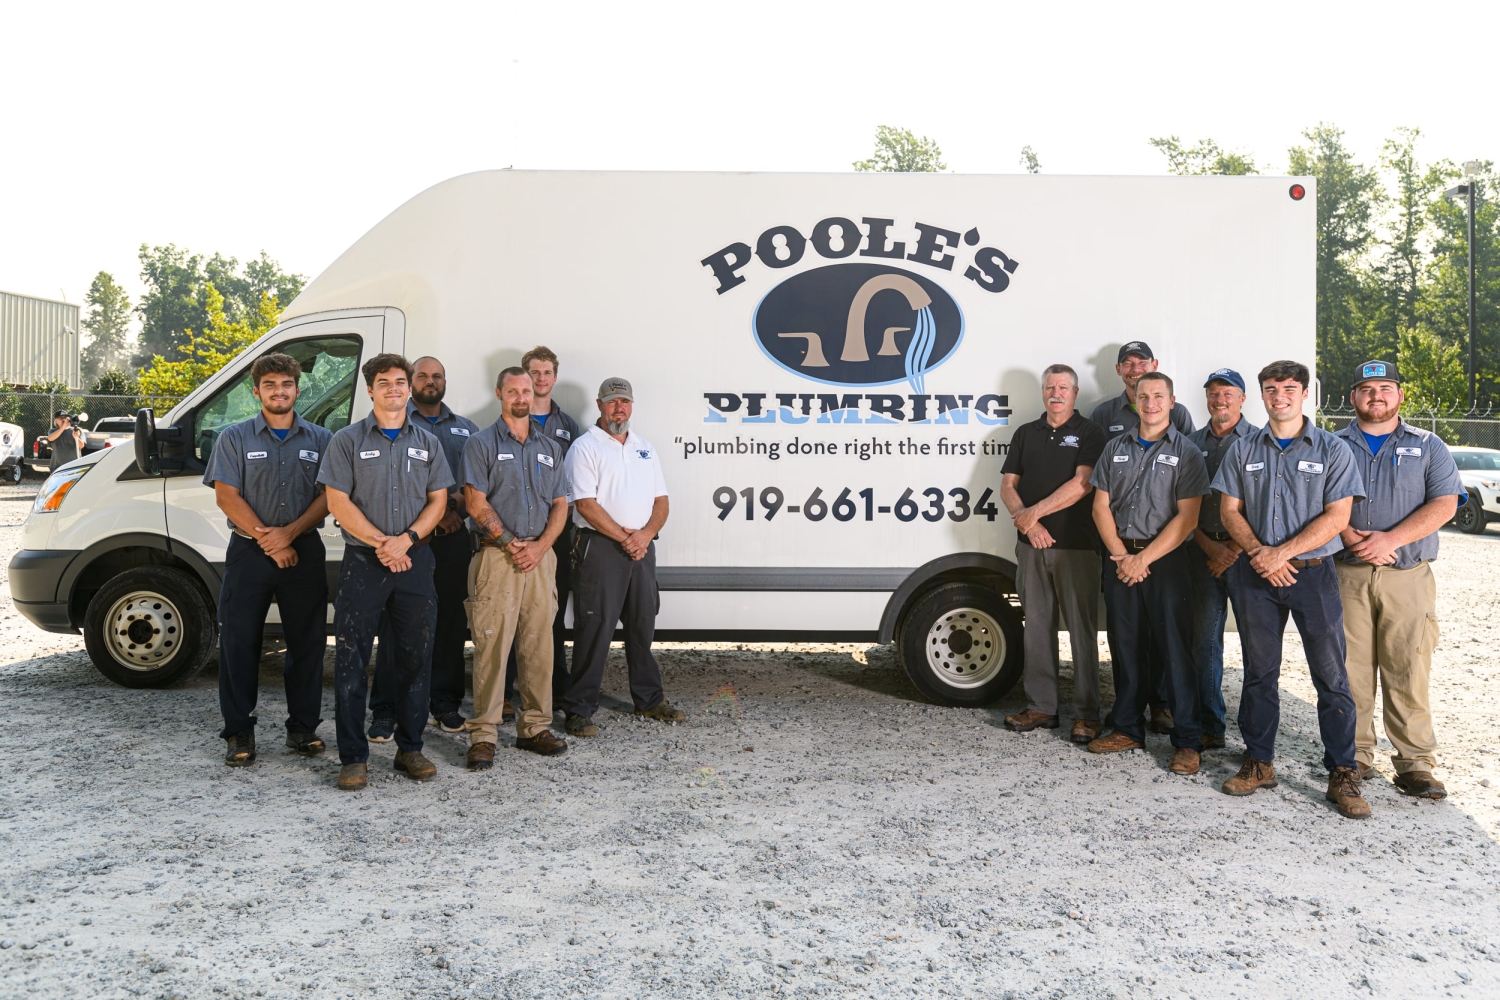
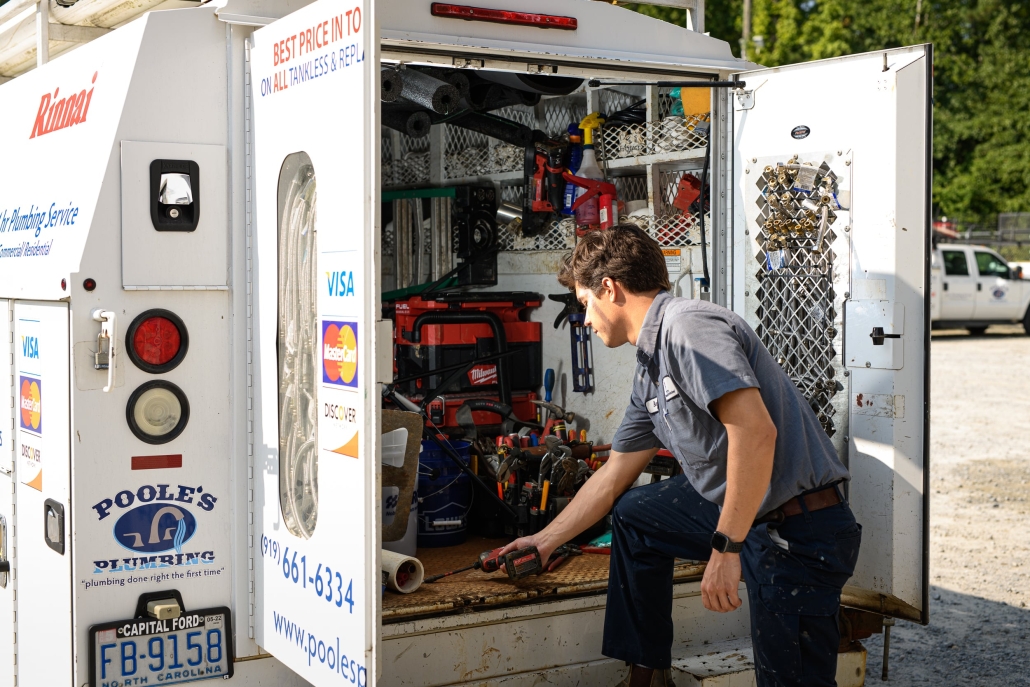
Call Poole’s Plumbing—Raleigh’s trusted pros for water heater repair, installation, and maintenance across Wake County and nearby communities.


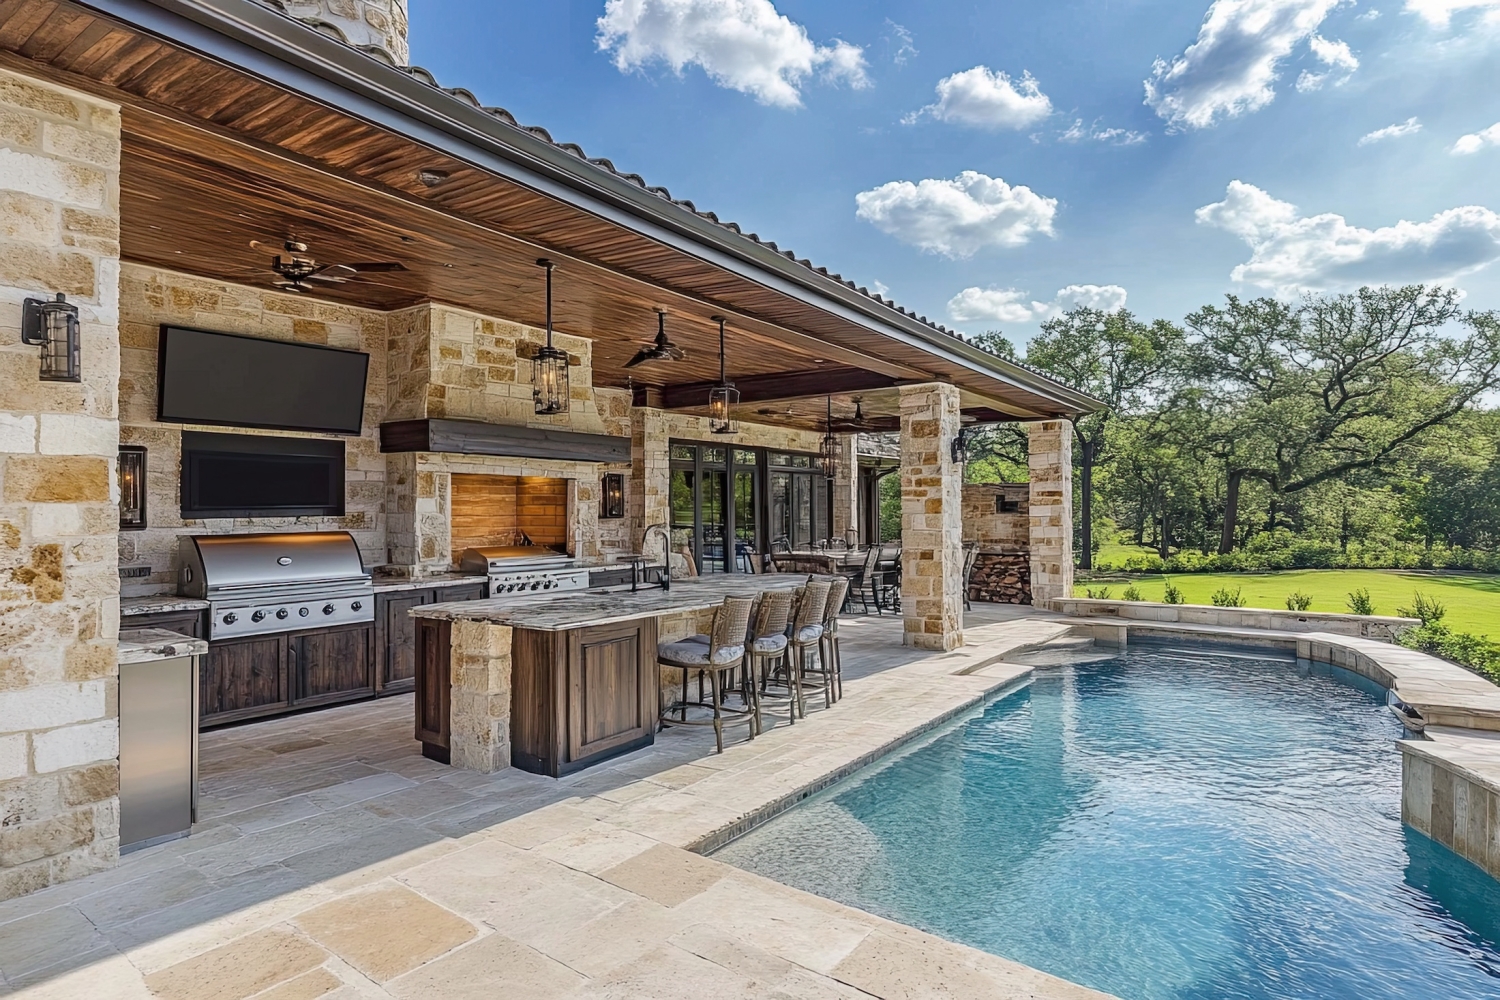
 Essential Outdoor Plumbing Tasks
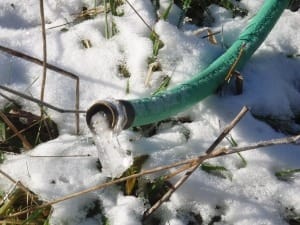

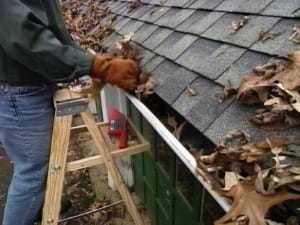 Clean and Maintain Gutters
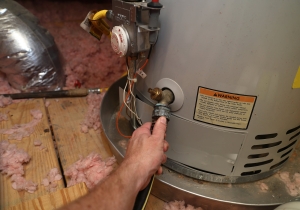
 Emergency Preparedness


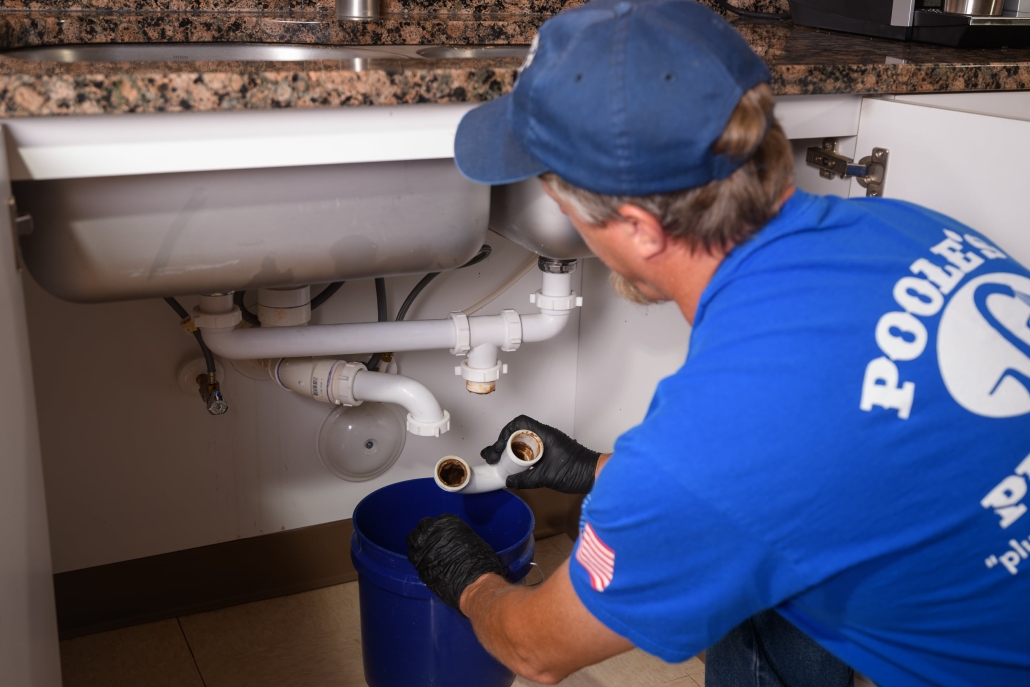
 Essential Tips to Protect Your Kitchen Plumbing


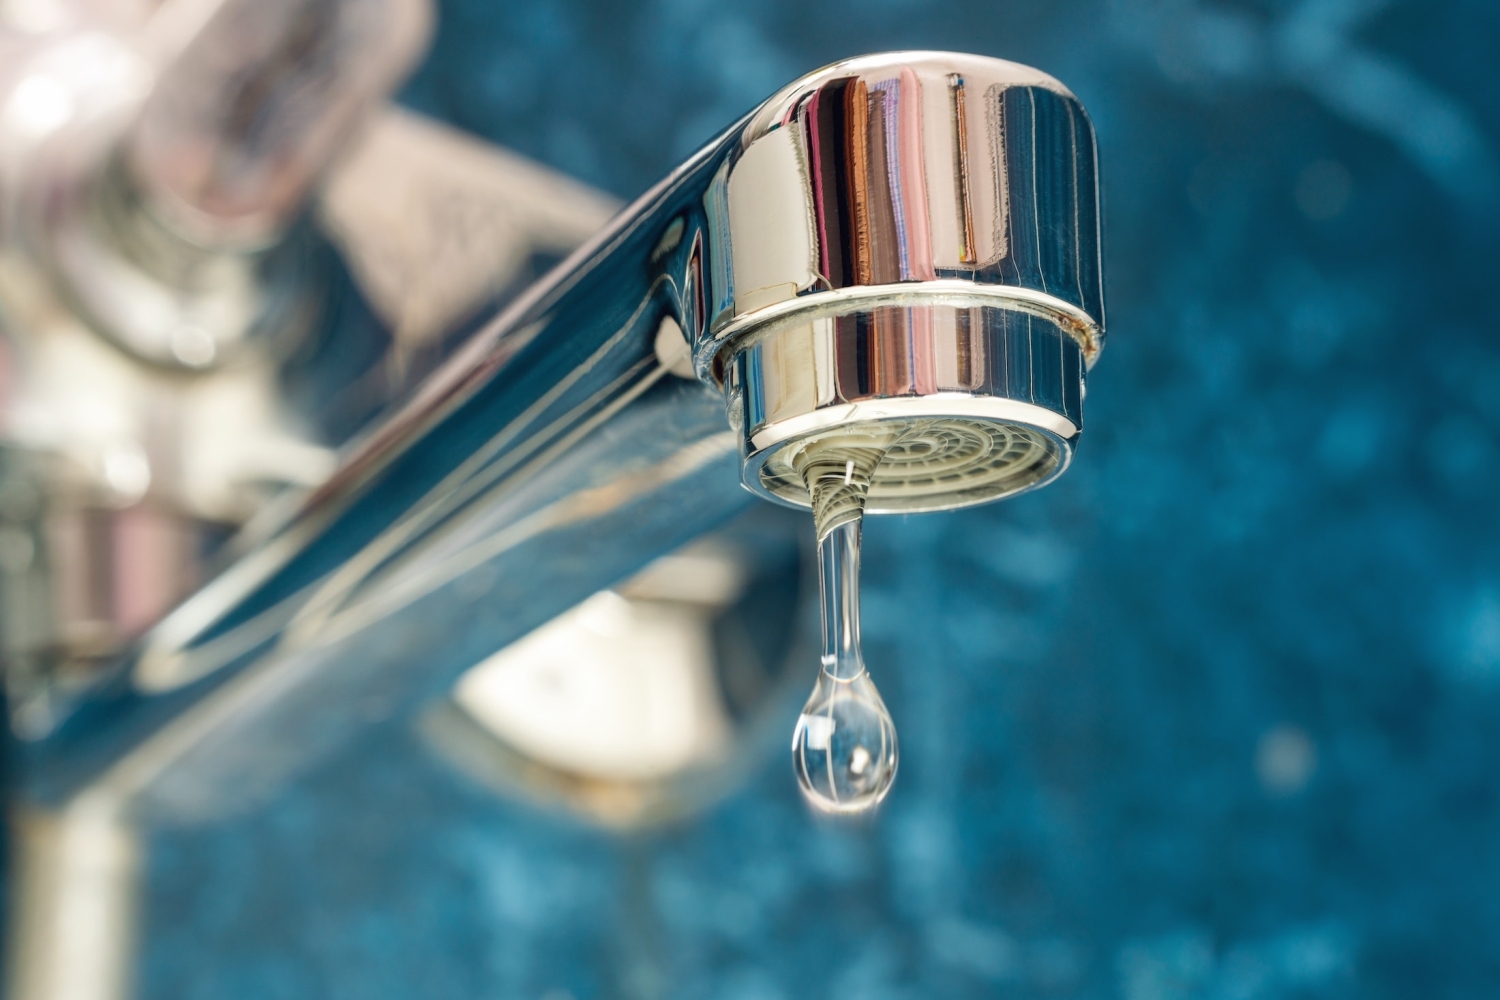
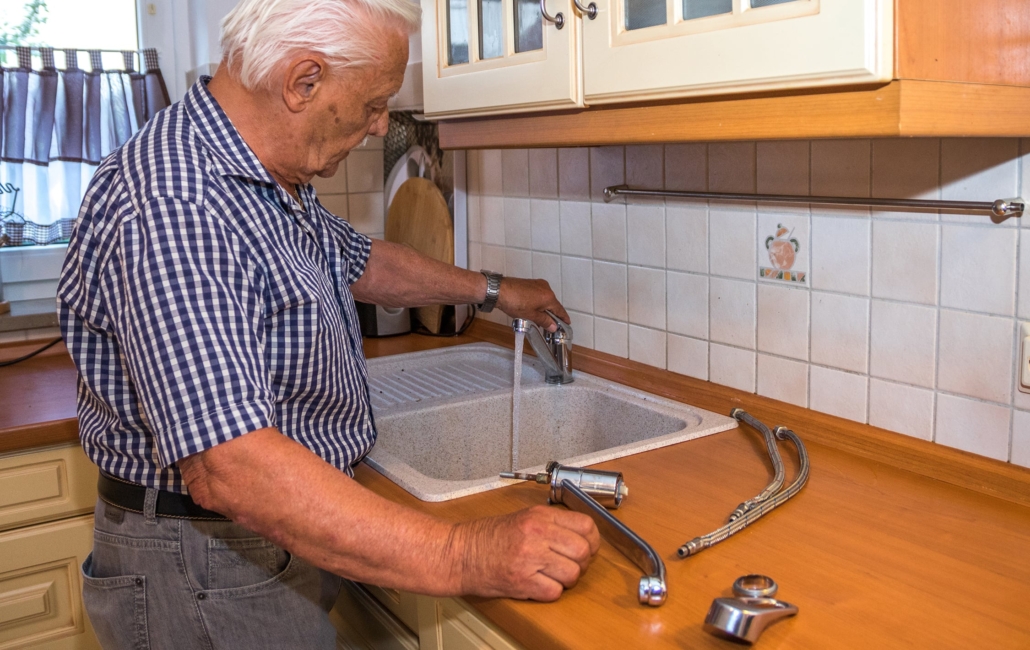
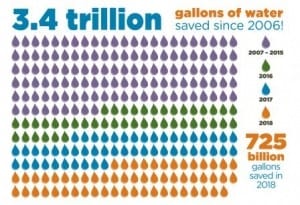
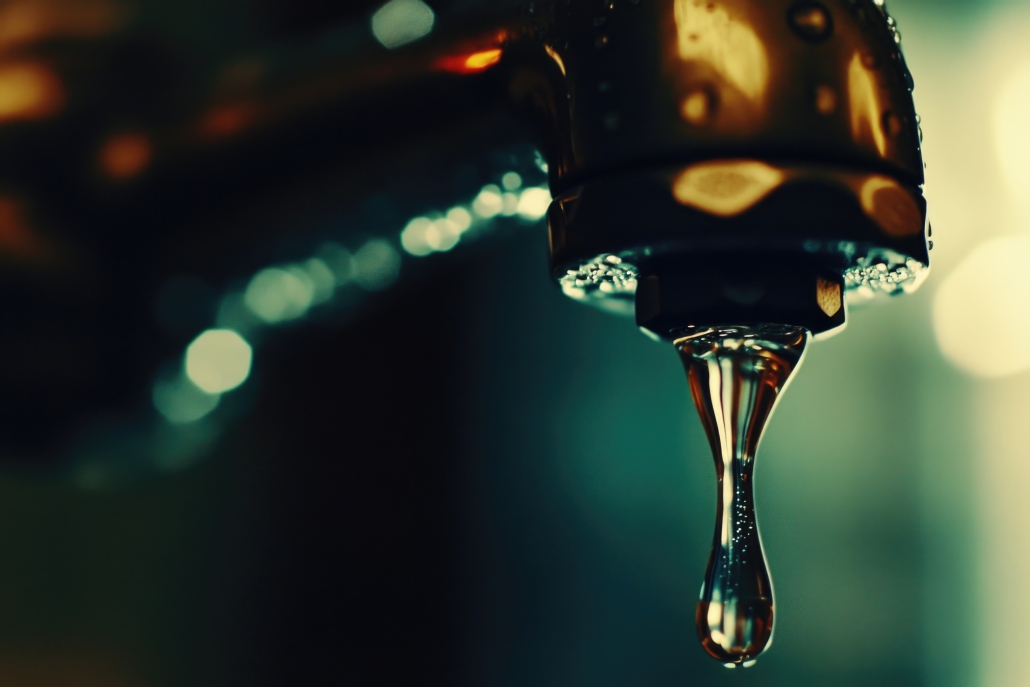 How Much Water Does a Leaky Faucet Waste?


