When is it the Right Time to Get Your Septic Tank Pumped?
Many people have lived their entire lives as a homeowner with their plumbing system hooked up to a central sewer system. Thus, the concept and maintenance that goes into a home whose system is hooked to a septic tank may be foreign to them. However, if you do live in a home in which the plumbing is hooked to a septic tank, whether you always have or just moved into this type of situation, you need to be aware of when is the right time to get your Septic Tank Pumped.
The importance of being up to date and staying on top of when you need the Septic Tank pumped is crucial to avoiding some major plumbing issues. If not pumped, problems that could occur include blockages, backups, or drain field floods just to name a few. Having your Septic Tank Pumped on a routine schedule is. one of the most critical maintenance tasks of a homeowner. Below, we will discuss in greater detail why this is so important and when you should have your Septic Tank Pumped.
What Exactly is a Septic Tank and How Does it Work?
To start let’s explain exactly what the process of having the Septic Tank Pumped entails. Now, most conventional septic tanks feature two containers buried underground. The containers will be either fiberglass, concrete, or polyethylene. In the first compartment is where solid waste accumulates, settling to the bottom of the container, and forming a sludge,. Some solids also settle in the second container, too, but while bacteria break down much of this waste, it cannot break down and get rid of all organic material from the tank.
If the sludge is not removed from the septic tank it will just continue to accumulate and can overflow into the drain field. As you can imagine this can be a messy and not so pleasant smelling problem. Prolonged ignoring of this can see matters get even worse as drain field plugging and failure will eventually follow. This turns into a really costly problem too, especially when it could be avoided by having the Septic Tank Pumped.
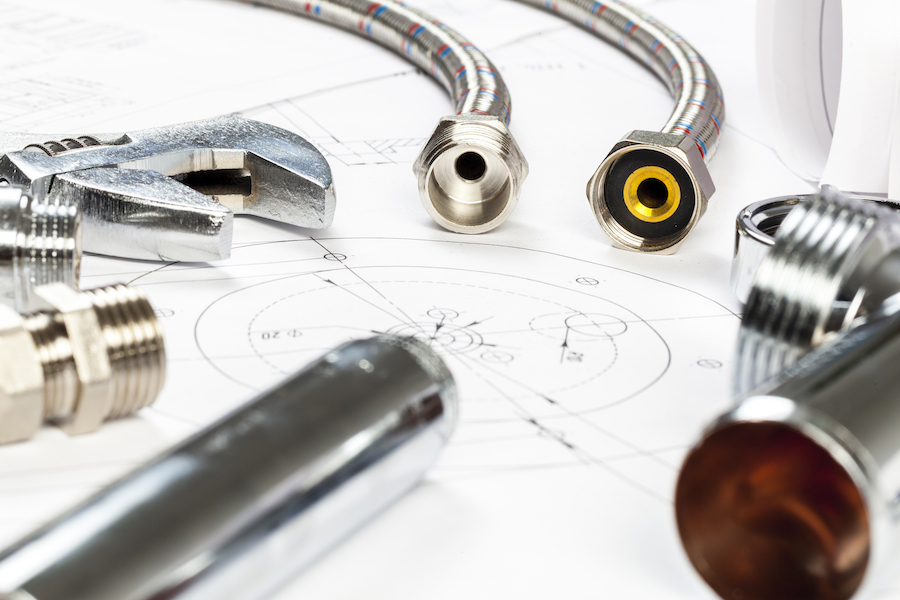
What is the Process of Getting Your Septic Tank Pumped?
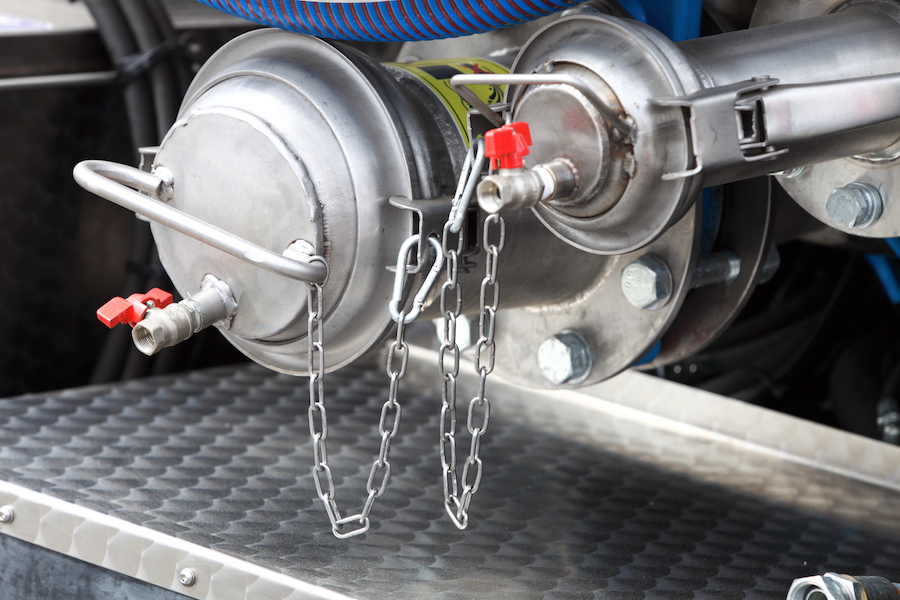
Getting your Septic Tank Pumped involves removing both liquids and solids with a vacuum truck. The truck safely transports and disposes of the sludge removed from having your Septic Tank Pumped. If you stay on top of and have the Septic Tank Pumped regularly, the process should remain fairly simple and easy.
However, if neglected, the sludge in those containers can get thicker and heavier and become more of a task in removing. This can lead to a much lengthier and costlier process than needed.
How Often Should You Get Your Septic Tank Pumped?
On average, it is recommended to pump your septic tank every three to five years. However, in some cases, you may want, just to be sure, to have it pumped more often. Below we bullet-pointed a list of factors that could contribute to you needing to have the Septic Tank Pumped more frequently.
- You have several occupants in your house and produce a higher than normal amount of waste
- The actual septic tank you have is small and has a low storage capacity
- You frequently use garbage disposal that sends solids into the tank
- You do laundry more frequently than most
- A water softener is used at your residence that empties regeneration cycle water into the tank
You can actually reduce how often you need to have the Septic Tank Pumped by using some different methods and plumbing products. Bullet-pointed below are several ways that you can reduce the frequency.
- Install low-flow showerheads, toilets, and faucets
- Use a high-efficiency, water-conserving washing machine
- Only do dishes or laundry when the respective machines have a completely full load to wash.
- Use mild cleaners and stay away from antibacterial products which kill microorganisms in the septic tank
- Repair any plumbing leaks you have as quickly as possible
How Would I Know if I Need Emergency Tank Pumping?
One of the most easily noticeable signs that you need to immediately have the Septic Tank Pumped is if you notice a flooded drain field. However, if you see standing water in the drain field, you want to avoid pumping until you address the flooding.
In this case, emptying the tank could cause it to float around in the standing water. This in turn could lead to broken pipes. Thus, in the case of standing water, keep people away from the flooded area and call the pros here at Poole’s Plumbing to evaluate the next step.
You can help prevent such drain field flooding though. Just keep watch of your septic tank on a regular basis. If you see any of the below symptoms when watching, call us. We will have the Poole’s Plumbing team come out as these would signify that your tank is full.
- Gurgling sounds coming from beneath the ground
- Water in your basement backs up
- Slow drains
- Foul odors after heavy rains in the drain field
A septic tank and when its time for pumping is nothing to mess around with. If you think it’s time to schedule a pumping, don’t hesitate, give us a call. To contact the number one name in Raleigh Plumbers, Poole’s Plumbing, visit poolesplumbing.com.