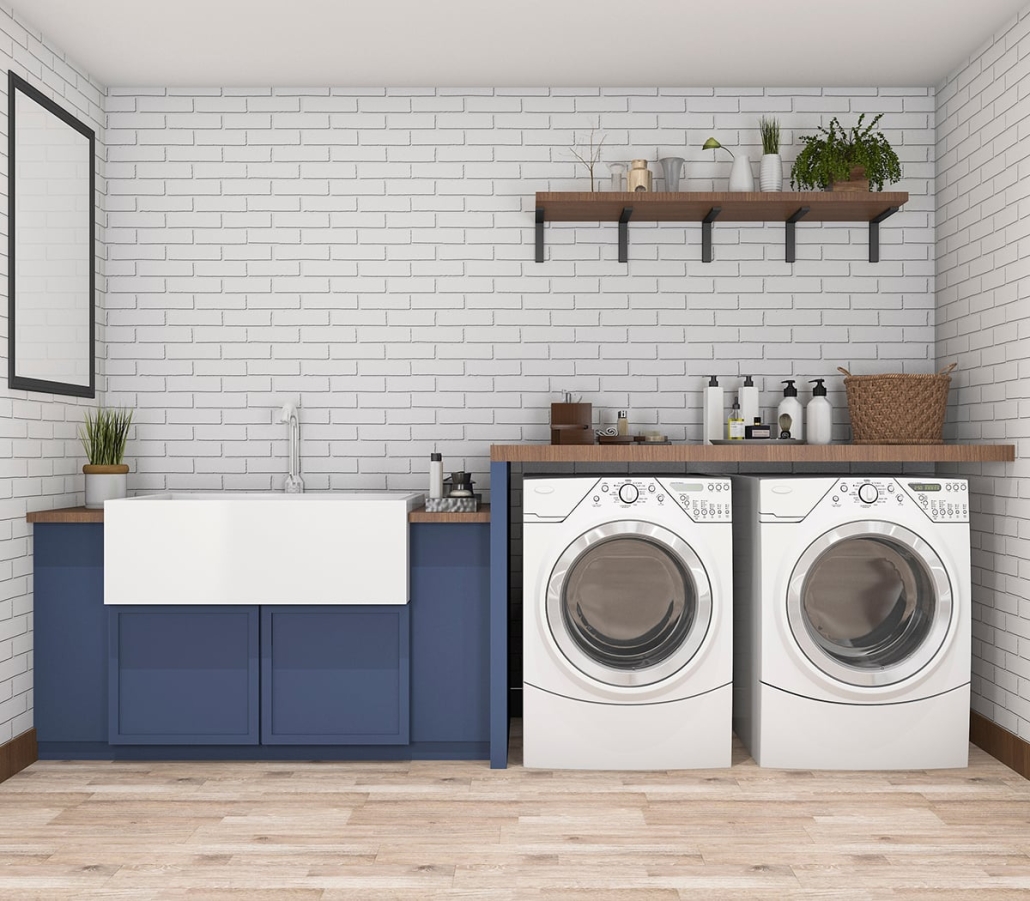
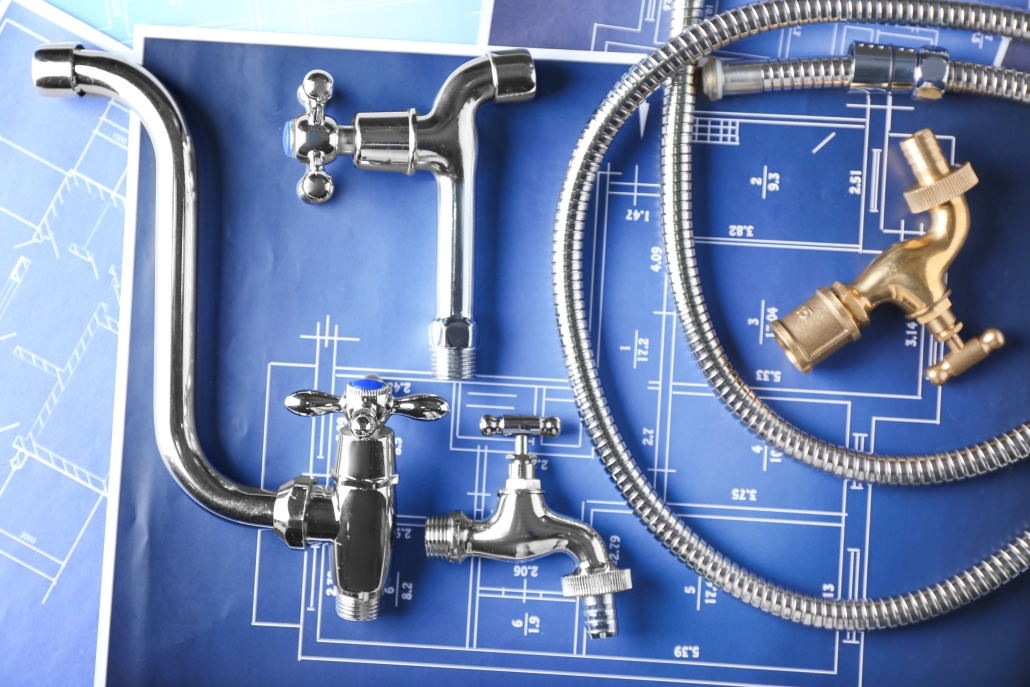
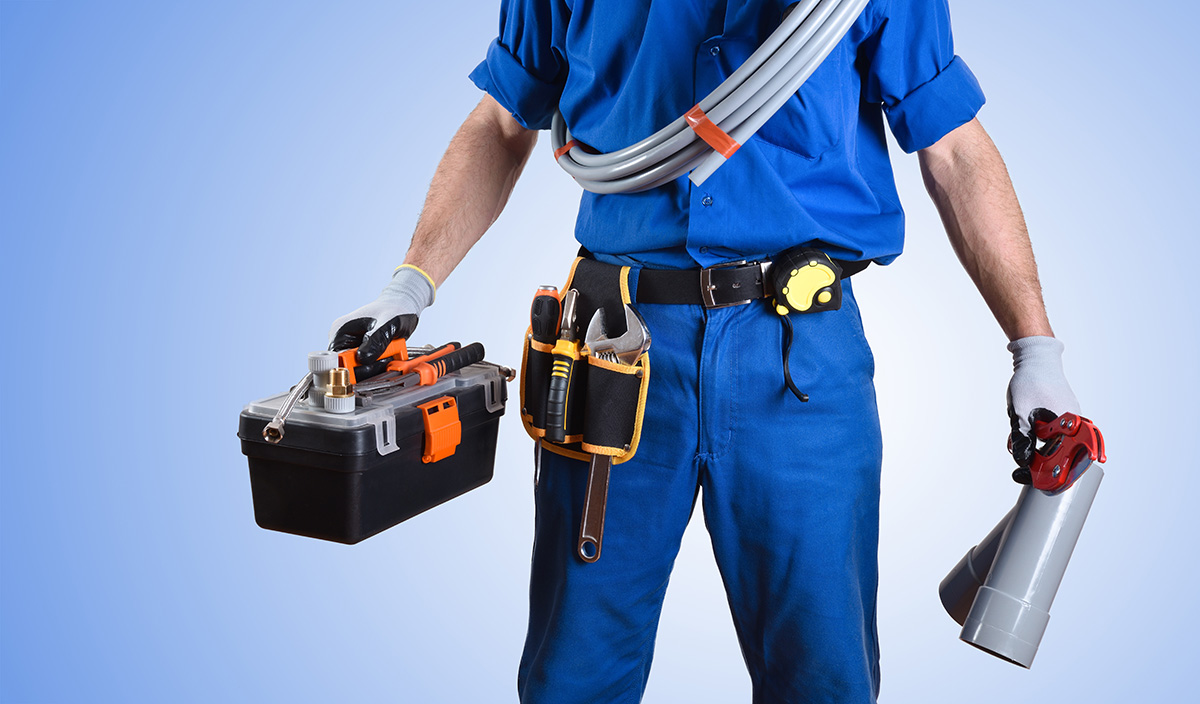
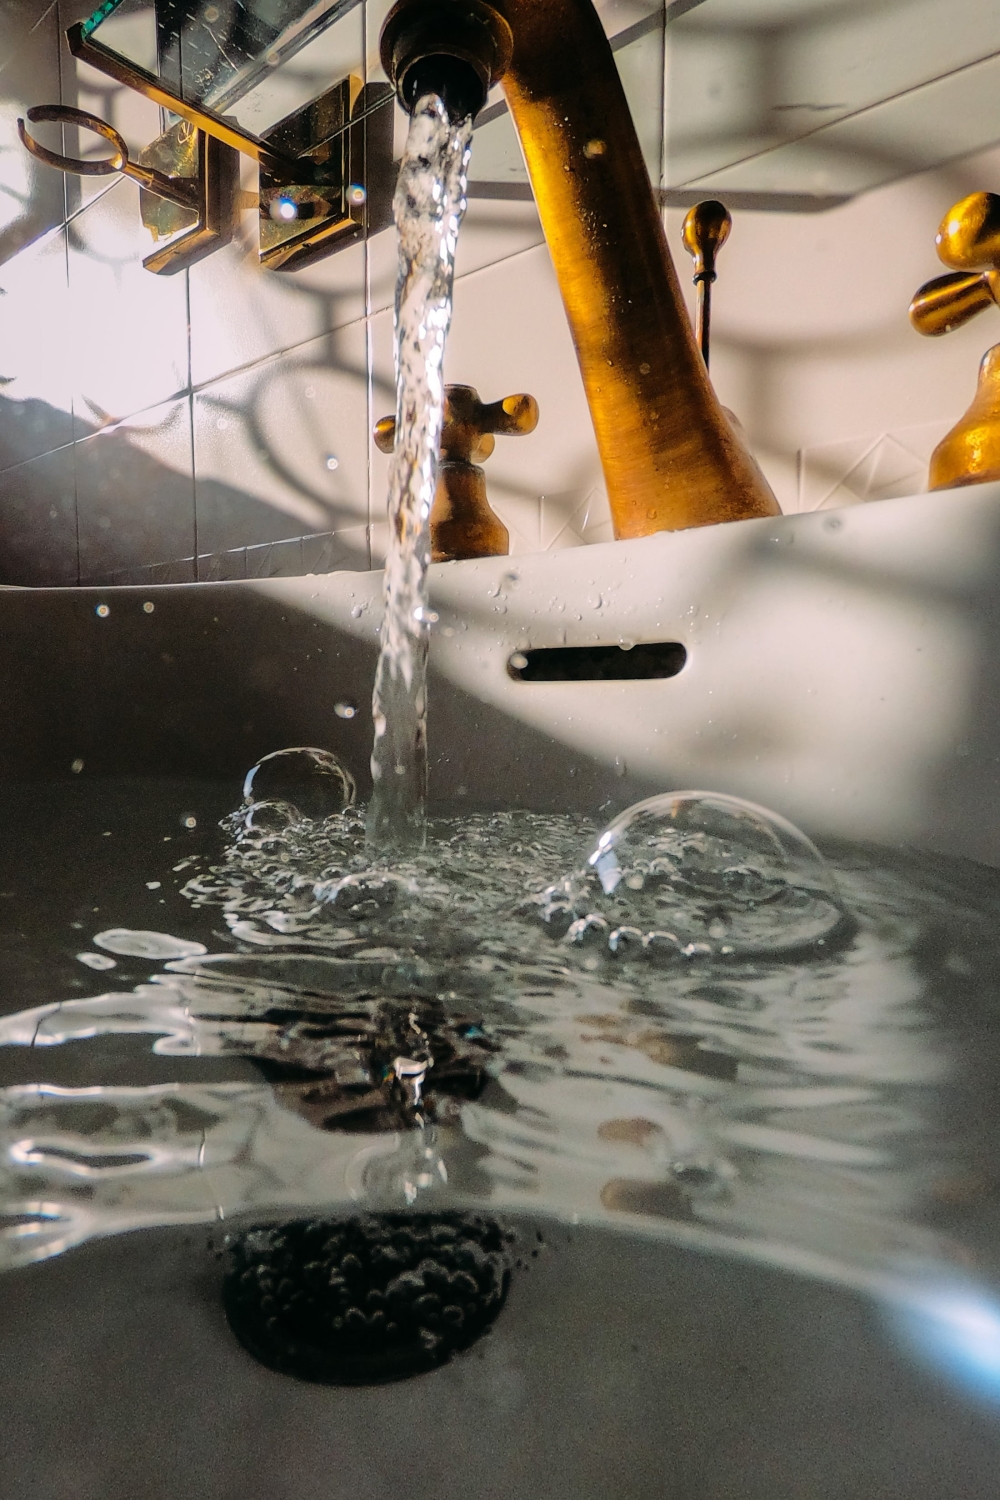
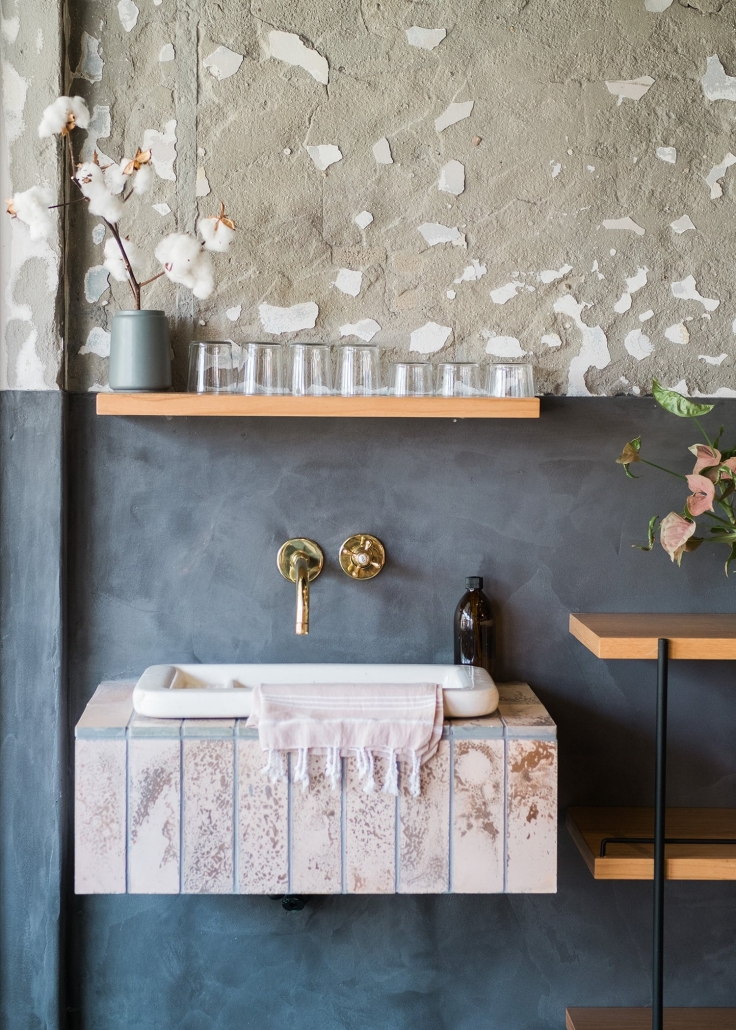
Common Mistakes to Avoid when Installing Plumbing Fixtures — When installing new plumbing fixtures in a home or business, it’s easy to get carried away and overlook the finer details when installing new plumbing fixtures in your home. Plumbing is a complex system, and even tiny mistakes can mean big problems down the line. You should avoid a few simple mistakes when installing new plumbing fixtures to save time, money, and stress.
When installing new plumbing fixtures in your home, several common mistakes should be avoided to ensure the job is done correctly.
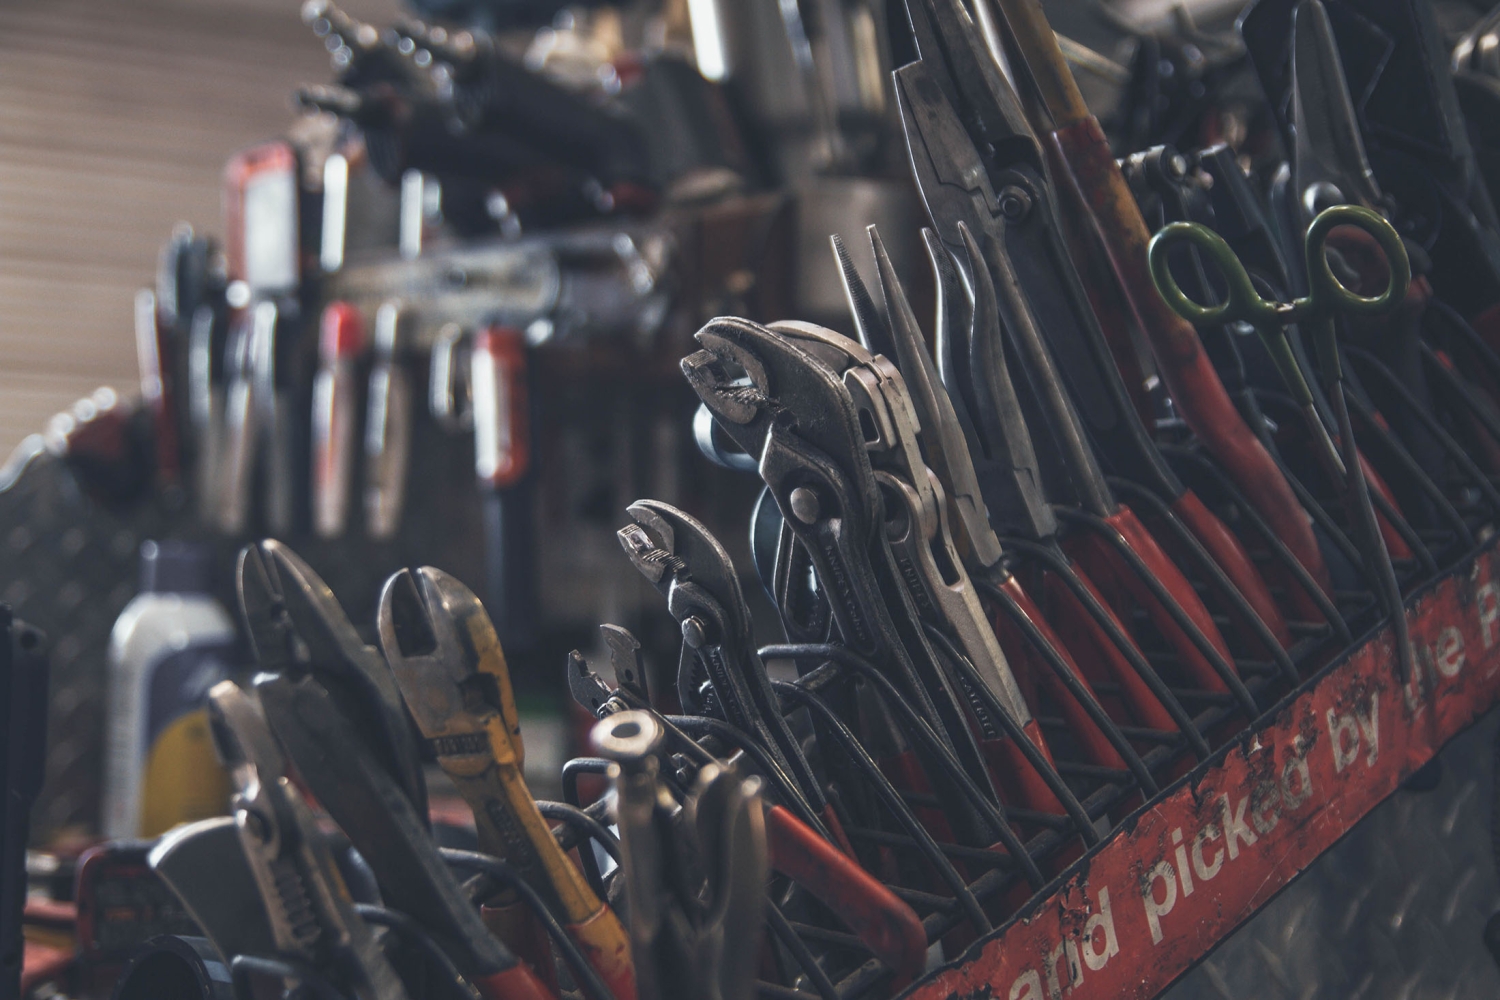
First, checking that all necessary tools and materials are available before starting any installation process is essential. This includes pipe wrenches, screwdrivers, Teflon tape, pipe cutters, and other specialty tools, depending on the type of fixture installed. Taking a few moments to ensure everything you need is ready can save you time in the long run.
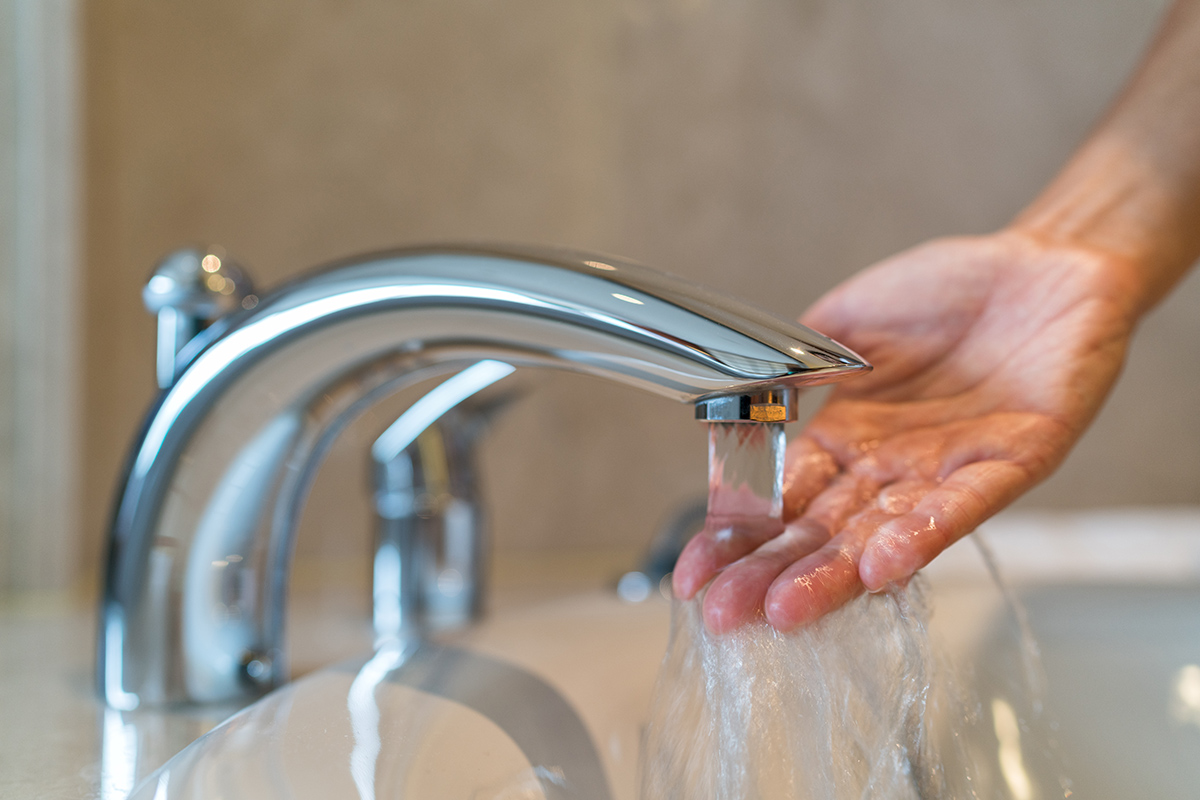
Second, ensure all existing water lines are shut off before beginning installation. This ensures you don’t have gallons of water spilling out when making connections or adjustments.
Also, turn off any existing water supply lines before you start working on the fixture. This may seem obvious, but it’s easy to forget in the heat of the moment and can result in a big mess!
Some fixtures also require electricity for proper installation – if this is the case, ensure you are familiar with electrical wiring or hire a qualified electrician to do the job safely and correctly.
If electricity is required for the fixture, hiring a qualified electrician to do any necessary wiring or installations safely and correctly is essential.
Third, install new plumbing fixtures and double-check all connections before turning on the water supply. Even small leaks or weak connections can cause significant problems down the line, so it pays to be thorough when installing fixtures. Ensure all pipes are securely connected and no loose parts remain before testing the new institution.
Finally, even if something doesn’t seem quite right during the installation process, don’t hesitate to start over from scratch if necessary – better safe than sorry! If a mistake is made during installation, it could mean more costly repairs down the road, so take care not to rush through it or cut corners to complete the job quickly.
By avoiding these common mistakes when installing new plumbing fixtures, you can ensure your project is successful and hassle-free! With just a little knowledge and preparation, you can ensure that your installation goes smoothly and with minimal stress. Don’t let plumbing woes get in the way of home improvement – plan and be prepared for any potential issues before they arise!
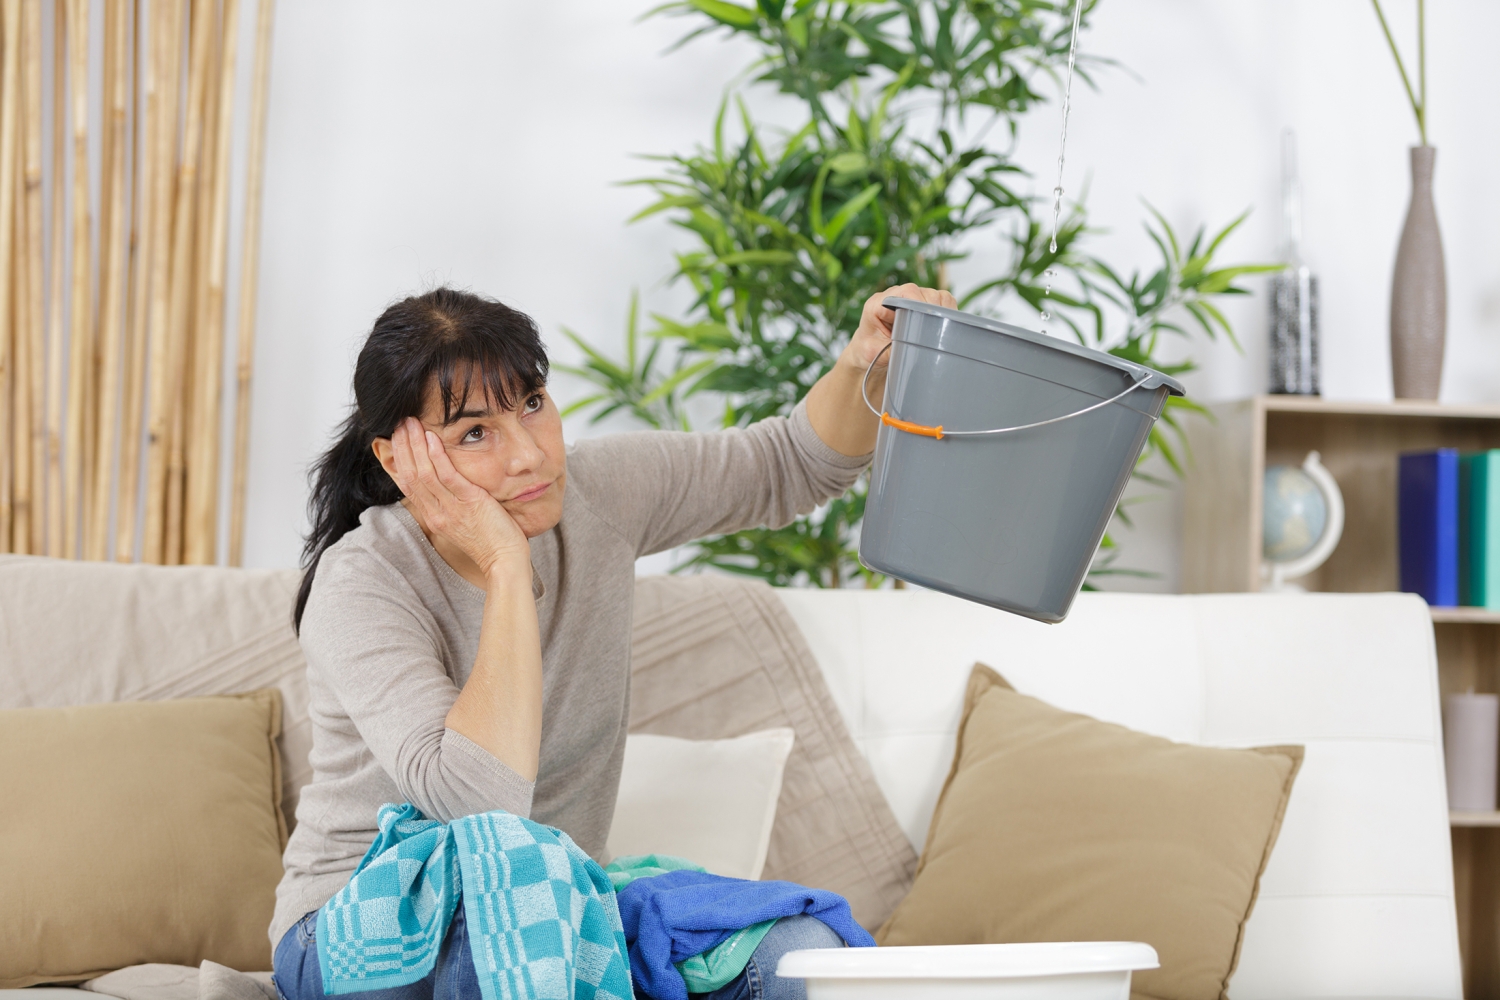
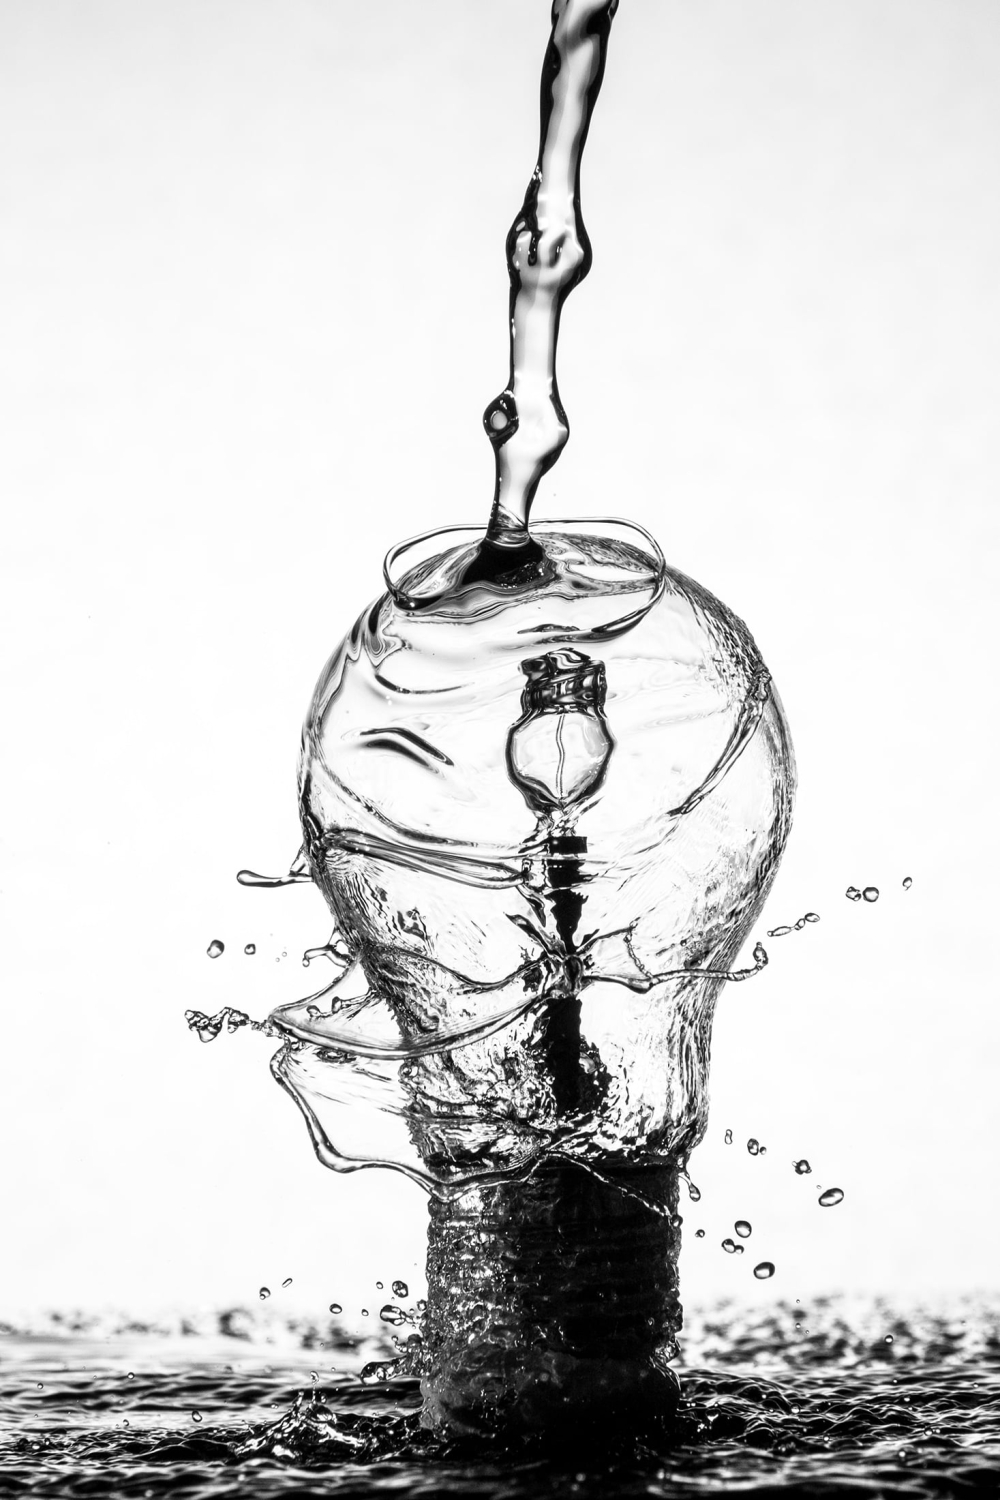
Preventing Plumbing Damage, the spring thaw is a time of dread for many homeowners, as it can mean plumbing nightmares. Exposed pipes may freeze, burst, and cause expensive water damage in the home. However, a few easy steps can prevent your plumbing from becoming an outdoor swimming pool this spring.
As the weather warms up and snow melts, it’s essential to maintain a healthy sewer system this spring. Spring thaw can cause flooding and other water-related damage if not properly managed, so homeowners and those responsible for keeping sewers must be aware of the risks and take proactive measures. Here are some tips on preparing your property for the spring thaw by conserving water and preventing potential damage.
First off: wrap up those exposed pipes! Insulation is your best friend when it comes to keeping lines from freezing. Even if you think the pipes are in an area that won’t freeze, it’s better to be safe than sorry. Just wrap them up with foam insulation, and you’ll be ready.
Next up: Know where to shut off your main water valve in an emergency. Please find out how to turn it off if a pipe bursts and you need to quickly stop the water flow, or make sure a professional show you how to locate and operate it.
Finally, if the pipe bursts or leaks, don’t panic! Go to your main valve, shut the water off, and immediately seek professional help. Trying to fix it yourself could lead to more damage and costlier repairs.
Preventing Plumbing Damage
Maintain your gutters: Taking care of your home’s gutters should always be at the top of any homeowner’s list for preventing water-related damage during the spring thaw. Cleaning out your gutter system regularly helps avoid ice damming – which can lead to flooding and basement moisture issues – and minimizes soil erosion and foundational damage risk.
Inspect drains and downspouts: Make sure all of your home’s outdoor gutters and downspouts are in good condition, as well as any drainage systems on your property. Go ahead and check for any clogs or blockages that could slow the flow of water when the snow melts, leading to flooding or pooling around the foundation.
Monitor spring showers: Spring showers can be unpredictable, so paying attention to weather forecasts and anticipating large storms that may cause flooding is essential. If needed, install sandbags or temporary barriers around vulnerable areas of your property to prevent water from entering buildings or damaging landscaping.
Install a sump pump: To protect your home from potential flooding further, consider installing a sump pump to ensure that water is quickly and efficiently redirected away from your property. This can help minimize any damage caused by heavy spring rains or snowmelt.
Preparing your property for the spring thaw can help conserve water and protect your family and home from costly repairs. With these tips in mind, you’ll be better equipped to handle whatever Mother Nature throws you this spring!
Take time to protect your home – be prepared now and rest easy all season long.
https://www.poolesplumbing.com/wp-content/uploads/Preventing-Plumbing-Damage.jpeg14672200John Drenkhahnhttps://www.poolesplumbing.com/wp-content/uploads/PoolesPlumbing_Logo_FullColor_LightBG_RGB-1.svgJohn Drenkhahn2023-03-19 12:59:142023-03-19 12:59:15Preventing Plumbing Damage — Spring Thaw tips for Saving Water and Preventing Damage
Spring Plumbing Checklist may seem overkill, but Spring is the time to get your home ready for a new season. With warmer temperatures and longer days, it’s also an ideal time to check up on critical plumbing systems in your home. Inspecting and servicing them now can help prevent costly repairs or replacements.
A professional plumber can provide a thorough inspection of all the critical points in your home’s plumbing system, including:
Regular maintenance by a professional plumber can help you spot minor problems before they become major. It’s also a great way to ensure your system works as efficiently as possible and that your home is safe from water damage or contamination.
In addition to a spring plumbing checklist, getting an annual maintenance check-up for your plumbing system is a great way to save money in the long run. You can avoid more expensive replacements or repairs by fixing minor issues now. So don’t wait until something goes wrong – be proactive and get yourself a Spring Plumbing Check-up today!
By investing in regular maintenance for your home’s plumbing system, you save time and money and have peace of mind knowing that everything is running smoothly. So don’t put off your annual plumbing check-up any longer – call a professional plumber today and get your home ready for Spring!
You’ll be glad you did.
Our team at Pooles Plumbing is always here to assist you with all your residential and commercial plumbing needs. Our experienced technicians can provide expert diagnosis, repair, and maintenance services for all plumbing systems.
Contact us today for more information! Our team is looking forward to helping you keep your home running smoothly.
What Every Homeowner Should Know About Plumbing Maintenance. Plumbing maintenance is an essential part of home ownership. Neglecting proper plumbing upkeep can lead to several costly problems that can be difficult and expensive to repair. Homeowners need to know the basics of plumbing maintenance to protect their homes and wallet from avoidable damages.
The first step of plumbing maintenance is prevention. Preventive measures such as cleaning drains, removing debris from gutters, and checking pipes regularly are important ways to avoid common clogs, leaks, and other damage. Homeowners should also be aware of water pressure levels in their homes, as high water pressure can cause pipe damage over time.
Homeowners need to understand the different types of materials used in plumbing systems, too. Various pipework will have different thresholds for temperature, pressure, and chemical composition – all things which must be considered when performing maintenance on plumbing systems. For example, brass fittings can corrode with exposure to chlorine over time; steel piping must be protected against corrosion; PVC piping should not come into contact with temperatures above 140°F; copper piping is vulnerable to pinhole leaks if exposed to acidic water; galvanized pipes may need replacing after as little as 15 years due to rusting; and PEX tubing needs protection from UV light exposure if it’s installed outdoors. Knowing the type of material used in your plumbing system is vital for proper maintenance protocols.
When performing repairs or replacements on a home’s plumbing system, they must be done correctly so there are no leaks or compromised seals that could cause further problems. It’s best practice for DIYers trying their hand at repairs or replacements themselves to consult with a qualified plumber beforehand, so they understand the steps required for a successful job.
Finally, homeowners should know that some fixtures may require replacement over time due to wear-and-tear or outdated technology. Toilets older than 15 years old use significantly more water than modern models do and should be replaced if possible; showerheads also become clogged or corroded over time, requiring periodic replacement; faucets may eventually start leaking or become stuck due to hard mineral deposits or corrosion build-up inside the aerator screen; old valves may leak due to worn parts needing replacement; and tankless water heaters may need descaling every 2-3 years depending on local conditions like the hardness of tap water (mineral deposits) in the area they’re located in. Keeping track of components in our homes that require regular maintenance is one way to ensure our homes remain safe and efficient throughout the year – saving money and protecting against unnecessary damages over time!
https://www.poolesplumbing.com/wp-content/uploads/What-Every-Homeowner-Should-Know-About-Plumbing-Maintenance.jpg12972200John Drenkhahnhttps://www.poolesplumbing.com/wp-content/uploads/PoolesPlumbing_Logo_FullColor_LightBG_RGB-1.svgJohn Drenkhahn2023-02-07 10:14:462023-02-07 10:14:48What Every Homeowner Should Know About Plumbing Maintenance
How to Maintain Your Plumbing During the Coldest Months of Winter. January is often a time of new beginnings and resolutions as a new year starts. It can also be a chilly month, with winter weather in full swing as temperatures often dip below freezing. This may create issues for some plumbing systems, so if you are experiencing any problems, taking the necessary steps to prevent or address the case may be essential.
January is typical for plumbing issues, as colder temperatures can most definitely cause pipes to freeze or burst. Unfortunately, this can be expensive to fix and result in extensive damage, making it crucial to be aware of the potential risks during this month.
When a pipe freezes, water pressure increases, leading to a build-up of pressure that can eventually crack or burst the pipe. This can cause significant damage to the home and require expensive repairs.
To help mitigate the risk of water damage from frozen or burst pipes, you should take preventative measures such as insulating exposed pipes and setting your thermostat at 65 degrees or higher when you won’t be home for extended periods.
Additionally, identify and repair any leaking faucets or toilets before the winter months approach. Knowing how to shut off your home’s main water valve is also a must so you can quickly turn off the water supply if necessary.
Winter months can be tough on plumbing systems, but there are numerous products available to help protect and maintain them. Insulation is one of the essential items that should be used to protect pipes from freezing. Pipe sleeves, wraps, and covers will keep your lines from becoming too cold, and insulated faucet covers can prevent outdoor faucets from freezing. Additionally, installing a hot water recirculation pump may help reduce pipe-freezing problems, as it circulates already-hot water through the system when the outside temperature drops. Finally, consider investing in a submersible heater for home ponds or other water features to keep them running smoothly even in the coldest winter months. Always when in doubt, call your trusted plumber.
Homeowners can ensure their plumbing systems stay safe this winter season with all these products and techniques!
https://www.poolesplumbing.com/wp-content/uploads/How-to-Maintain-Your-Plumbing-During-the-Coldest-Months-of-Winter.jpeg13682200John Drenkhahnhttps://www.poolesplumbing.com/wp-content/uploads/PoolesPlumbing_Logo_FullColor_LightBG_RGB-1.svgJohn Drenkhahn2023-01-18 14:26:022023-01-18 14:26:04How to Maintain Your Plumbing During the Coldest Months of Winter
Plumbing myths are a dime a dozen. If you ask ten different people, you’ll probably get ten other answers about what causes plumbing problems, how to fix them, and whether or not certain products are effective. But with so much misinformation, sorting the wheat from the chaff can be challenging.
This article will debunk some of the most common plumbing myths and set the record straight. After reading this, you’ll be able to separate fact from fiction and make informed decisions about your plumbing.
Myth 1:
Running water will prevent pipes from freezing
This is one of the most persistent myths about plumbing. Many believe that keeping a steady stream of water running through their pipes will prevent them from freezing. Unfortunately, this isn’t the case.
Pipes can and do freeze even when water is running through them. That’s because the water moving through the pipes carries with it heat, which is transferred to the pipe walls. This heat transfer will keep the pipes from freezing as long as enough water flows to hold the line full.
But if the water flow slows down or stops, the pipes can quickly cool down and freeze solid. That’s why it’s essential to keep an eye on your water usage and be careful not to let your pipes run dry.
Myth 2:
You can fix a clogged drain with boiling water
Boiling water can be a valuable tool for unclogging a drain, but it’s not a cure-all. In most cases, boiling water is only effective if the clog is close to the drain.
If the clog is further down the pipe, the boiling water won’t be able to reach it and break it up. In fact, in some cases, pouring boiling water down a clogged drain can make the problem worse by melting any substance like grease or soap that may be causing the blockage.
Unfortunately, this is only sometimes the case. In many states, there are no licensing requirements for plumbers. That means anyone can call themselves a plumber, regardless of experience or qualifications.
Before hiring a plumber, be sure to ask them for proof of insurance. This will protect you if something goes wrong during the job and you need to file a claim.
Myth 4:
Lemon juice is a natural drain cleaner
Lemon juice might smell nice, but it won’t do much to clean your drains. It’s more likely to cause problems than it is to fix them.
Lemon juice is acidic, which can eat away at the pipes and cause corrosion. Over time, this can lead to leaks and other serious plumbing problems. So, while lemon juice might make your kitchen smell nice, it’s not worth the risk of damaging your plumbing.
Myth 5:
All plumbers charge by the hour
Only some plumbers charge by the hour. Many plumbers work flat fee, which means you’ll know exactly how much the job will cost before starting.
When you’re looking for a plumber, be sure to ask about their pricing structure. This will help you budget for the job and avoid surprises when the bill comes.
Now that you know the truth about these common plumbing myths, you can make informed decisions about your plumbing. Consult a licensed professional anytime if you have questions or concerns about your home’s plumbing system.
https://www.poolesplumbing.com/wp-content/uploads/Plumbing-myths-that-may-cost-you.jpeg7041200John Drenkhahnhttps://www.poolesplumbing.com/wp-content/uploads/PoolesPlumbing_Logo_FullColor_LightBG_RGB-1.svgJohn Drenkhahn2022-11-28 15:03:002022-12-01 14:08:29Plumbing Myths that may cost you
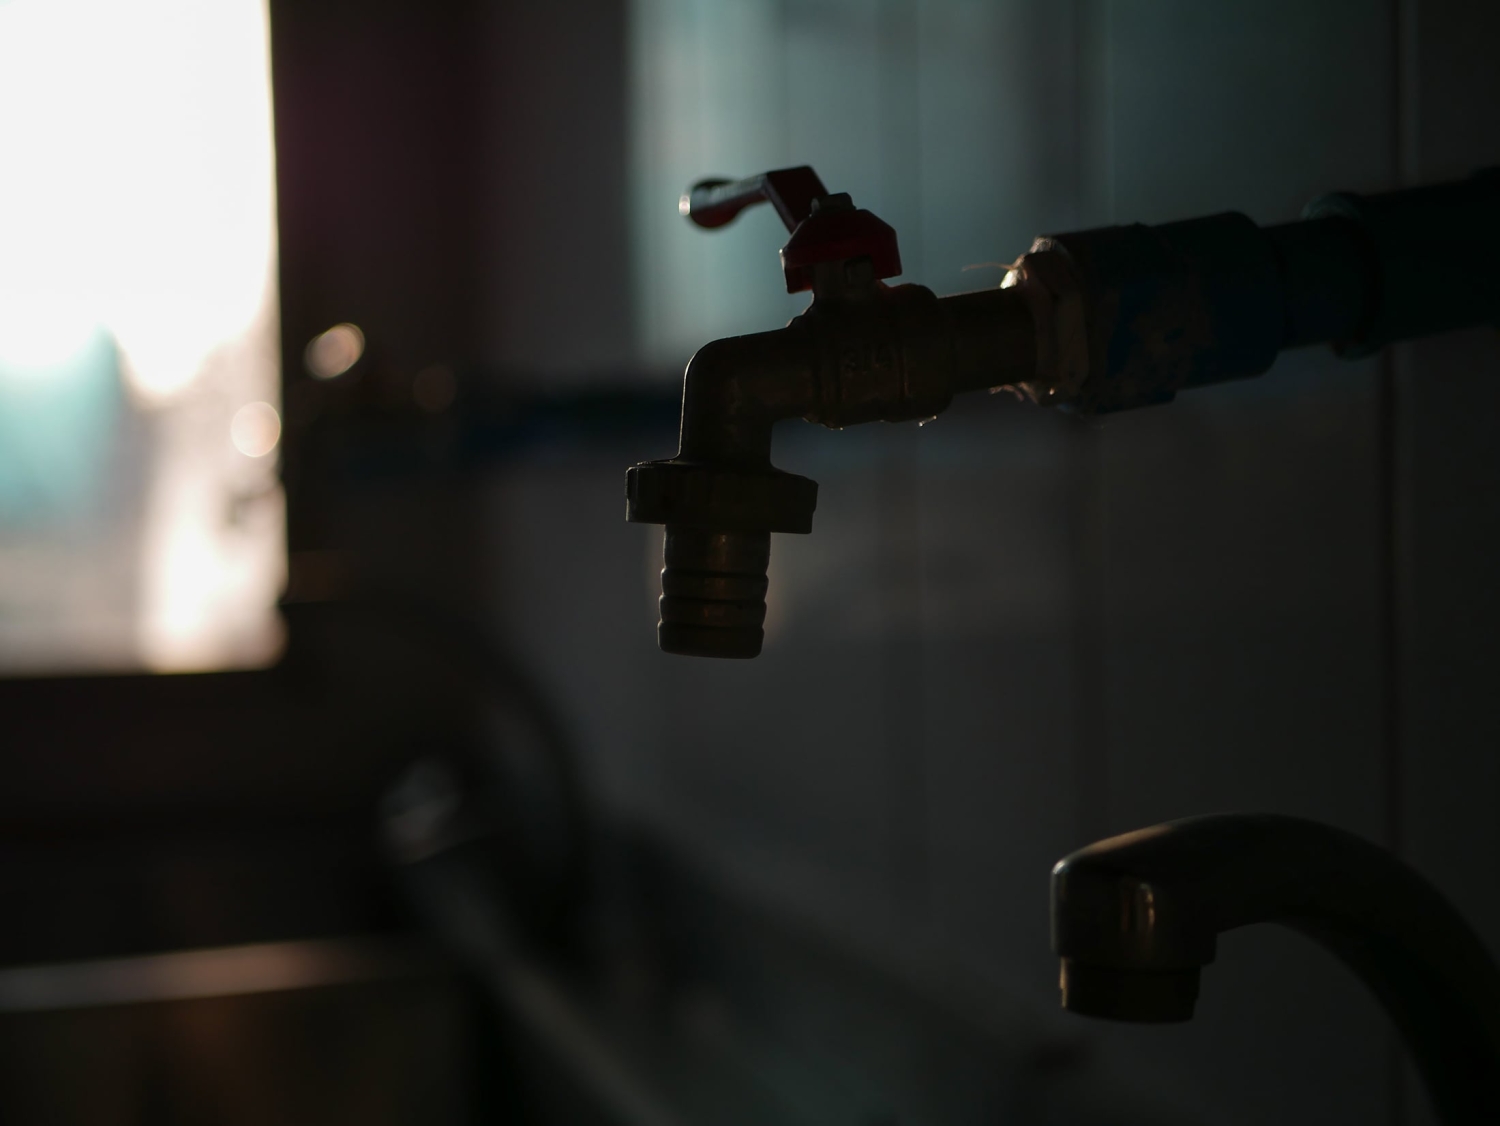
Shut Off Valves, so we realize that there are situations involving your plumbing that can appear with no warning. Things can go from unnoticed to destroyed in pretty short order. Again, there is no way to predict the future and plan for a surprise plumbing failure. However, by getting familiar with certain parts of your plumbing system and knowing where certain things are located could be the difference between a calm and timely response and a serious mess. Maybe the most important locations to know and be familiar with to avoid a big mess is that of your various Shut-Off Valves.
Knowing where your Shut-Off Valves are once you think about it, is a pretty obvious necessity. This is especially true in case of an emergency of a potential flood situation. Knowing how to get to and shut off the valves, cuts the water off from continuing to run, and allows for time to get the actual plumbing problem addressed.
Sure if you notice a leak, you are thinking you better pick up the phone and call the pros at Poole’s Plumbing. This is a move you should for certain make. But it should be the second move that you make. The first, once you notice the leak is to find and turn off your Shut-Off Valves. But to do that, you need to know their location.
Finding your Shut-Off Valves, in the case you are not sure where they are should not be difficult. This is why we implore you to become knowledgeable of its location long before there are any problems to even deal with. Seeing that every home that is connected to a municipal water supply has Shut Off Valves, by turning these off you will stop all water flow in the house to any pipes, appliances, or fixtures.
Locations of Water Meter and Shut Off
As we just said, all who are connected to a municipal water supply have a shut-off valve. But the water meter in one’s home isn’t always an obvious find. It could be located outdoors. Possibly on the side or attached to a short above-ground post. But there are often times that the Shut-Off Valves cannot be found. This could be in part due to often times these being hidden underground.
If you cannot find the valve, remember that it can be hidden. In this case, look around the house a small hatch or metal cover. If you find one of these labeled water, BINGO, you have found the water meter and thus, the shut-off valve.
https://www.poolesplumbing.com/wp-content/uploads/shut-off-valves-pooles-plumbing.jpg600900John Drenkhahnhttps://www.poolesplumbing.com/wp-content/uploads/PoolesPlumbing_Logo_FullColor_LightBG_RGB-1.svgJohn Drenkhahn2022-11-27 14:23:002022-11-27 15:26:17Shut Off Valves, Being Prepared Early and Knowing Where to find Yours To Avoid an Emergency
If your water has a reddish tint, this is likely due to rust. Rust occurs when iron in the water pipes begins to erode. Although rust is not always harmful to your health, it can be unpleasant to drink or use for cooking. If you have rusty water, you can do a few things to improve the situation.
– We first recommend that you check with your local water supplier to see if there is anything they can do. So, if the rust is coming from your water pipes, you may be able to adjust the pH of the water coming in to make it less corrosive.
– You can also try filtering your water using a pitcher filter or a faucet-mounted filter. Doing this step may not remove all the rust, but it will make the water less rusty and palatable.
– If you are on a well, you may want to have your water tested for iron levels. If there is too much iron in your water, it can be treated with a filtration system or a water softener.
– Finally, if all else fails, you can always try to improve the appearance of your water by adding a little bit of lemon juice or vinegar. This will not make the water less rusty but may make it more palatable.
Is it your pipes?
Rusty pipes are a common problem in many homes. While they may not seem a big deal, they can be pretty dangerous. Left untreated, rusty pipes can lead to severe issues like water contamination and leaks.
If you have rusty pipes in your home, you must take care of them immediately, and there are a few different ways you may do this. One option is to replace the lines. This may be expensive, but it’s usually the best option in the long run.
Another option is to try a pipe repair kit. These kits usually come with a rust-resistant coating that you can apply to the pipes. This can help to prevent further rusting and may even be able to repair some of the damage that’s already been done.
If you’re unsure how to handle rusty pipes, it’s always best to call a plumber. They can inspect the lines and advise on how to fix them. In most cases, they’ll be able to do the job right in your home.
Rusty pipes are a severe problem that should be taken care of as soon as possible. If you have them in your home or office, don’t hesitate to call a plumber or use a repair kit. With a little effort, you can keep your pipes in good condition and avoid any serious problems down the road.
Pipe repair kits can be found at most hardware stores. They usually come with everything you need to apply the rust-resistant coating. Always follow the directions carefully so you don’t damage the pipes further.
If you have questions about using a pipe repair kit or are unsure whether it’s the right solution for your problem, you can always ask a plumber. They’ll be able to help you figure out what’s best for your particular situation.
Rusty pipes are a common problem, but they don’t have to be a big deal. With a little effort, you can fix them and avoid any serious issues down the road.
https://www.poolesplumbing.com/wp-content/uploads/why-does-my-water-taste-bad.jpg16672500John Drenkhahnhttps://www.poolesplumbing.com/wp-content/uploads/PoolesPlumbing_Logo_FullColor_LightBG_RGB-1.svgJohn Drenkhahn2022-10-21 10:27:042022-11-27 15:13:03Why does my water taste bad?
So exactly, when do you need a plumbing inspection? Many individuals don’t think about their plumbing until something goes wrong. But, having a regular plumbing inspection can help prevent many problems from occurring in the first place. A plumbing inspection can help identify potential problems before they cause severe damage to your home. For example, a leaking pipe can be fixed before it causes water damage to your floor or walls. A clogged drain can be cleared before it causes sewage back into your home.
In addition to preventing damage, a plumbing inspection can also help save you money. So, fixing a small problem before it becomes a big problem can save you a lot of money in the long run.
So, schedule a plumbing inspection today if you want to protect your home and save money. So, if you own a home, you know that maintaining your plumbing is essential to keeping your home in good condition.
But what about when it’s time to buy a new home?
Or renovate your home?
How can you be sure that the plumbing is up to par?
The best way to do this is to perform a plumbing inspection. This will allow you to look closely at all the piping and fixtures in the home and identify any potential problems. Here’s how to do it:
1. Start by turning on all of the faucets in the house, both hot and cold. Turn them on and let them run for a few minutes to see if there are any leaks.
2. Check all the toilets to ensure they are flushing correctly. If you notice any leaks, make a note of them.
3. Inspect all exposed piping in the basement and in the crawl space; this way, you can look for any signs of corrosion or damage.
4. Have a professional plumber come to the home and perform a pressure test on the system. This will help identify any hidden leaks.
5. Ask the homeowner for copies of any recent plumbing maintenance or repair records. This will then give you an idea of how well the system has been cared for.
Does a new house need a plumbing inspection?
So, by following these steps, you can be sure that you’re getting a home with plumbing that is in good condition. Don’t forget to have a professional inspect the system before you finalize your purchase!
Think about all the things that rely on plumbing in your home – from flushing the toilet to taking a shower, cooking, and cleaning. Now imagine what would happen if something went wrong with your home’s plumbing system. A small leak could quickly become a big problem, and a broken pipe could cause extensive damage.
That’s why it’s essential to have your home’s plumbing inspected regularly. A professional plumber can identify and repair problems before they become significant issues. An inspection can also help you save money by catching problems early on when they are typically more accessible and less expensive to fix.
So don’t wait for a problem with your plumbing to call a professional. You can always schedule an inspection today and rest easy knowing your home’s plumbing is in good hands.
Pros:
1. You can catch problems early. Regularly inspecting your plumbing can see issues before they become big and expensive to fix.
2. You can avoid disasters. Plumbing problems can cause all sorts of disasters, from flooding your home to damaging your foundation. By getting an inspection, you can prevent these disasters.
3. You’ll know what needs to be fixed. Once your inspector finds problems with your plumbing, you’ll know exactly what needs to be fixed. This may definitely save you time and money in the long run.
Overall, having a plumbing inspection done periodically is a good idea. It can catch problems early, avoid disasters, and save you money in the long run.
https://www.poolesplumbing.com/wp-content/uploads/When-do-you-need-a-pluming-inspection.jpg16522200John Drenkhahnhttps://www.poolesplumbing.com/wp-content/uploads/PoolesPlumbing_Logo_FullColor_LightBG_RGB-1.svgJohn Drenkhahn2022-09-28 09:48:372022-11-27 15:13:03When do you need a plumbing inspection?
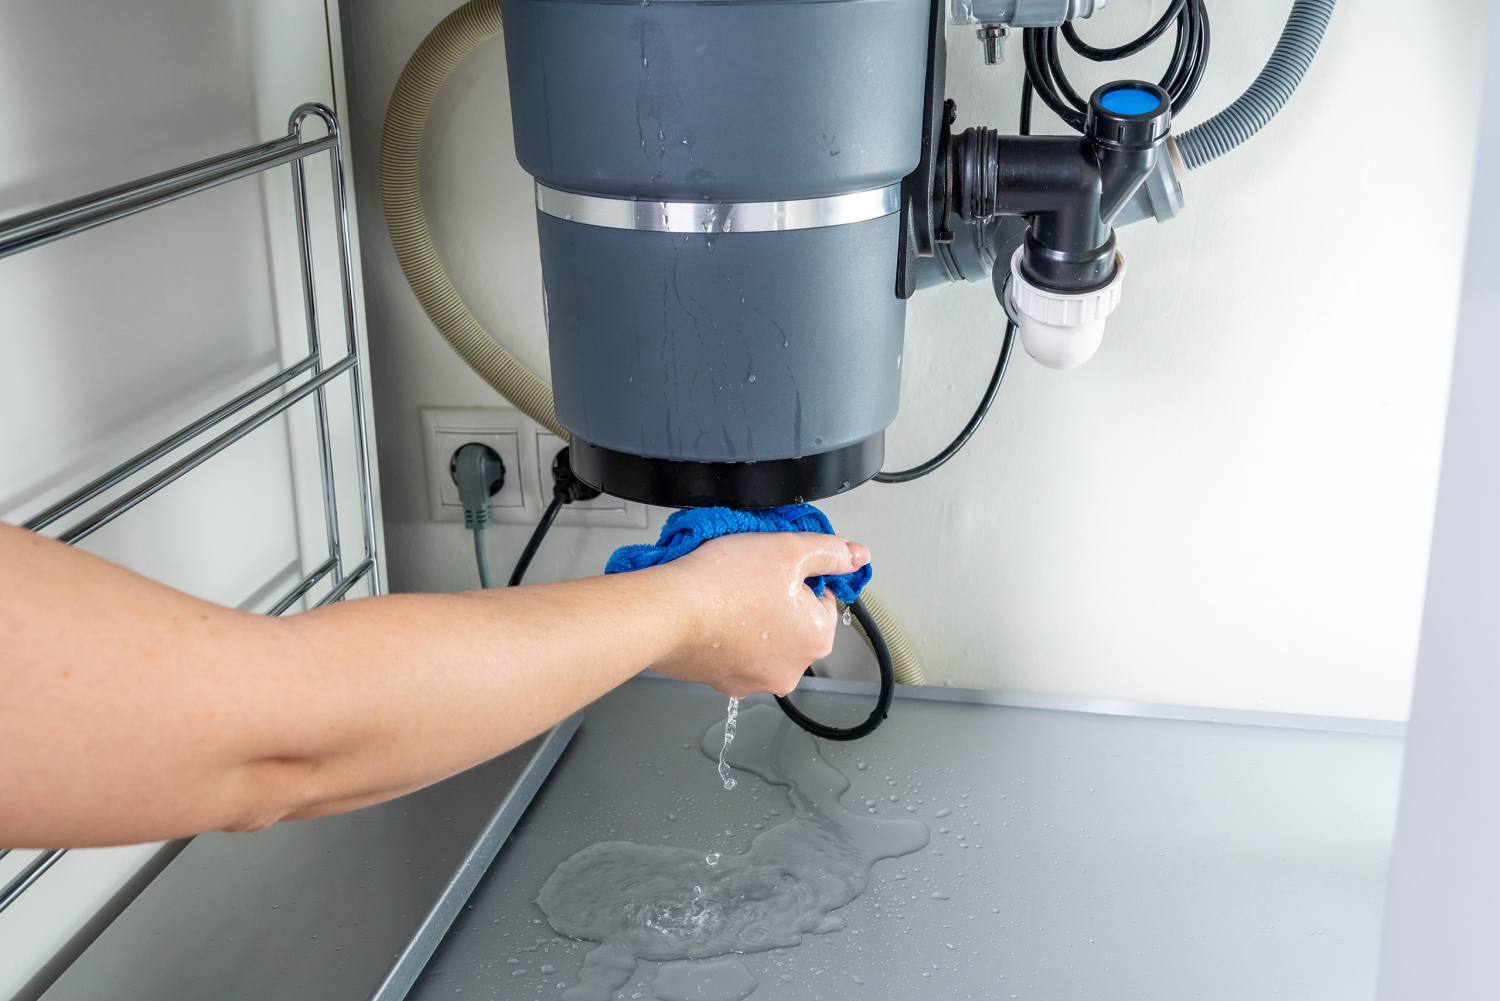
If you have a garbage disposal, chances are good that you’ve had to deal with a garbage disposal leaking issue at some point. And while a little leak might not seem like a big deal, it can be dangerous. Water and electrical appliances don’t mix well, so even a tiny amount of water can cause severe damage to your disposal (and your home).
So why exactly does a garbage disposal leak? There are a few different reasons, but the most common one is wear and tear. Over time, the seals and gaskets at your disposal can break down, allowing water to seep. This will be especially true if you use your disposal frequently or put challenging items down the drain (like bones or coffee grounds).
Another possible reason for a leak is that your disposal isn’t installed correctly. This is quite common, so it’s always a good idea to have a professional look at your disposal to ensure everything is in its proper place.
Finally, something is also possibly blocking the drain of your garbage disposal, and if this is the case, water will build up in the removal and eventually start leaking out. The best way to deal with this issue is to remove whatever is blocking the drain and run some water through the disposal to ensure everything is clear.
If you’re dealing with leaking garbage disposal, don’t panic. There are many different things you can do to fix the problem. First, try tightening the bolts that hold the removal in place. This might stop the leak, at least temporarily.
So, if that doesn’t work, you can try using some plumber’s putty to seal any cracks or gaps around the disposal. Be sure to follow the directions on the package carefully, as too much putty can cause more leaks.
So finally, if all else fails, you may need to replace your garbage disposal entirely. This is usually a last resort, but it may be necessary if your disposal is old or damaged beyond repair.
No matter what’s causing your garbage disposal to leak, it’s essential to deal with the issue as soon as possible. Water and electrical appliances don’t mix, so a small leak can cause significant damage. So, with a little bit of troubleshooting, you should be able to fix the problem and get your disposal back in working order in no time.
The garbage disposal can, at times, indeed be a nice luxury to have. Making for easier cleanup and more straightforward removal of select food waste, the convenience in some respects is undeniable. However, as with any plumbing appliance, there can be issues if the disposal performance is somehow hindered. This can lead to your Garbage Disposal Leaking.
If you find your Garbage Disposal Leaking, it could be due to multiple causes. While there could be another factor in your Garbage Disposal Leaking, we will walk you through several things to look for below. These items include where you see the Garbage Disposal Leaking, a probable cause for this, and, if possible, a remedy.
When You See the Garbage Disposal Leaking From its Top
The garbage disposal is usually connected to your sink by the flange and plumber’s putty. Garbage Disposal Leaking occurs here somewhat commonly if the connection between the sink drains and sink flange is not tight enough. The problem can also persist if the relationship between the drain and flange has become eroded over time.
Remedies When Probable Cause is Loose Sink Flange
• Check the mounting bolts connecting the drain and flange to be sure they are tight enough
• Be sure that the plumber’s putty helping seal the disposal is not compromised. If it is, loosen the bolts, add new putty, and retighten the bolts back in place
You Notice the Garbage Disposal Leaking from its Side
In many kitchens, the drain pipe from a dishwasher is connected to your garbage disposal. When functioning normally and adequately, that drain line connection removes excess food debris and water from the dishwasher into the garbage disposal. If for some reason, this pipe is obstructed or loosely connected, this can explain your Garbage Disposal Leaking.
Remedies When Probable Cause is the Drain Line Connection
• A rubber gasket and screws connect your main drain line. If the metal clamp connecting the dishwasher to the disposal is loose, tighten it with a screwdriver and say goodbye to your Garbage Disposal Leaking
• The hose connecting the dishwasher and disposal may also be the issue. Look for cracks or dried-out areas in this connection. So, if there is any damage to the hose, you can end the Garbage Disposal Leaking by getting a replacement hose.
If the Garbage Disposal Leaking is Coming from Its Bottom
One thing that can happen with almost any product or appliance is it can simply get old. Thus, the Garbage Disposal Leaking you’re seeing may result from age. In actuality, if you notice leakage just at the bottom and no drips from above, it is usually the disposal being worn out. Causing this is that internal seals deteriorate over time.
Remedies When Probable Cause is a Busted Internal Seal
• Inspect the actual body of your disposal. If you’re seeing Garbage Disposal Leakage, find cracks or wet spots to know precisely where. Again, those internal seals, if worn out, can eventually lead to these types of leaks and must be replaced
• Keep an eye out for the positioning of your garbage disposal under your sink. It may have been bumped or shifted out of place. If it has, checks the seals and putty and realign as needed to stop the Garbage Disposal from Leaking.
As you may now realize, there are various reasons you may see your Garbage Disposal Leaking. Hopefully, from our information, you can now recognize a leak and identify where it is on the disposal. Likewise, with the suggested remedies, you should be able to, in many cases, fix the problem.
If you are not comfortable fixing or feel something else is causing Garbage Disposal Leaking, give us a call.
Just visit poolesplumbing.com to contact the most trusted name in the Raleigh area, plumbers, and we’re happy to help solve all your plumbing problems.
https://www.poolesplumbing.com/wp-content/uploads/Garbage-Disposal-Leaking.jpeg17082560John Drenkhahnhttps://www.poolesplumbing.com/wp-content/uploads/PoolesPlumbing_Logo_FullColor_LightBG_RGB-1.svgJohn Drenkhahn2022-09-23 11:16:492022-11-27 15:13:03Why is My Garbage Disposal Leaking?
Autumn Plumbing Tips — Oh, the hot and humid days of summer are coming to an end, the trees are to show off soon, the leaves of changing color, the air is getting cooler, and you need to start making a list and thinking about preparing your home for the autumn season. One of the most important things you can do to prepare your home for autumn is to ensure all of your plumbing is in good working order. Here are a few tips to help you get your pipes, water heater, and sump pump ready for the autumn season:
Drain and clean your gutters. Leaves, sticks, and other debris may get stuck in and clog your gutters, which can lead to water damage to your home. So, remove all leaves and debris from your gutters before the rains begin.
Check your outdoor faucets for leaks. Autumn is the perfect season and an excellent time to check your outdoor faucets for leaks. If you find a leak, repair it before the cold weather sets in.
Insulate your pipes. Pipes can freeze and burst if they are not adequately insulated. Be sure to wrap any exposed pipes in insulation to protect them from the cold weather.
Drain and flush your water heater. Sediment may build up in your water heater over time, leading to inefficient operation and increased energy costs. Draining and flushing your water heater will remove the residue and help keep your heater running all autumn smoothly.
Test your sump pump. The sump pump is designed and built to remove water from your basement during a flood. So, test your sump pump before the rainy season begins to ensure it is working correctly.
Autumn is a great time to have your septic tank pumped and inspected. This will help prevent any problems from developing over the winter months.
Keep a check on your monthly water bill. If you notice a sudden increase in your usage, it could signify a hidden leak, so ensure leaks are repaired as soon as possible to avoid costly water damage.
Following these simple tips will help you get your plumbing ready for autumn. By taking the time to prepare your plumbing for the season, you can avoid costly repairs and may keep your home safe and comfortable all autumn long.
Autumn Plumbing Tips Plumbing Gadgets for Autumn:
As the weather gets cooler and the leaves fall, it’s time to start thinking about autumnal plumbing. A few essential gadgets can help make your plumbing system more efficient and effective this season. So, go check out just a few of the items we think and have picked as the best plumbing gadgets for autumn:
A good drain snake. A drain snake is an essential gadget and a great way to clear out any clogs that may have formed over the summer. Having one on hand is also a good idea if you experience unexpected drainage issues.
A water pressure regulator. This is a must-have for any home with a well or other private water source. A water pressure regulator will help ensure that your water pressure is consistent, even as the weather gets cooler and the demand on your system increases.
A tankless water heater. This type of water heater can be a great addition to any home, but it’s especially beneficial in autumn. A tankless water heater will provide hot water on demand without storing it in a tank. This can save you both space and energy.
A quality plunger. A good plunger is always handy, but it’s essential in autumn when leaves and other debris can clog up your drains. Make sure you have a plunger that’s up for the task.
A set of pipe insulation sleeves. Using pipe insulation sleeves is another excellent way to save energy and space in your home. Pipe insulation sleeves can help keep your pipes from freezing in the colder weather.
With these five essential gadgets, you’ll be prepared for anything autumn throws your way!
Bathroom Water Conservation — Tips Can Help Save On Your Bills While Saving Your Planet
Water Conservation:
In today’s eco-friendly world that we live in, it seems we’re always searching for ways to conserve better. This line of thinking certainly holds true regarding different products, methods, and practices used for plumbing purposes. Consequently, there are many different areas and ways that your plumber can help to be “greener” and earth-friendly. Likewise, there are many instances and actions that you can take to assist in the cause.
So, like most people, you probably don’t think about your plumbing very often. But when something goes wrong with the pipes or fixtures in your home, it can quickly become a top priority. And if you’re dealing with an old house, the plumbing system can be incredibly challenging.
You should know a few critical differences between plumbing in old and new homes. First, the materials used in plumbing have changed over the years. Older homes were often built with lead pipes, while newer homes are more likely to have copper or plastic pipes. This can affect the quality of your water and the speed at which your pipes corrode.
Second, the way that water is distributed has changed as well. In older homes, gravity was often used to move water from one level to another. This meant that the plumbing in an old home was often more complex, with multiple pipes and fixtures needed to supply water to all parts of the house. Today, most homes have a central water supply system that uses pumps to move water where it’s needed. This can simplify the plumbing in your home and make repairs easier.
Following these water conservation tips will help reduce water usage and save money. Conserving water also helps preserve our natural resources for future generations. Every little bit counts, so do your part to protect our planet!
Turn the faucet off while brushing your teeth
Take shorter showers
Fix any leaks in your home
Don’t leave the water run while washing dishes
Use a broom instead of a hose to clean your driveway or sidewalk
Water your plants during the cooler hours of the day
Collect rainwater in a rain barrel for watering plants
Install low-flow showerheads and toilets
Wash only full loads of laundry or dishes
Use recycled water for irrigation or other non-potable uses
Finally, advances in technology have led to more efficient fixtures and appliances. Toilets, for example, use far less water than they did even a few decades ago. This saves water and reduces wear and tears on your plumbing system.
Suppose you’re dealing with an old home, then it’s essential to be aware of these differences. Plumbing repairs can be more challenging in an old house, but understanding the unique challenges can help you get the job done right.
https://www.poolesplumbing.com/wp-content/uploads/sharon-pittaway-N7FtpkC_P7o-unsplash.jpg22001467John Drenkhahnhttps://www.poolesplumbing.com/wp-content/uploads/PoolesPlumbing_Logo_FullColor_LightBG_RGB-1.svgJohn Drenkhahn2022-08-10 13:26:152022-11-27 15:13:03Bathroom Water Conservation
You should never flush facial cleaning wipes, condoms, diapers, cotton swabs, paper towels, or cat poop down the toilet. All these mentioned items can clog your pipes and cause serious plumbing problems. Additionally, these items may not break down properly in septic systems and could cause environmental issues.
Facial cleansing wipes are made of fabric that can quickly clog your pipes. Even if the package says the wipes are “flushable,” they should not be flushed down the toilet.
Condoms are made of latex, which does not break down in the water. When condoms are flushed, they can end up in the ocean, where they can harm marine life.
Diapers contain human waste and should never be flushed down the toilet. They can clog your pipes and cause sewage backup in your home.
Cotton swabs, also known as Q-tips, are made of cotton and plastic. The cotton will absorb water and expand, while the plastic will not break down. This can cause a clog in your pipes.
Paper towels are made of paper and will not break down in the water. When flushed, they can cause a clog in your pipes.
Cat poop may contain harmful bacteria that can spread disease. It should never be flushed down the toilet as it can contaminate your water supply.
All these items listed above should be disposed of in the trash, not flushed down the toilet. Flushing them can cause serious plumbing problems and environmental damage.
https://www.poolesplumbing.com/wp-content/uploads/10-things-you-should-never-flush-down-your-toilet.jpg20202200John Drenkhahnhttps://www.poolesplumbing.com/wp-content/uploads/PoolesPlumbing_Logo_FullColor_LightBG_RGB-1.svgJohn Drenkhahn2022-07-20 17:00:282022-11-27 15:13:0310 Things You Should Never Flush Down Your Toilet:
So, when it comes to your kitchen sink, there are a few things you should never put down the drain. Grease, coffee grounds, and eggshells can all cause serious problems for your plumbing.
Grease may seem like it will wash down the drain, but it can solidify once it hits any cold water in your pipes. This can create a clog that will be very difficult to remove. Coffee grounds can also clog your drains, and eggshells can break up and cause blockages.
So what should you do with all of this waste instead? Grease can be thrown in the trash, coffee grounds can be composted, and eggshells can be added to your compost pile. Following these simple and careful tips, you can keep your drains clear and your plumbing in good working order.
Most people know that certain items, such as grease or food scraps, should not be put down the drain. However, there are other items that many people don’t realize can cause problems when disposed of in this way.
Meat Scraps
When cooking meat, it’s essential to dispose of the scraps properly. Putting them down the sink drain can cause problems in two ways. First, the fat from the meat can solidify and clog your pipes. Second, as the meat decomposes, it can attract pests like flies and rats.
Medication
Never flush medication down the sink or toilet. This can contaminate the water supply and make it difficult for sewage treatment plants to do their job. Instead, dispose of medications safely, such as taking them to a drug take-back program.
Petroleum
Products like gasoline, kerosene and motor oil should never be put down the drain. They can contaminate the water supply and cause fires or explosions. Instead, dispose of them at a hazardous waste facility.
Cigarette Butts
Cigarette butts may seem small, but they can clog up your pipes. Additionally, the chemicals in cigarettes can pollute the water supply. If you’re a smoker, dispose of your cigarette butts in the trash, not the sink.
Following these simple tips can help keep your pipes clean and your water supply safe.
https://www.poolesplumbing.com/wp-content/uploads/10-things-you-should-never-rinse-down-your-sink-scaled.jpg25601707John Drenkhahnhttps://www.poolesplumbing.com/wp-content/uploads/PoolesPlumbing_Logo_FullColor_LightBG_RGB-1.svgJohn Drenkhahn2022-07-20 16:32:302022-11-27 15:13:0310 Things You Should Never Rinse Down Your Sink
There’s nothing quite as frustrating as a plumbing problem in your home. Whether it’s a clogged sink, a leaky faucet, or a toilet that won’t flush, plumbing issues will most certainly and quickly put a damper on your day.
Fortunately, most plumbing problems are relatively easy to fix. This article will look at some of the most common plumbing issues and how to fix them. However, when you are in doubt, call your trusted plumbing company to help alleviate the problem.
Clogged Sinks
So, one of the most common plumbing problems is a clogged sink. If your sink is clogged, the first thing you should do is check the trap for debris. The catch is under the sink and is usually shaped like a P or an S. If there’s debris in the trap, remove it and flush the sink with hot water.
If the trap is clear, but the sink is still clogged, you may need to use a plunger or a plumber’s snake. To use a plunger:
Simply place the toilet plunger over the drain and push and pull it up and down.
Use enough force to create a seal between the plunger and the drain.
Use a rubber plunger rather than a suction cup plunger for best results.
To use a plumber’s snake, insert it into the drain and turn it clockwise. The plumbing snake will travel through the pipes and help to break up any clogs along the way.
Toilets That Won’t Flush
If your toilet won’t flush, the first thing you should do is check the flapper. The toilet’s flapper is located at the bottom of the tank and is responsible for sealing it when it’s not in use. If the flapper on the bathroom is damaged or worn, replace it with a new one.
If the flapper is not damaged, the problem may be with the float. The float is located in the tank and helps to regulate the water level. If the float is too low, it won’t allow enough water into the bowl to flush correctly. Adjust the float until it’s set at the proper level.
If neither of these solutions fixes your toilet, you may need to call a plumber!
Leaky Faucets – Check The Washer
If you have a leaky faucet, the first thing you should do is check the washer. The washer is located under the handle and is usually made of rubber or plastic. If the washer is damaged, replace it with a new one.
The problem may be with the seat if the washer is not damaged. The seat is located under the washer and may be cracked or worn. You may then decide to remove the seat and replace it with a new one.
If neither of these solutions fixes your leaky faucet, you may need to replace the entire faucet.
If you have low water pressure, the first thing you should do is check the shut-off valve. The shut-off valve is located near the water meter and is responsible for regulating the flow of water into your home. If the shut-off valve is turned too low, it will limit the amount of water that flows into your home and cause low water pressure. Turn the shut-off valve clockwise to increase the flow of water.
If the shut-off valve is not the problem, the problem may be with the pipes. If the lines are old or corroded, they may restrict the water flow. To fix this problem, replace the old pipes with new ones.
Wildlife
If you have a squirrel in your drain pipe, you can do a few things to try to get it out. First, pour some boiling water down the line. This will hopefully startle the squirrel and make it climb out. So, If that doesn’t work, you can try using a plunger to create suction and push the squirrel up and out of the pipe. If all else fails, you may need to call a professional to remove the squirrel.
In any case, getting a squirrel out of your drain pipe is not difficult and can be done with patience and perseverance.
https://www.poolesplumbing.com/wp-content/uploads/Common-plumbing-issues.jpg14692200John Drenkhahnhttps://www.poolesplumbing.com/wp-content/uploads/PoolesPlumbing_Logo_FullColor_LightBG_RGB-1.svgJohn Drenkhahn2022-07-11 12:09:122022-11-27 15:13:03Common Plumbing Issues and how to fix them
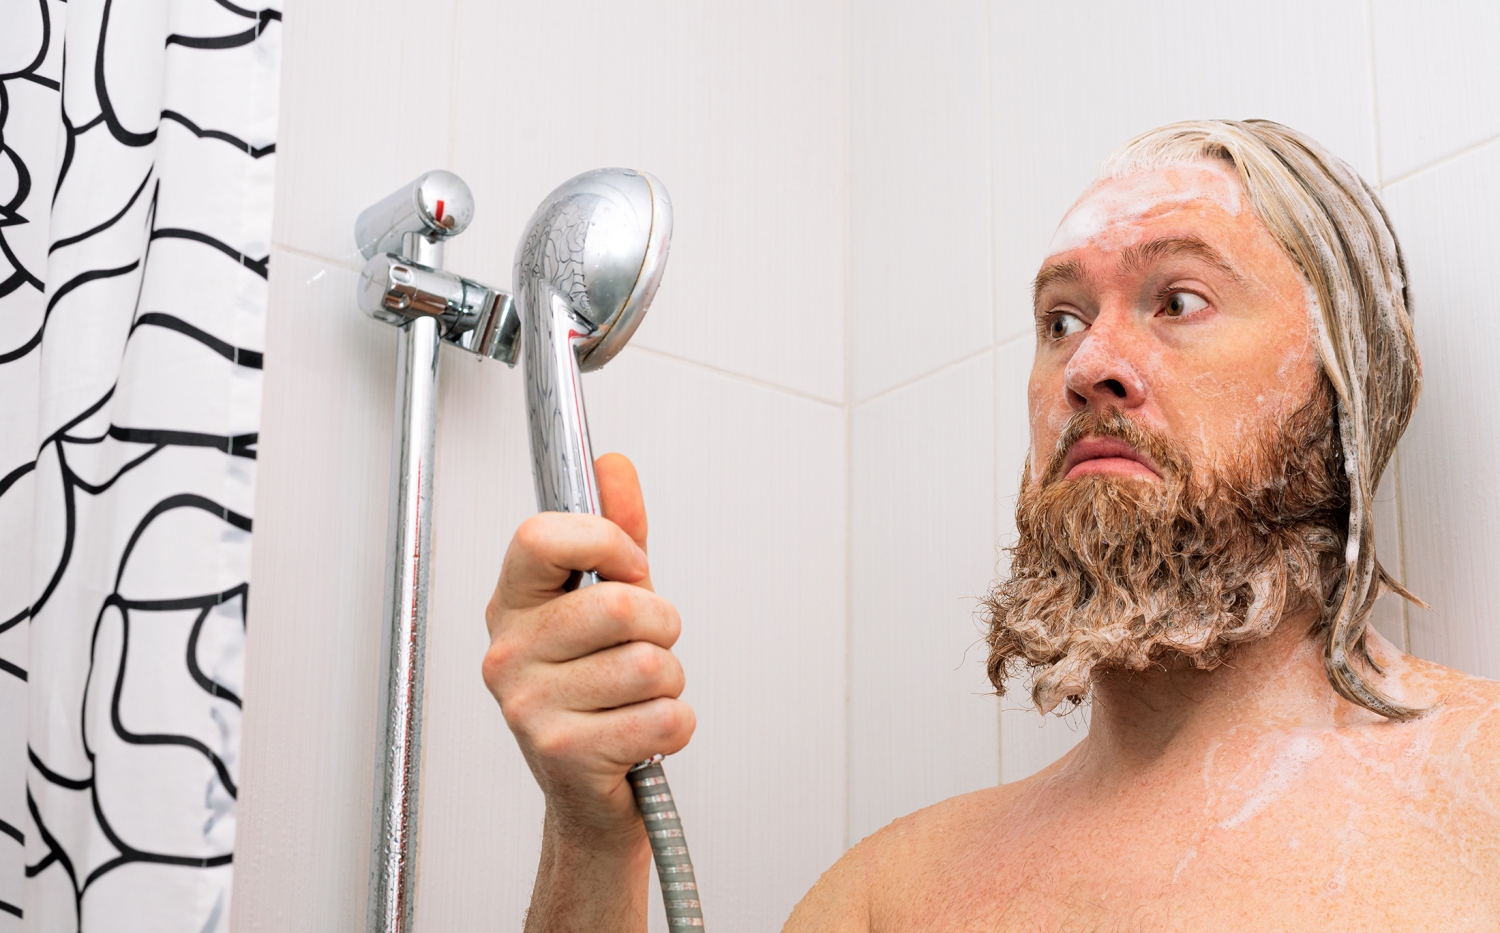
After a beautiful and long day of work in the yard, there’s nothing better than a hot shower. But sometimes, the hot water can take forever to heat up. That’s why it’s essential to have a good water heater that can provide fast, hot water on demand. However, there are a few other important aspects and extra touches to ensure everything works together correctly.
The Process
Your hot water reaches your shower via a process of convection. Convection is the movement of molecules in a fluid (in this case, water) from one area of high concentration to another area of low concentration. In other words, the hot water molecules are moving from the water heater to your showerhead, and because there are more molecules in the water heater than in your shower, it takes quite an amount of time for the hot water to reach your shower. This is why it sometimes takes a while for the hot water to reach your showerhead.
So, one can do a few things to help speed up the process. One is to run the cold water in your shower for a minute or two before turning on the hot water. This allows the hot water molecules to move more quickly through the system. Another is to insulate your water heater and pipes. This will help keep the heat in the water longer and thus make it easier for the hot water to reach your showerhead. Finally, you can try installing a recirculating pump. This will help circulate the hot water throughout the system more quickly, making it available at your showerhead more rapidly.
Extra Insulation
So, if you’re tired of waiting for hot water to reach your showerhead, it might be time to insulate your pipes. This relatively simple and inexpensive task can significantly affect your wait time. By protecting your pipes, you’ll also be saving energy and money.
There are two main types of pipe insulation: foam and fiberglass.
Both types are effective, but the foam is usually easier to install. You may purchase insulation at most hardware stores or order online. Choosing the right kind of insulation for your particular needs is essential. Measure the pipes before you buy insulation to get the right size.
If you have and are living and working in an older home, the insulation around your hot water pipes isn’t as good as it could be. This can lead to heat loss and can make your hot water system less efficient. Adding extra insulation to your hot water pipes is a relatively easy and inexpensive way to help improve the quality and maintain the efficiency of your system and save you money on your energy bills. You may purchase insulation at most hardware stores or online. Choosing the right type of insulation for your particular needs is essential. Measure the pipes before you buy insulation to get the right size.
To insulate your pipes, cut the insulation to size and wrap it around them. Make sure to overlap the seams and seal them with duct tape.
That’s it! You’ve now insulated your pipes and can enjoy hot water more quickly.
Pump up the volume! How to get hot water to your shower fast!
A recirculating pump is a device that helps circulate hot water throughout your home, and we now do not have to wait as long for it to get to where it’s supposed to be! This can be a tremendous energy-saving measure since you’re not constantly running the water until it gets hot. Recirculating pumps are relatively inexpensive and easy to install, and they can pay for themselves in energy savings over time.
These great pumps are designed to circulate hot water throughout your home’s plumbing system; no longer the waiting!
This can be a tremendous energy-saving measure since you’re not constantly running the water until it gets hot. Recirculating pumps are relatively inexpensive and easy to install, and they can pay for themselves in energy savings over time.
Talk to a licensed plumber or heating contractor to see if a recirculating pump is suitable for your home. They can help you determine if your home’s plumbing is compatible with a recirculating pump, and they can also help you choose the suitable model for your needs.
Take care not to overdo it on any of these solutions, though! If the cold water runs for too long, you’ll lose heat from your water heater, and if you insulate your pipes too well, you may find that your shower doesn’t have enough pressure.
Finding just the right balance that works for you and your home is vital.
https://www.poolesplumbing.com/wp-content/uploads/hot-water.jpg8001200John Drenkhahnhttps://www.poolesplumbing.com/wp-content/uploads/PoolesPlumbing_Logo_FullColor_LightBG_RGB-1.svgJohn Drenkhahn2022-07-05 14:30:462022-11-27 15:13:04How to get Hot Water to your Shower Fast!
Whether we like it or not, plumbing is essential for our lives. Without it, we would be without clean water and sanitation. Plumbers play a vital role in keeping our homes and businesses running smoothly as well as protecting our environment. While plumbing may not be the most glamorous job globally, it is an honest profession that provides an essential service to society. Plumbers are highly skilled tradespeople who undergo years of training to become experts.
A Plumbers Ethics
When it comes to the ethics of plumbing, a few key considerations must be taken into account.
First and foremost plumbers must always put the safety of their customers first. This includes ensuring that all pipes and fittings are correctly installed and maintained and that any potential hazards are immediately addressed.
Plumbers also must protect the environment. This means using eco-friendly products and practices whenever possible and disposing of waste properly. Finally, plumbers must be honest and transparent with their customers. This means providing accurate quotes and estimates and being upfront about any potential issues.
A strict code of ethics regulates the plumbing industry. Plumbers are expected to uphold the highest standards of honesty and integrity. They must always put the needs of their customers first and ensure that they provide a quality service.
Their peers and the general public highly respect plumbers who adhere to these ethical principles. They are trusted to do a good job and always put the customer first. This is why plumbing is such an important profession.
Skill Set
A plumber’s skills list should include various skills and abilities. They should be able to work with multiple tools and materials and have strong customer service skills. Plumbers should also be able to troubleshoot problems and find creative solutions to complex issues. In addition, plumbers should be physically fit and able to lift heavy objects. Finally, plumbers should have excellent communication skills, both written and verbal. Plumbers can provide their customers with the best possible service by possessing these skills.
Customer service skills are essential for any plumber. Plumbers should be able to deal with a wide range of customers, from angry or upset about a problem to those who need advice on fixing a minor issue. Plumbers should be patient and understanding, and they should always strive to provide the best possible service.
Troubleshooting skills are also essential for plumbers. So, when something goes wrong with a plumbing system, it is often up to the plumber to find out the problem and how to fix it. This can be challenging, as many different factors can contribute to a plumbing problem. Plumbers should be able to think critically and use their problem-solving skills to find a solution.
Physical fitness is also essential for plumbers. Plumbing often requires lifting heavy objects and working in awkward positions. Plumbers should be physically strong and capable of lifting heavy objects. They should also be comfortable working in cramped spaces.
Excellent communication skills are essential for any plumber. Plumbers should be able to explain their ideas and solutions to customers freely. They should also be able to listen carefully to customer concerns and questions. Plumbers can ensure that they provide the best possible service to their customers by possessing excellent communication skills.
In conclusion, when you require a plumber, make sure that you choose one who is reputable and has a robust code of ethics.
Doing your research will ensure that you receive the best possible service and that your home or business is in good hands.
https://www.poolesplumbing.com/wp-content/uploads/raleigh-plumber.jpg14672200John Drenkhahnhttps://www.poolesplumbing.com/wp-content/uploads/PoolesPlumbing_Logo_FullColor_LightBG_RGB-1.svgJohn Drenkhahn2022-06-16 09:32:142022-11-27 15:13:04Raleigh Plumbers Glamorous Life of Plumbing
A real plumbing emergency can strike and be a real pain. Whether it’s a clogged sink, a burst pipe, or a leaky faucet, plumbing emergencies can cause a lot of inconveniences and may be costly to fix.
Here are some tips on how to handle a plumbing emergency:
1. Shut off the water: This is the first thing you should do in a plumbing emergency. Shutting off the water will help prevent further damage and make it easier to fix the problem.
2. Call a plumber: If you’re not sure how to fix the problem yourself, it’s best to call a professional. Plumbers have the tools and expertise to fix plumbing problems quickly.
3. Please don’t use harsh chemicals: Many people think pouring chemicals down their drain will help clear a clog, which can worsen the problem. Harsh chemicals can damage your pipes and make the situation worse.
4. Be prepared: It’s always a good idea to have a few supplies on hand in case of a plumbing emergency. Things like a plunger, a wrench, and some plumbers’ tape can help fix various plumbing problems.
The first thing would be to try to identify the source of the leak. This may not be easy, but it is essential to know where the water is coming from to turn it off at the main valve. Second, if you can’t find the source of the leak, or if the leak is coming from a pipe that is not easily accessible, you can try turning off the water at your home’s main water shutoff valve. This will stop the water flow into your home and give you time to call a plumber.
Lastly, if you find that none of these solutions work, you may need to call an emergency plumber. Emergency plumbers are trained to handle plumbing emergencies and can usually get your problem fixed quickly.
However, if you have a significant leak or flooding, you should always call a professional plumber so that they can assess the damage and make sure that your home is safe. Remember, a plumbing emergency can happen, so it is always best to be prepared.
Burst pipes are considered one of the most severe plumbing emergencies as they can cause extensive damage to your home. If a pipe bursts, it is essential to turn off the water supply and call a plumber immediately. Burst pipes can be caused by several factors, including cold weather, faulty piping, or excessive water pressure.
Blocked drains are another typical plumbing emergency. If and when a drain becomes blocked, it can cause sewage to back up into your home. This can be a very unpleasant and dangerous situation. If you suspect that a drain is blocked, you should call a plumber as soon as possible.
Overflowing toilets are another typical plumbing emergency. If a toilet overflows, it can cause water to flood your bathroom and potentially damage your floors and walls. Turning off the water supply and calling a plumber is crucial if you have an overflowing toilet. Overflowing toilets can be caused by several factors, including a clogged sewer line or a faulty flushing mechanism.
If you experience any plumbing emergency, it is essential to call a plumber as soon as possible. Plumbing emergencies may cause extensive damage to your home and be dangerous if not dealt with quickly.
Hopefully, these tips will help you handle a plumbing emergency should one occur. Remember, the best way to avoid a plumbing emergency is to have your pipes checked regularly by a professional.
So, if and when you have a plumbing emergency, you can do a few things to solve the problem yourself.
https://www.poolesplumbing.com/wp-content/uploads/DSC2906.jpg16672500John Drenkhahnhttps://www.poolesplumbing.com/wp-content/uploads/PoolesPlumbing_Logo_FullColor_LightBG_RGB-1.svgJohn Drenkhahn2022-06-05 11:24:072022-11-27 15:13:04Plumbing Emergency, when to call the plumber!
Plumbing trends in the plumbing industry is constantly evolving, and new trends are always emerging. Here are a few of the latest trends in plumbing:
There are many trends shaping the plumbing industry today. One of the most significant is the increasing focus on water conservation. This is driven both by regulatory changes and by consumer demand. More and more people are looking for ways to save water, and plumbing manufacturers respond with new gadgets and products that use less water without sacrificing performance.
Sustainability Plumbing Trends
Another major trend is the move towards sustainable plumbing solutions. This includes using environmentally friendly materials, such as recycled copper or PVC. It also includes using energy-efficient technologies, such as tankless water heaters.
There is a growing trend toward intelligent plumbing solutions. This means using technology to make plumbing systems more efficient and more accessible. For example, some manufacturers are now offering “smart” toilets that can automatically flush when they sense movement. This innovation will likely continue as consumers demand more convenience and manufacturers strive to meet those demands.
1. Smart Home Technology: More and more homeowners are using innovative home technology to control their plumbing systems. This includes everything from managing the water heater and thermostat to monitoring water usage and detecting leaks.
2. Green Plumbing: Homeowners are becoming more conscious of their impact on the environment and looking for ways to reduce their energy consumption. Green plumbing fixtures and appliances, such as low-flow toilets and shower heads can help save water and energy.
3. Water Conservation: With the drought conditions in many parts of the country, water conservation is becoming a top priority for homeowners. Low-flow toilets, shower heads, and faucets can help reduce water usage, and grey water systems can recycle water in the landscape. Learn about tankless water heaters here.
4. Universal Design: As the population ages, the demand for universal design features in the home increases. This includes features such as grab bars in the shower and wheelchair-accessible fixtures.
5. Luxury Plumbing: Homeowners are increasingly looking for ways to add luxury features to their homes, such as spa-like showers with multiple showerheads and body sprays. High-end materials, such as stainless steel and copper are also becoming more popular.
Read Bob Vila’s 21 Ways to Create a Spa Bath at Home here.
S
It’s no secret that plumbing trends come and go. What’s popular one year may be out of style the next.
So, what can we expect to see in plumbing fixtures and design in 2022?
We think that some of the biggest trends will be:
1. continued move towards minimalism and clean lines in both fixtures and design
These are just a few significant trends shaping the plumbing industry today. As the world changes, so too do the plumbing industry. These trends will substantially impact how we live and work in the years to come.
If you’re looking to update your home’s plumbing, keep these trends in mind, and contact a licensed plumber to discuss your options and find the best solution for your needs. They may even suggest great ideas, you haven’t thought of to fix your exact space and needs. If you’re in the Raleigh NC area, call Poole’s Plumbing for more information or to schedule a in home visit.
Plumbing hacks are a dime a dozen. But which ones are actually useful? And which ones are just plain old wives’ tales?
Let’s look at some of the most popular plumbing hacks and see if they stand up to scrutiny.
1. Use WD-40 to loosen a stuck faucet handle
If you’ve ever had a stuck faucet handle, you know how frustrating it can be. But before you call a plumber, try using WD-40.
Spray the WD-40 onto the handle and wait a few minutes. Then, try to turn the handle. It should come loose with ease.
2. Use a rubber band to fix a leaky faucet
If your faucet is dripping, you can often fix it with a simple rubber band. Just put the rubber band around the base of the handle and tighten it until the leak stops.
3. Use boiling water to dissolve hair clogs
If you have a clog made up of hair, boiling water can be a quick and easy way.
4. Use baking soda and vinegar to unclog a drain
This is a classic plumbing hack that works.
Use 1/2 cup of baking soda and pour down the drain, followed by 1/2 cup of white vinegar.
Wait a few minutes, then continue by flushing with hot water.
The clog should be gone in no time.
5. Use a wire hanger to fish out a clog
If the above method doesn’t work, you can try using a wire hanger for fishing out the clog. Straighten out the hanger and create a small hook at the end. Then, insert the hook into the drain and see if you can snag the clog. If you can, pull it out and dispose of it.
6. Use a plunger to unclog a toilet
If your toilet is clogged, a plunger is usually all you need to get it flowing again. Always allow for and be sure you have a good seal around the rim of the toilet before you start plunging. Otherwise, there will not be able to generate enough force to break through the clog.
7. Use a wire brush to clean out a shower head
If your shower head is clogged with mineral deposits, a wire brush can be used to clean it. Remove the shower head and start by soaking it in a bowl of vinegar for an hour or so. Then, use the wire brush to scrub away any remaining deposits.
8. Use lemon juice to clean a dishwasher
If your dishwasher is starting to smell, lemon juice can help freshen it up. Just pour a cup of lemon juice into the empty dishwasher and run it through a cycle. The lemon juice will help break down any build-up and leave your dishwasher smelling fresh and clean.
9. Use a toothbrush to clean a drain
If your drain is starting to get gunky, a toothbrush can be used to clean it. Remove the drain cover and use the toothbrush to scrub away any build-up. If the build-up is nasty, you may need to use a plumber’s snake to get rid of it.
10. Use a coat hanger to snake a drain
A coat hanger can be used if you don’t have a plumber’s snake. Just straighten out the hanger and insert it into the drain. Then, twist it around until you feel resistance. This will help to break up any clogs.
If you have rust stains on your plumbing fixtures, there are a few ways to remove them. You can use a commercial rust remover, white vinegar, or lemon juice.
To use a commercial rust remover, follow the instructions on the product label. Be sure to always wear protective wear like gloves and eyewear when using these products.
White vinegar is a natural rust remover. Soak a cloth in vinegar and scrub the rust stain to use it. Rinse with water afterward.
Lemon juice is another natural rust remover. To use it:
Mix equal parts lemon juice and water.
Soak a cloth in the mixture and scrub the rust stain.
Rinse with water afterward.
There you have it! With just a few of the most popular plumbing hacks. So the next time you have a plumbing problem, give one of these hacks a try, and you may undoubtedly be surprised at how they work.