Fall Repiping: Best Time to Repipe Before Winter | Raleigh NC
Fall Repiping: Best Time to Repipe Before Winter | Raleigh NCF all Is the Best Time to Repipe Your Home Before Winter (Raleigh & Wake County Guide)
As professional plumbers, we’ve seen it all. But few things are more disruptive than a major plumbing failure in the dead of winter. A burst pipe on a frigid January night is more than an inconvenience; it can cause catastrophic damage. That’s why we often discuss preventative maintenance with homeowners in the fall. As the leaves change, it’s the perfect time to assess your home’s plumbing and consider whether a full repipe is necessary to keep you safe through the cold months ahead.
This guide will walk you through why fall is an ideal time for this significant project, what signs indicate you need to repipe, and the pros and cons of taking on this task.
Why Autumn is Prime Time for a Repipe
Repiping is a significant undertaking, and timing is everything. Scheduling this work during the fall offers several distinct advantages that may make the process smoother and more efficient.
Mild Weather Conditions
Fall provides a sweet spot between summer’s intense heat and winter’s bitter cold. Plumbers often need to work both inside and outside your home, sometimes requiring trenches to be dug for access to the main water line. Mild autumn weather makes this work far more manageable. The ground isn’t frozen, and the temperatures are comfortable for the crew, leading to a more efficient and faster job.
Pre-Winter Peace of Mind
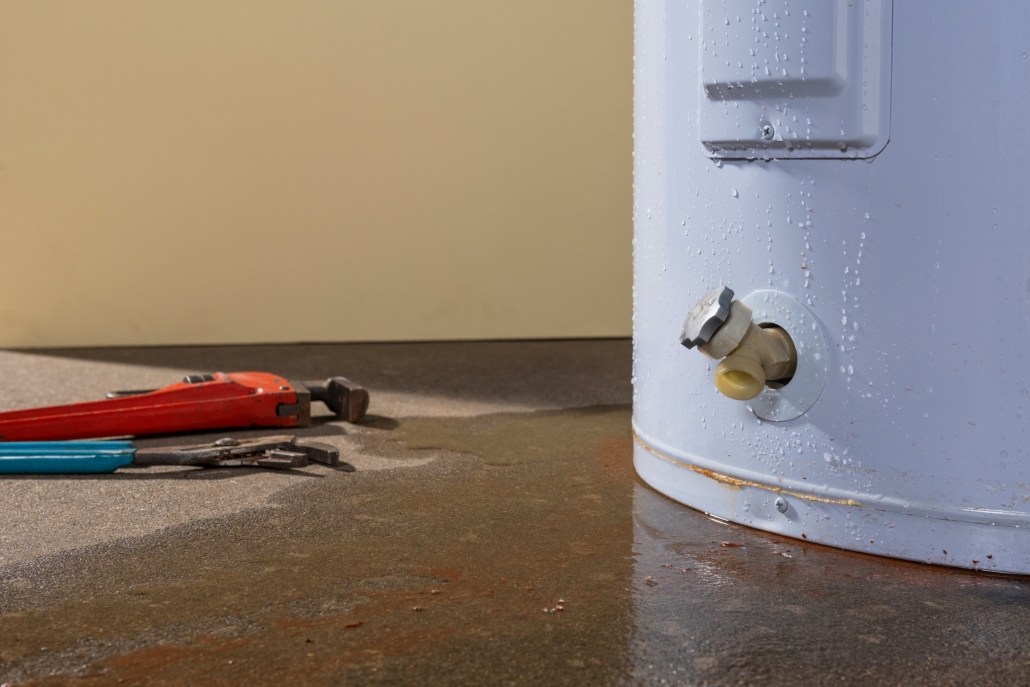
The last thing you want is to discover a pinhole leak or low water pressure when the first freeze hits. Older, corroded pipes are significantly more vulnerable to bursting in cold temperatures. Water expands as it freezes, and a weak pipe wall can’t handle the extra pressure. By repiping in the fall, you replace this ticking time bomb with a brand-new, reliable system, giving you total peace of mind for the winter.
Fall Repiping Scheduling Flexibility
Plumbing companies tend to be swamped during the summer with AC-related issues and emergency calls. In winter, our schedules are packed with frozen pipe emergencies. Fall often represents a lull between these two peak seasons. This means you are more likely to get your preferred choice of reputable plumbers and may schedule the project at a time that works best for you, often with more flexibility than you’d find during busier months.
Telltale Signs Your Home Needs Repiping
How do you know if your home’s plumbing is nearing the end of its lifespan? It’s not always obvious, but your pipes will give you clues. Here are the most common signs I tell homeowners to watch for.
The Age of Your Pipes
The first thing to consider is the age of your home and its plumbing materials. Different materials have different lifespans.
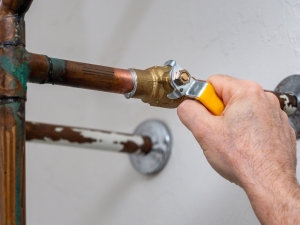
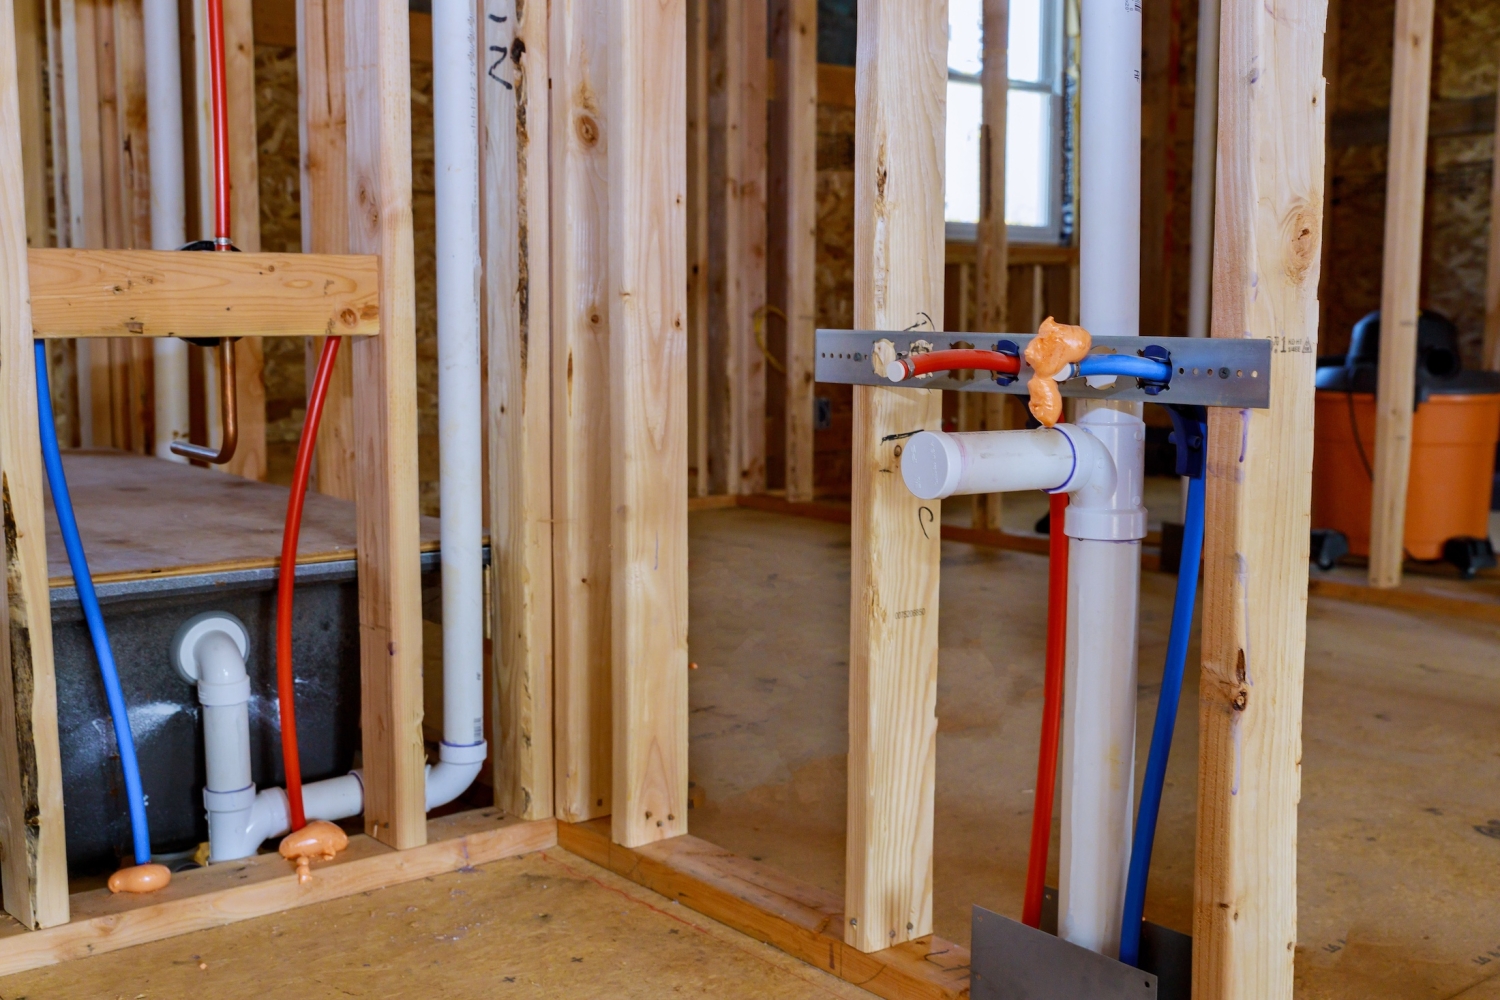
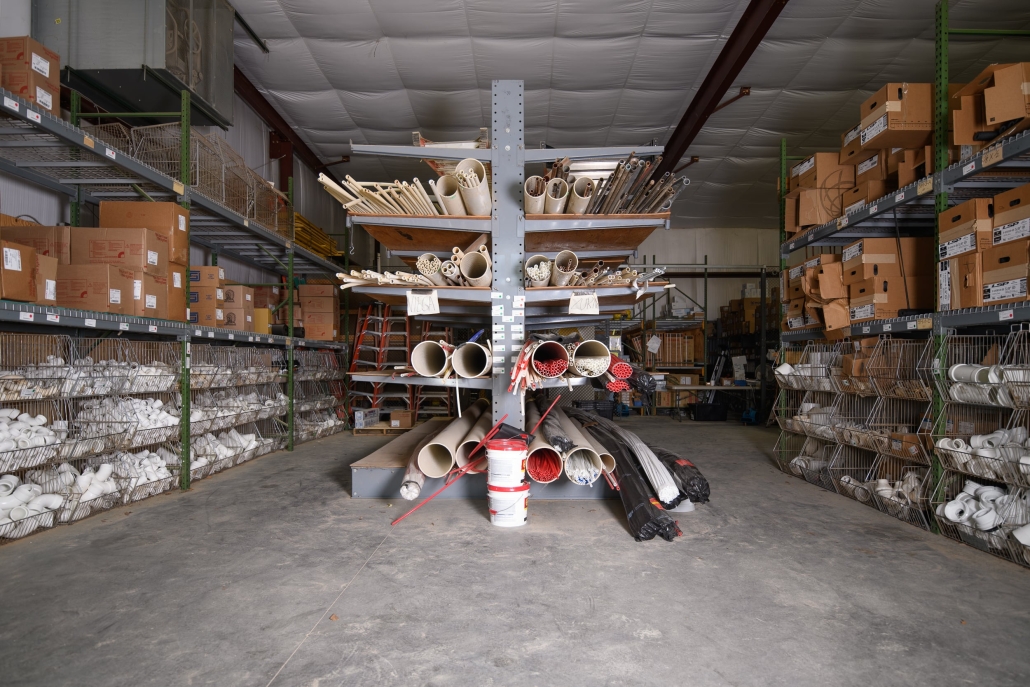
- Galvanized Steel: These pipes were common in homes built before the 1960s. These pipes have a lifespan of about 40-50 years. They are prone to rust and corrosion from the inside out, which restricts water flow and can cause your water to turn brown. If you have galvanized pipes, you are likely living on borrowed time.
- Copper: A more durable option, copper pipes can last 50 years or more. However, they can still develop pinhole leaks over time, especially in areas with acidic water.
- Polybutylene: Used from the late 1970s to the mid-1990s, these gray plastic pipes are notoriously unreliable. The material reacts poorly with common oxidants in public water systems, causing it to become brittle and crack suddenly. If you have polybutylene pipes, replacement is not a matter of if, but when.
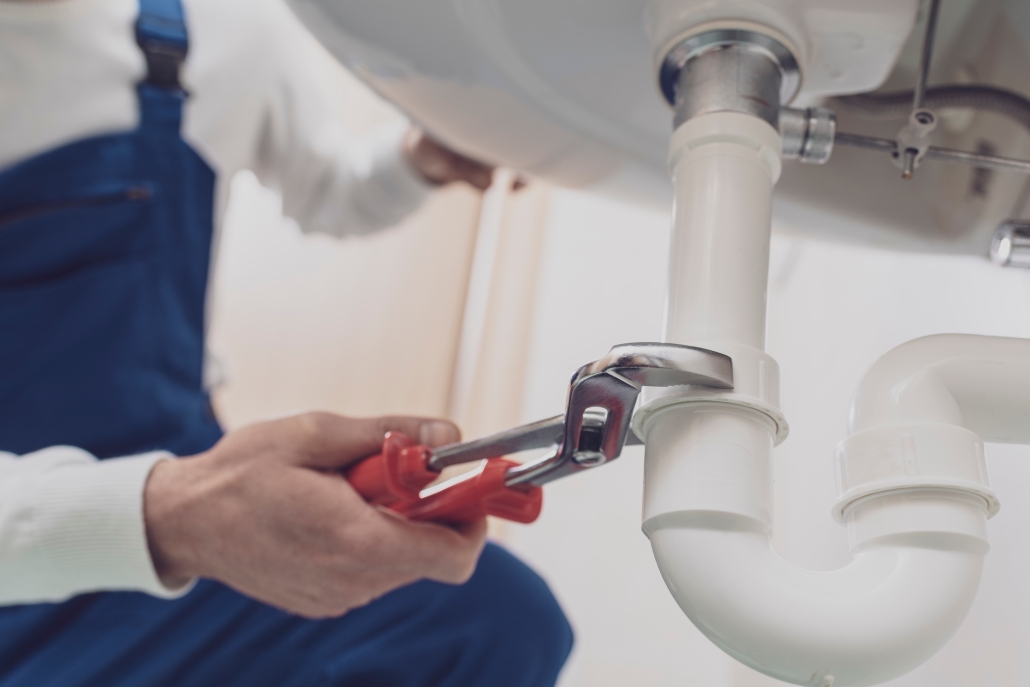
Frequent and Recurring Leaks
Is your plumber on speed dial? One or two isolated leaks over several years might be typical. But if you are constantly patching up new leaks in different parts of the house, it’s a strong indicator that your entire plumbing system is failing. Patching one spot often increases pressure on the next weakest point, creating a domino effect of repairs.
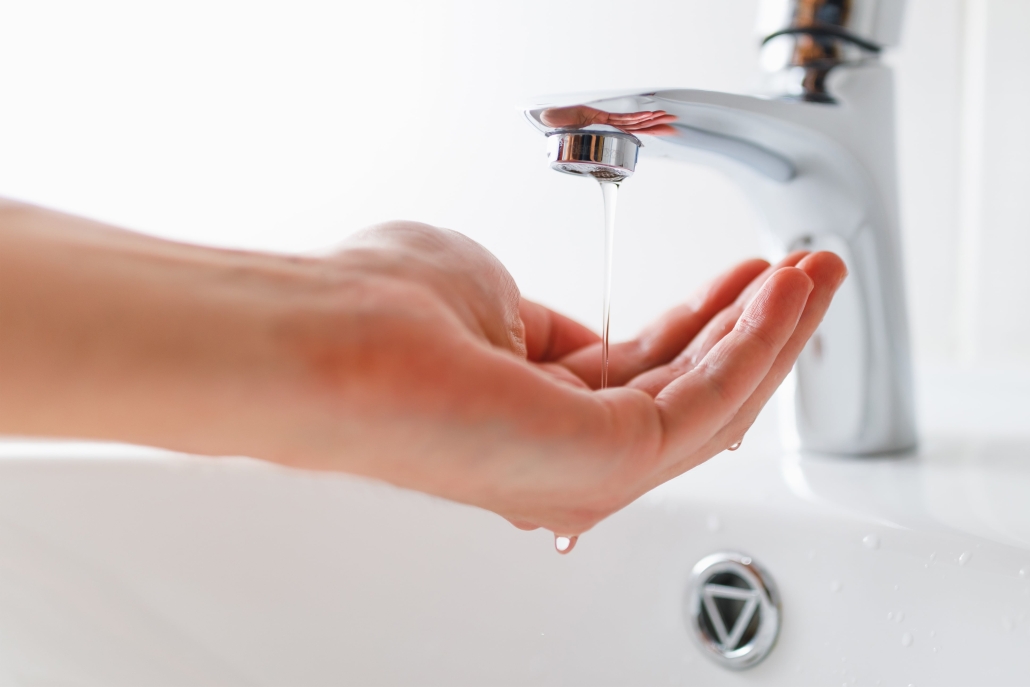
Low Water Pressure
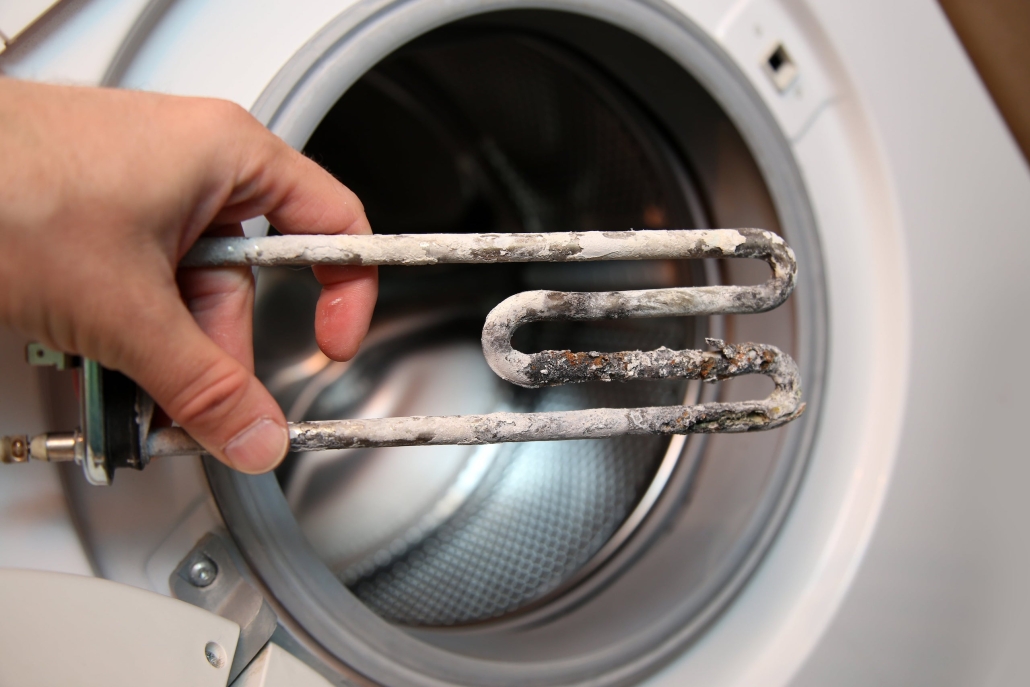
If you experience a noticeable drop in water pressure throughout your home, it could be due to corrosion buildup inside your pipes. As rust and mineral deposits accumulate over decades, they narrow the pipe’s internal diameter, restricting water flow. This is especially common with old galvanized steel pipes. If running the shower causes the kitchen sink to reduce to a trickle, it’s time for an inspection.

Discolored or Foul-Tasting Water
Does brown or reddish water come out of your faucets, especially when you first turn them on in the morning? This is a classic sign of rust from corroding galvanized pipes. Not only is the water unappealing, but it also compromises the integrity of your pipes. You might also notice a metallic taste, which is another symptom of the same problem.
The Pros and Cons of Repiping Your Home
Serving Raleigh, Cary, Apex, Garner, Holly Springs, and greater Wake County. Deciding to repipe your home is a significant financial decision. It’s essential to weigh the benefits against the drawbacks before committing.
The Pros: Long-Term Benefits
- Increased Home Value: A brand-new plumbing system is a significant selling point. It tells potential buyers that a core component of the home is updated and reliable, which may potentially increase your property’s value and make it easier to sell.
- Improved Water Quality and Flow: New pipes, such as PEX or copper, will deliver clean, clear water without the rust and sediment that old pipes can contain. You’ll also enjoy a significant improvement in water pressure, making showers more enjoyable and appliances like washing machines more efficient.
- Prevention of Catastrophic Damage: The number one benefit is avoiding a major disaster. The cost of a full repipe is often significantly less than the cost of repairing water damage from a burst pipe, which can include replacing drywall, flooring, furniture, and addressing mold remediation.
- Lower Insurance Premiums: Several insurance companies offer lower premiums for homes with updated plumbing systems, as the risk of water damage claims is significantly reduced.
The Cons: Short-Term Challenges
- Significant Cost: Let’s be honest: repiping is not cheap. It’s a substantial investment in your home’s infrastructure. The final cost will depend on the size of your home, the materials used, and the complexity of the job.
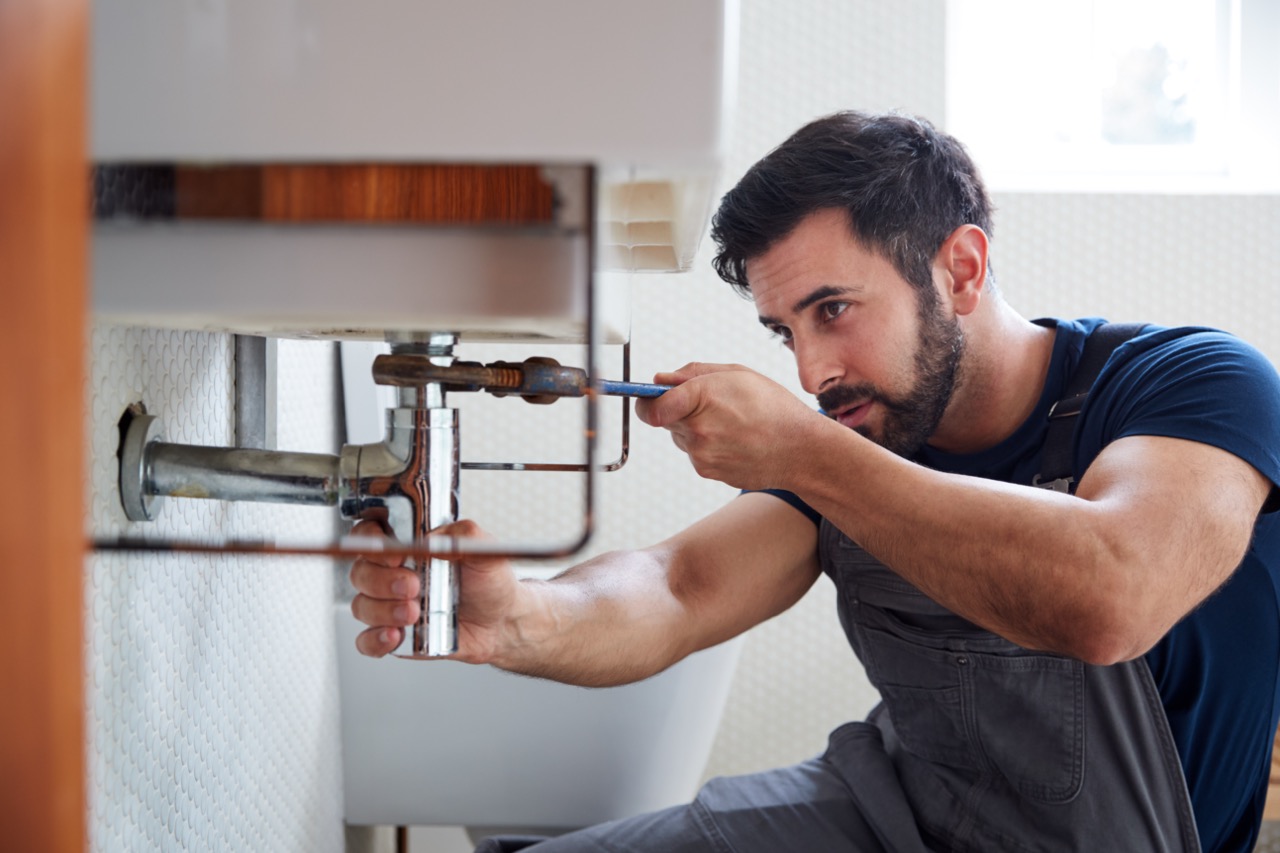
- Disruption to Your Life: A whole-house repipe is an invasive process. It typically involves cutting small, precise holes in your drywall to access the old pipes and run new ones. While a professional crew will minimize the mess and patch the walls, your home will be a work zone for several days.
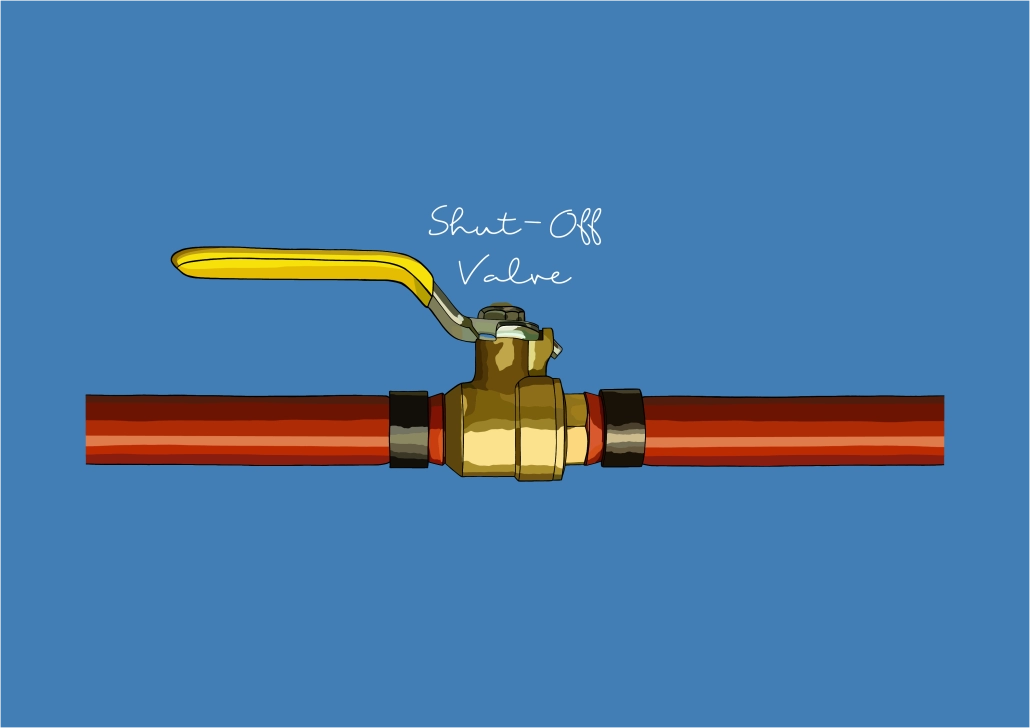
- Temporary Water Shutoffs: During the project, your water will need to be turned off for extended periods. A good plumbing team will work to minimize this downtime and often restore water service by the end of each workday; however, you should plan for some inconvenience.
Make the Right Choice for Your Home
Deciding whether to repipe your home is a significant step, but ignoring the warning signs can lead to much more substantial problems down the road. By addressing failing plumbing in the fall, you leverage ideal weather and better scheduling to protect your home from the harsh realities of a winter plumbing emergency.
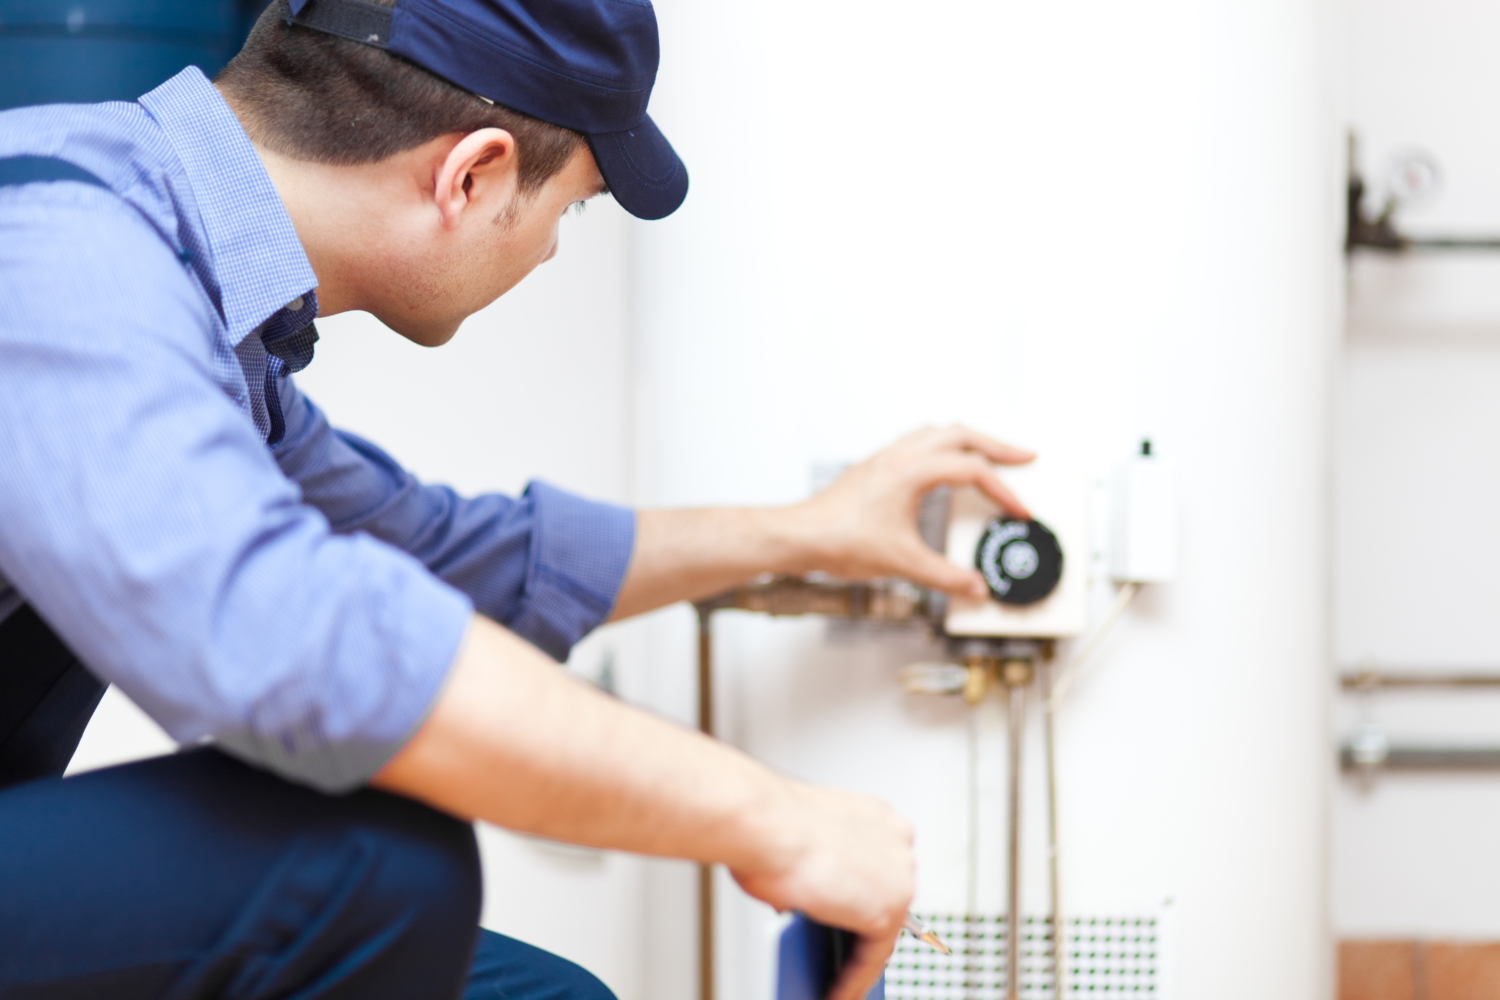
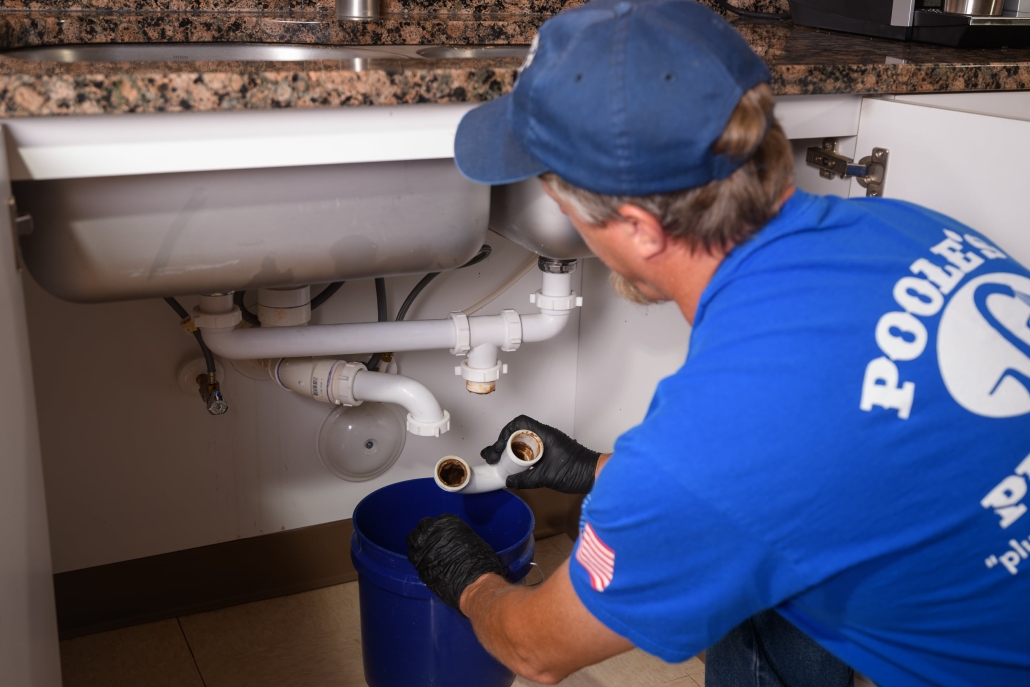
If you recognize any of the signs mentioned here, we recommend calling a licensed plumber for a professional assessment. Serving Raleigh, Cary, Apex, Garner, Holly Springs, and greater Wake County. We can inspect your system, identify the materials used, and provide an honest opinion on whether a full repipe is the best course of action for you. Investing in your home’s plumbing today is an investment in your peace of mind for many winters to come.


 Essential Outdoor Plumbing Tasks
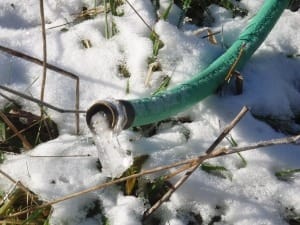

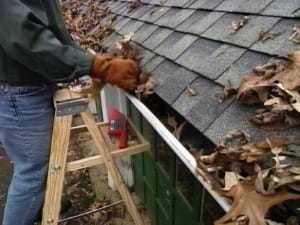 Clean and Maintain Gutters
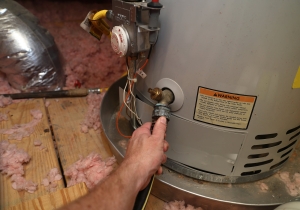
 Emergency Preparedness


 When you choose


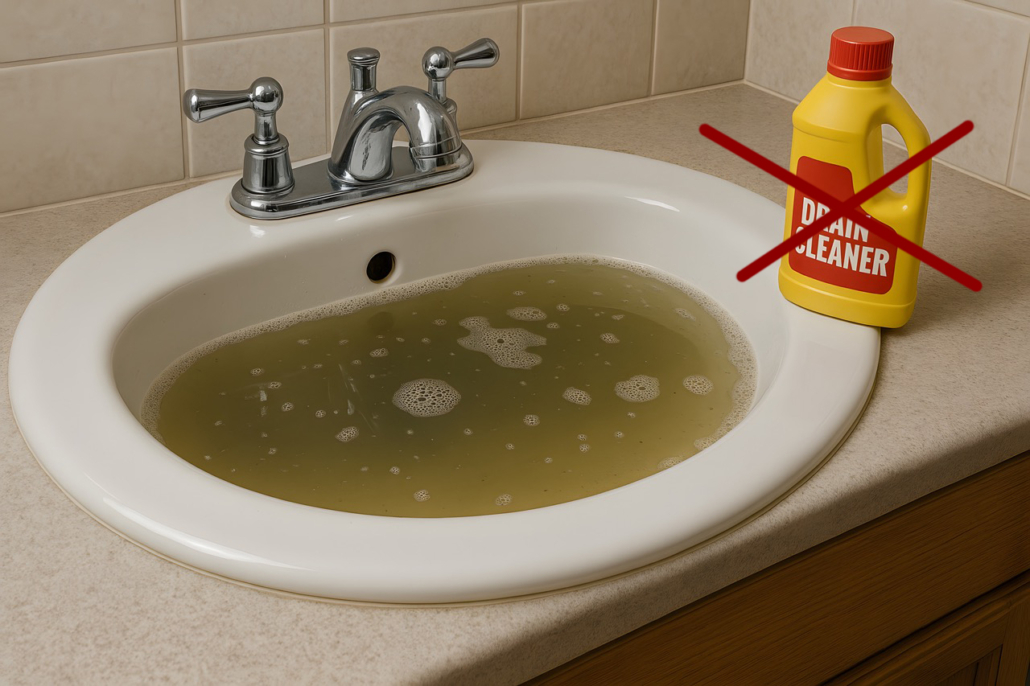
 Essential Tips to Protect Your Kitchen Plumbing


