


Contact & Location
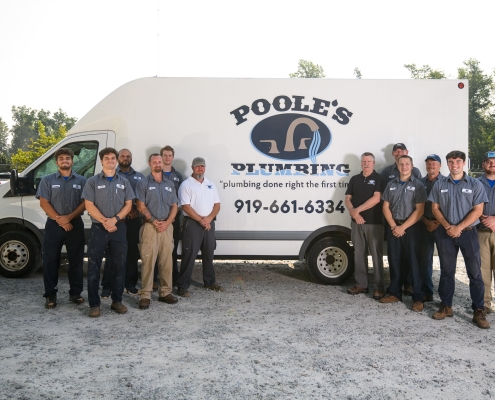
Poole's Plumbing, Inc.
200 Tinsteel Court
Garner, NC 27529
Tel: 919-661-6334
info@poolesplumbing.com
Price Brothers, Inc. Announces Its Acquisition of Poole’s Plumbing. Click to Read the Press Release.
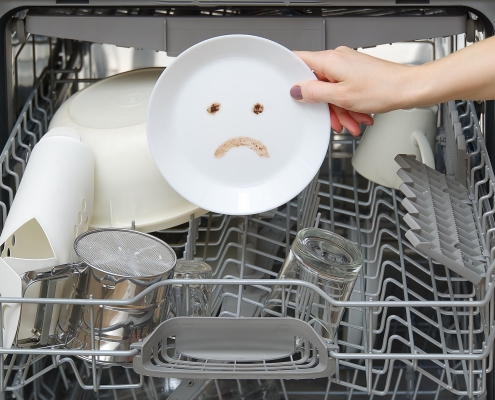
Guarantee


About Us
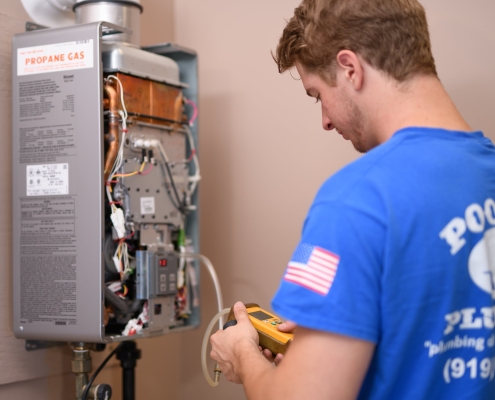
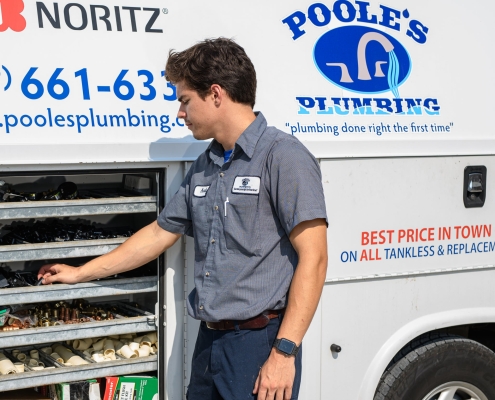
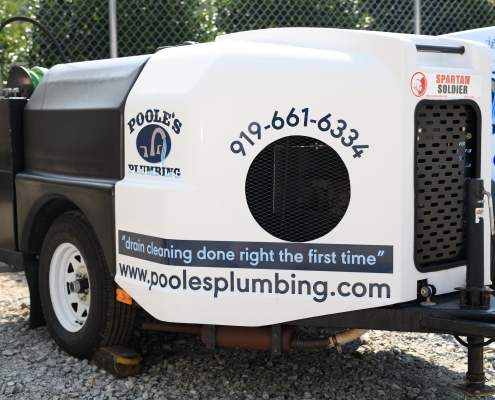
Raleigh Plumber Since 1999
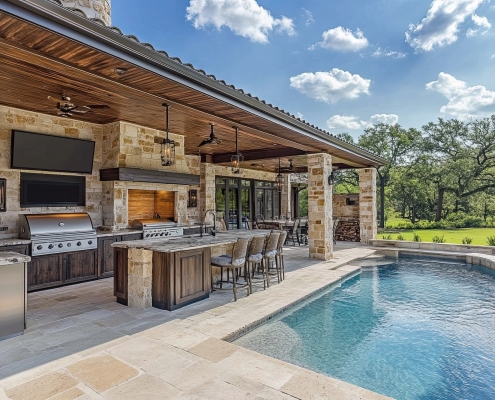
Raleigh Plumber serving: Raleigh, NC Cary, NC, Apex, NC and Durham area of NC. 24 hour emergency Raleigh plumbers turn-key complete plumbing services and Water Heater Repair.
Raleigh Plumbing Services »
Raleigh Plumber serving: Raleigh, NC Cary, NC, Apex, NC and Durham area of NC. 24 hour emergency Raleigh plumbers turn-key complete plumbing services and Water Heater Repair.
Raleigh Plumbing Services »