How to Avoid Plumbing Disasters Before a Date Night
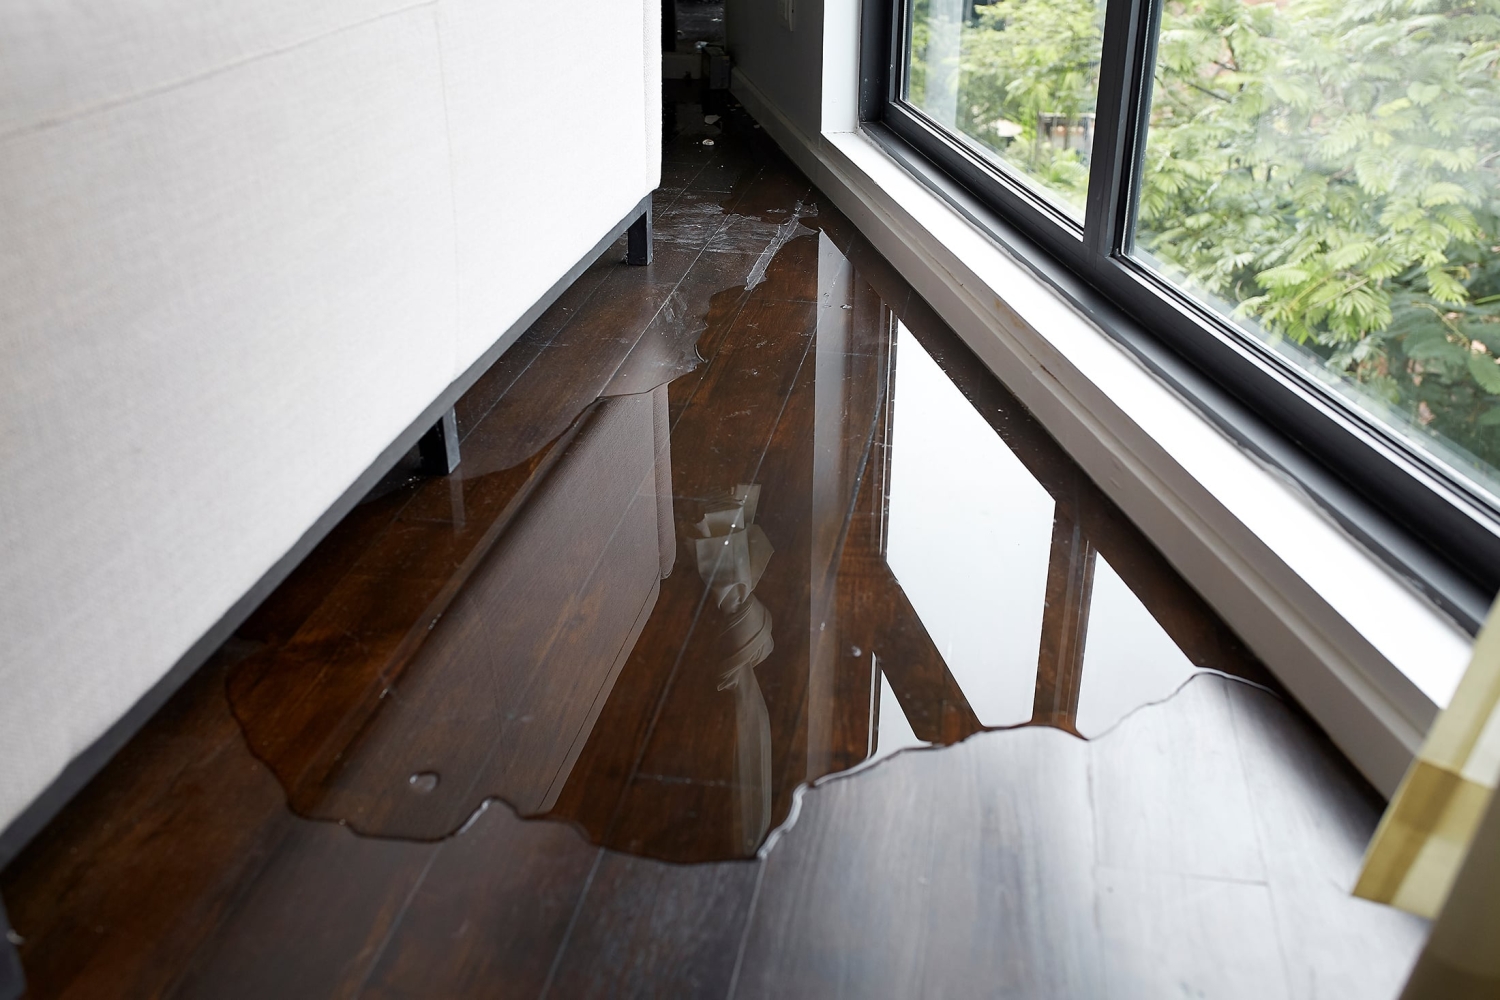
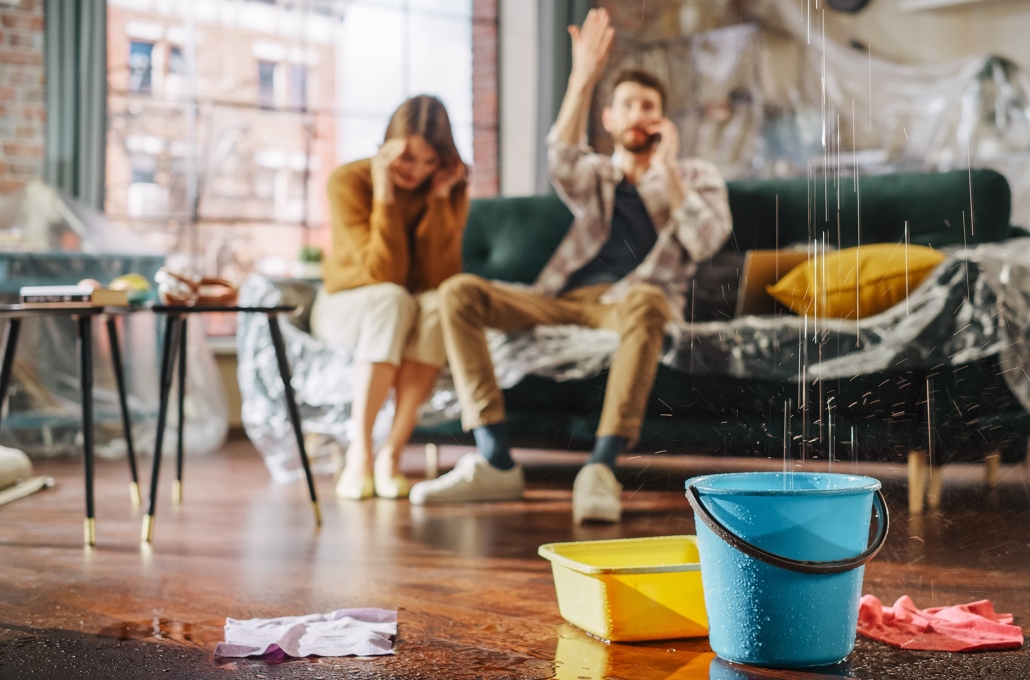
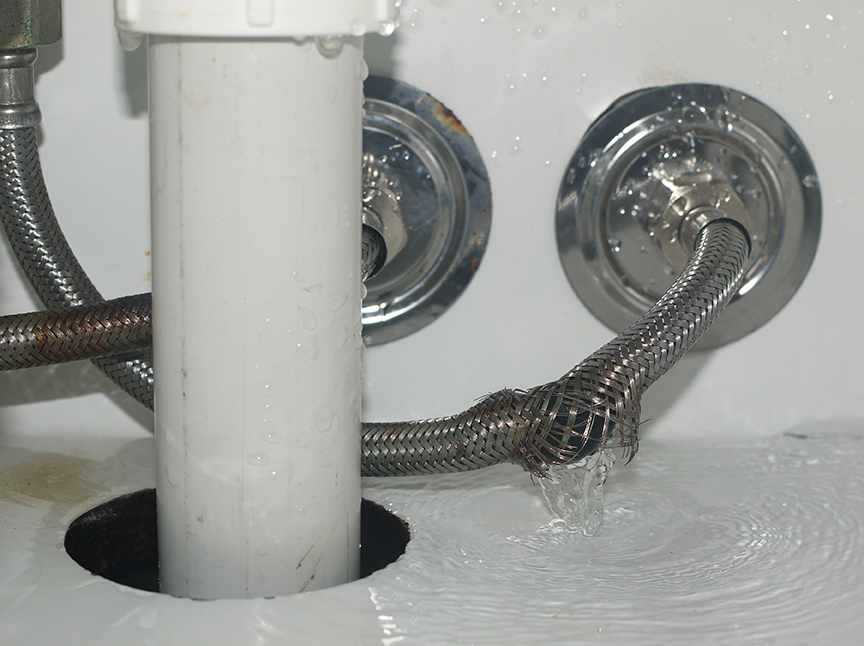
How to Avoid Plumbing Disasters – As professional plumbers, we have seen our fair share of date nights ruined by unexpected plumbing disasters. These emergencies, from clogged toilets to burst pipes, can be stressful and embarrassing for you and your date. But fear not because with proper precautions and regular maintenance, you can avoid these disasters before they even happen.
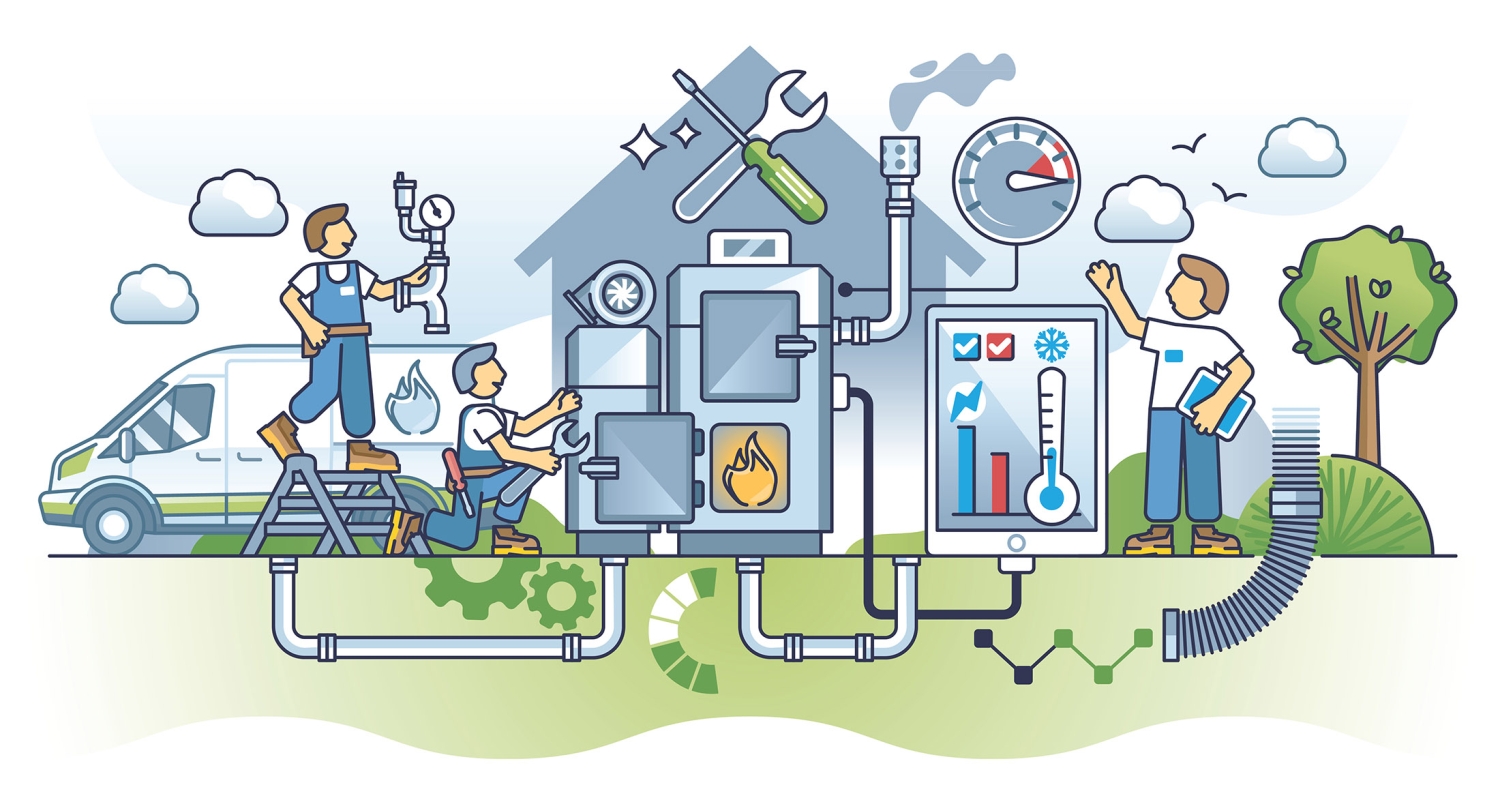
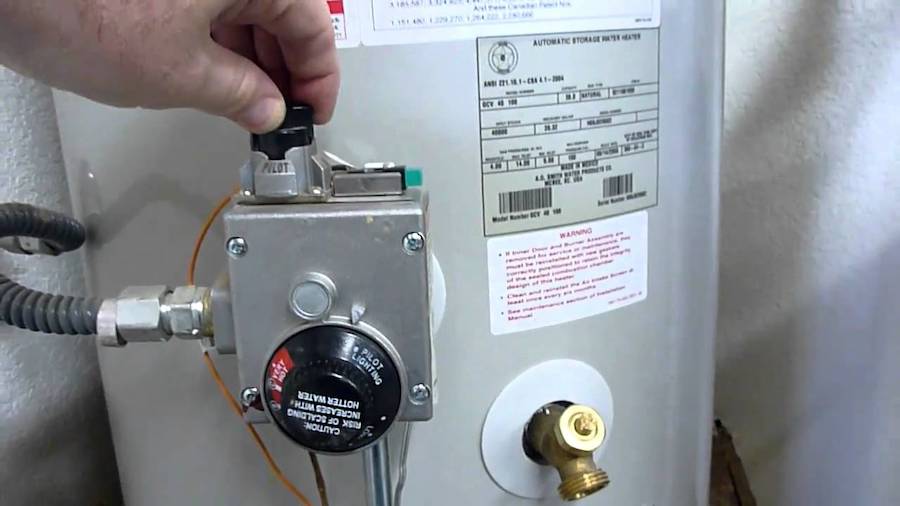
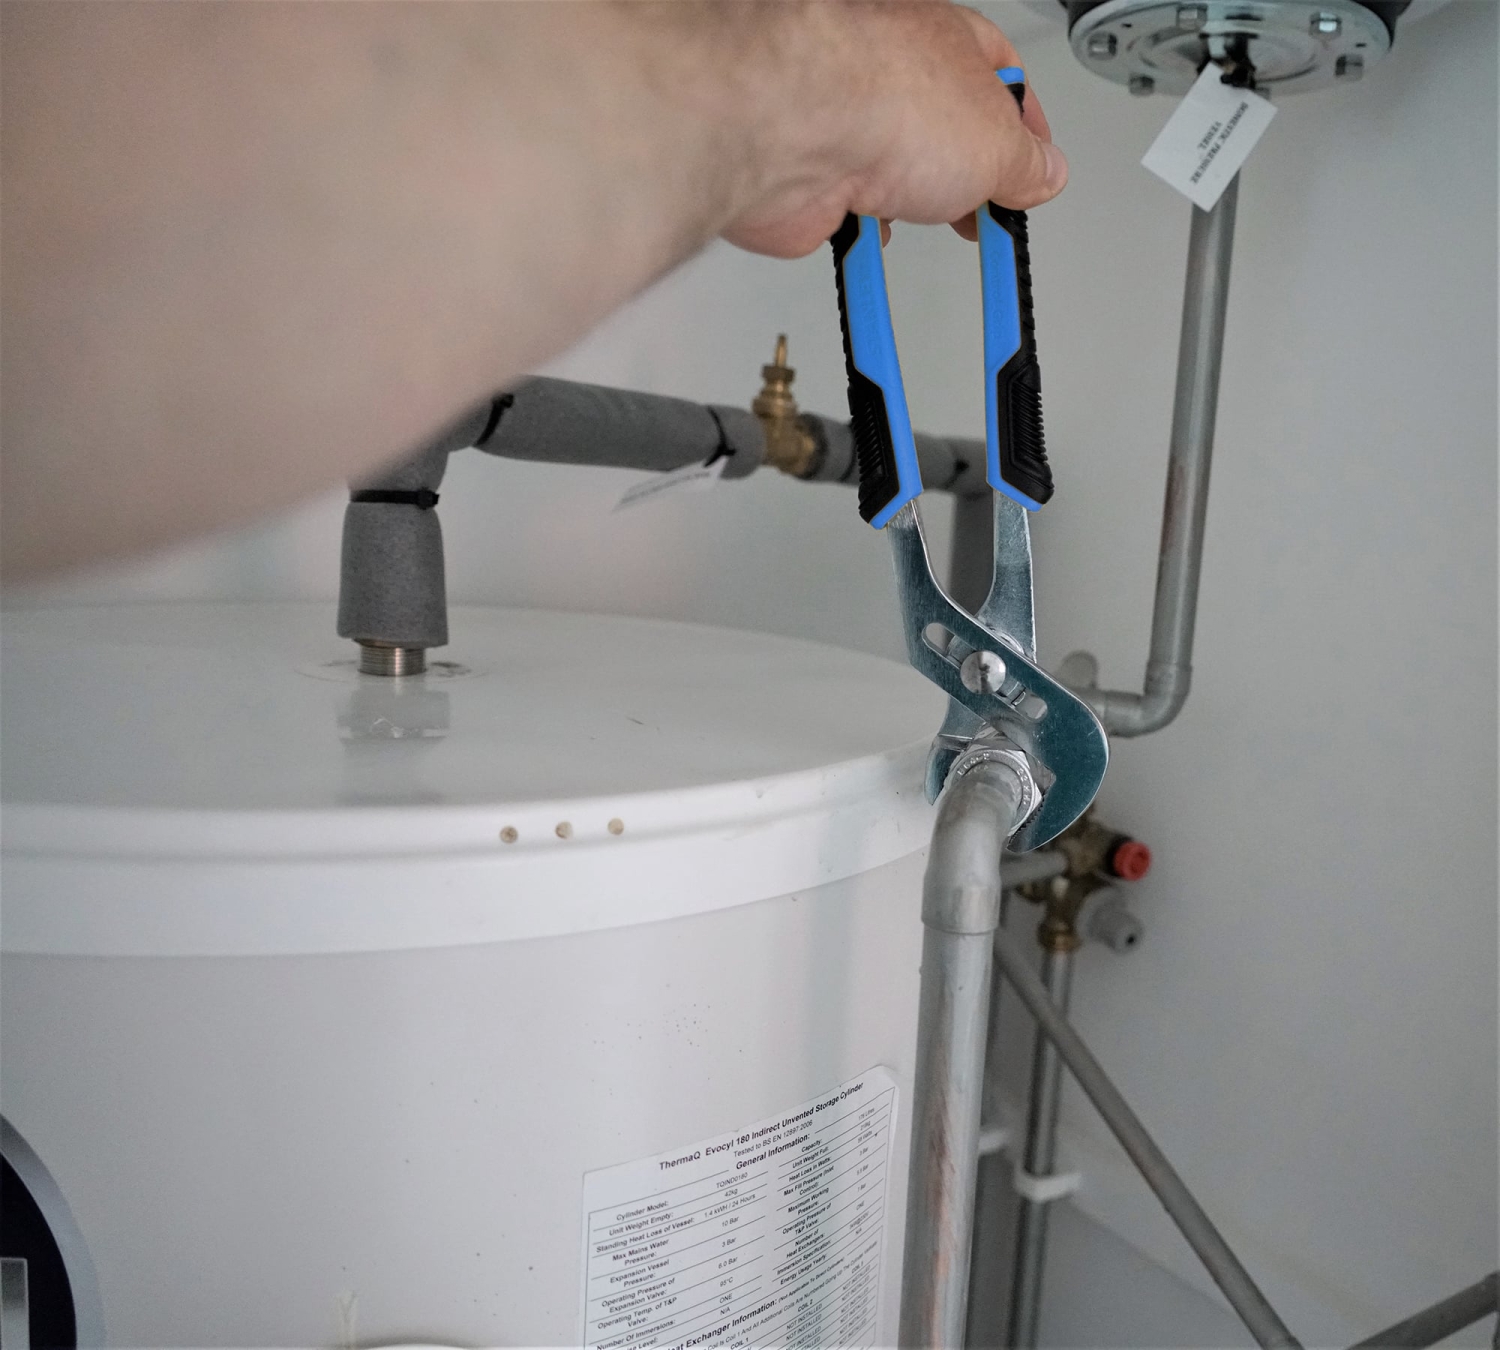
Schedule Regular Plumbing Maintenance
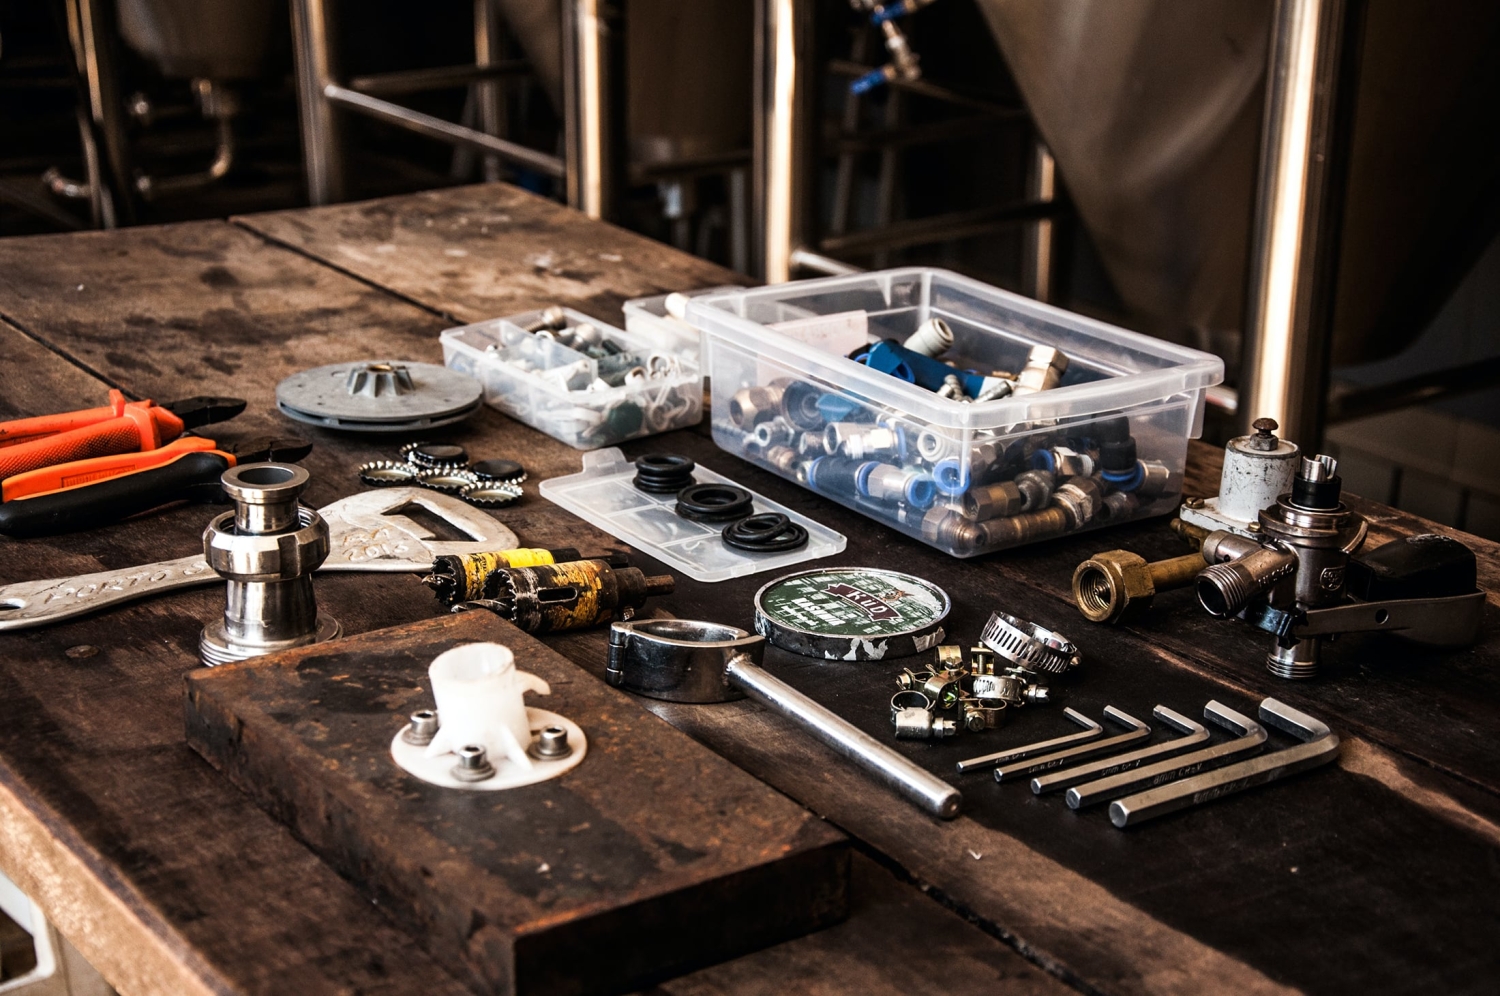
— I know it may not be the most romantic thing to do, but scheduling regular plumbing maintenance is crucial in preventing any unpleasant surprises on date night. A professional plumber can inspect for signs of wear or damage to fixtures, pipes, and drains and address them before they become more significant. This will give you peace of mind and ensure that your plumbing system is in top shape for your special evening.
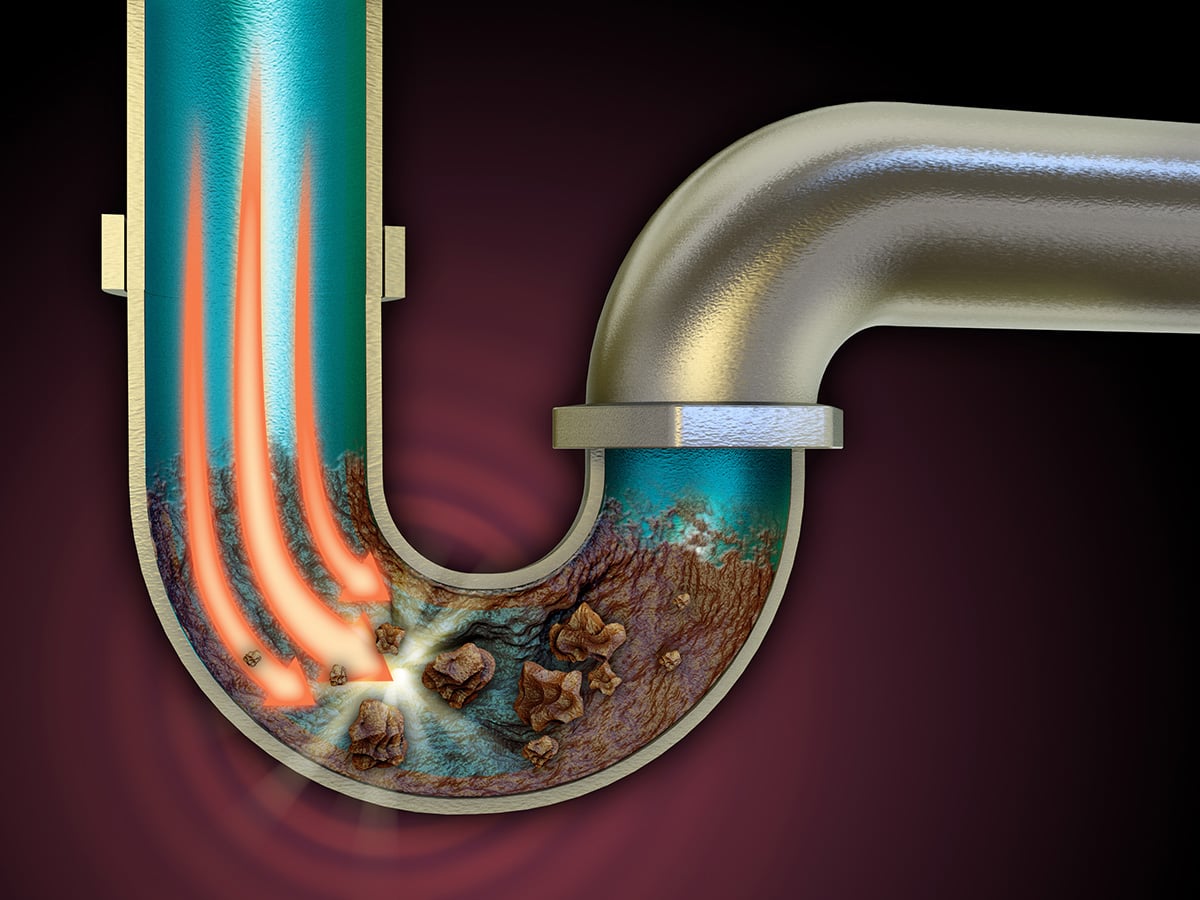
Be Mindful of What Goes Down the Drain
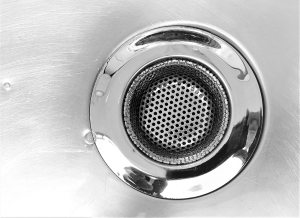
One common cause of plumbing disasters is clogs from items being flushed or put down the drain that shouldn’t be there. Before your date night, remind yourself and others to only human waste and toilet paper. Additionally, avoid putting grease, oils, and scraps from food down the kitchen sink, as this may clog your pipes. Consider installing drain covers or filters in your sinks and tubs to catch any hair or debris that could cause a backup.
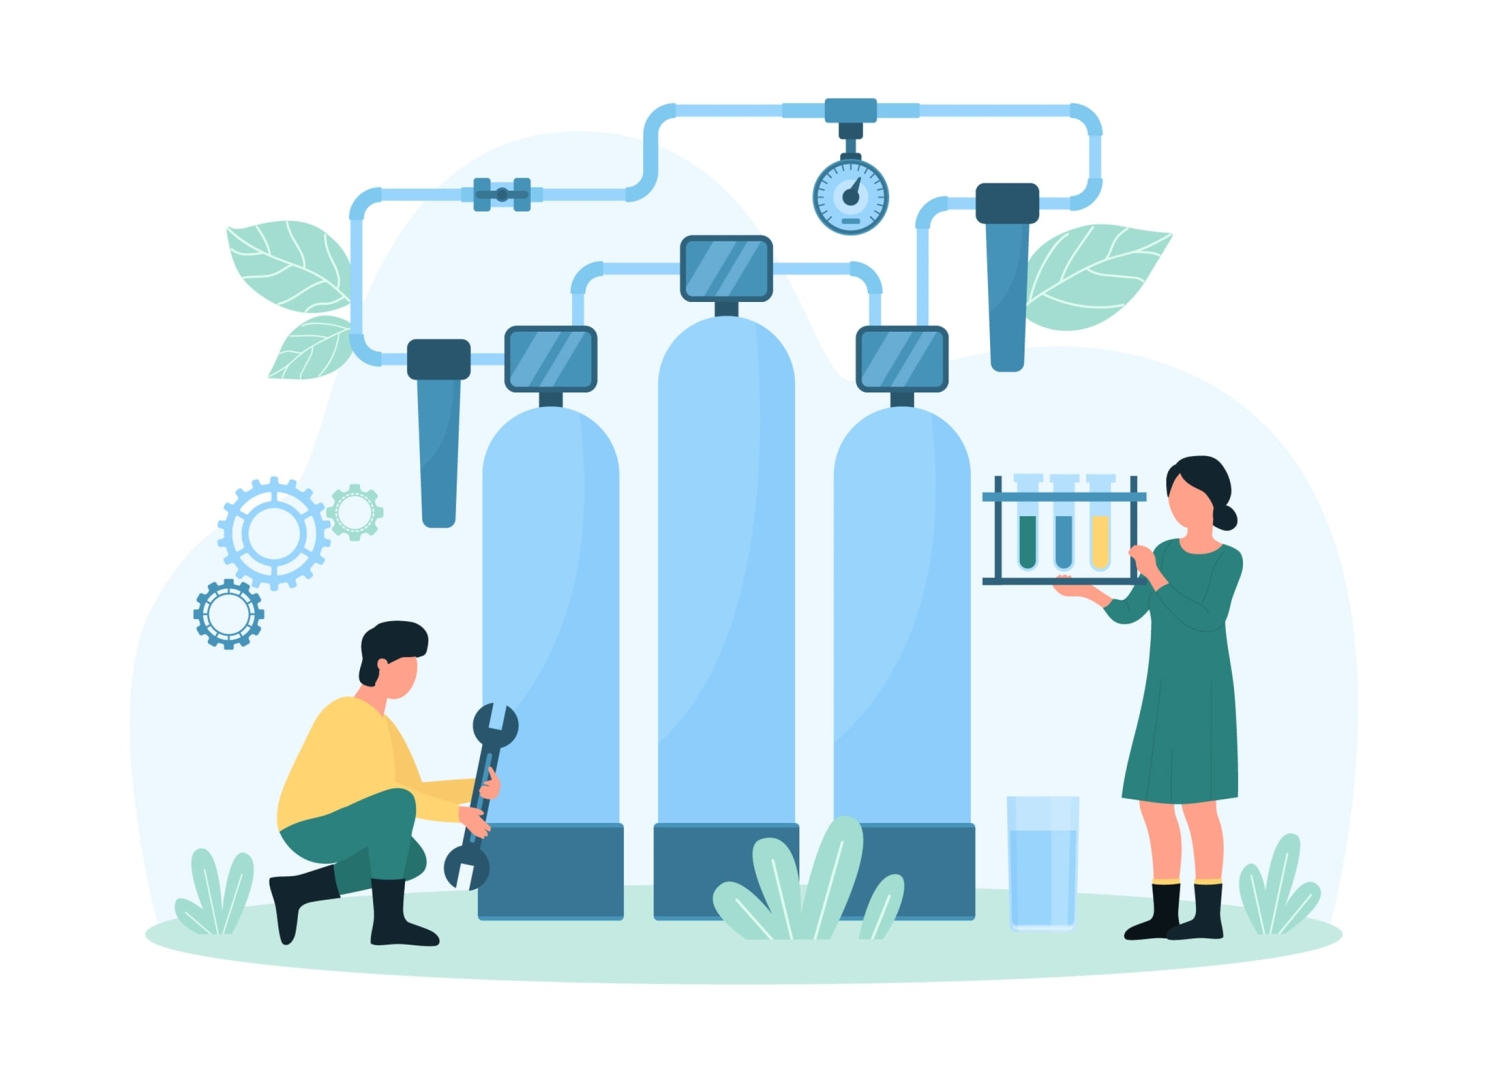
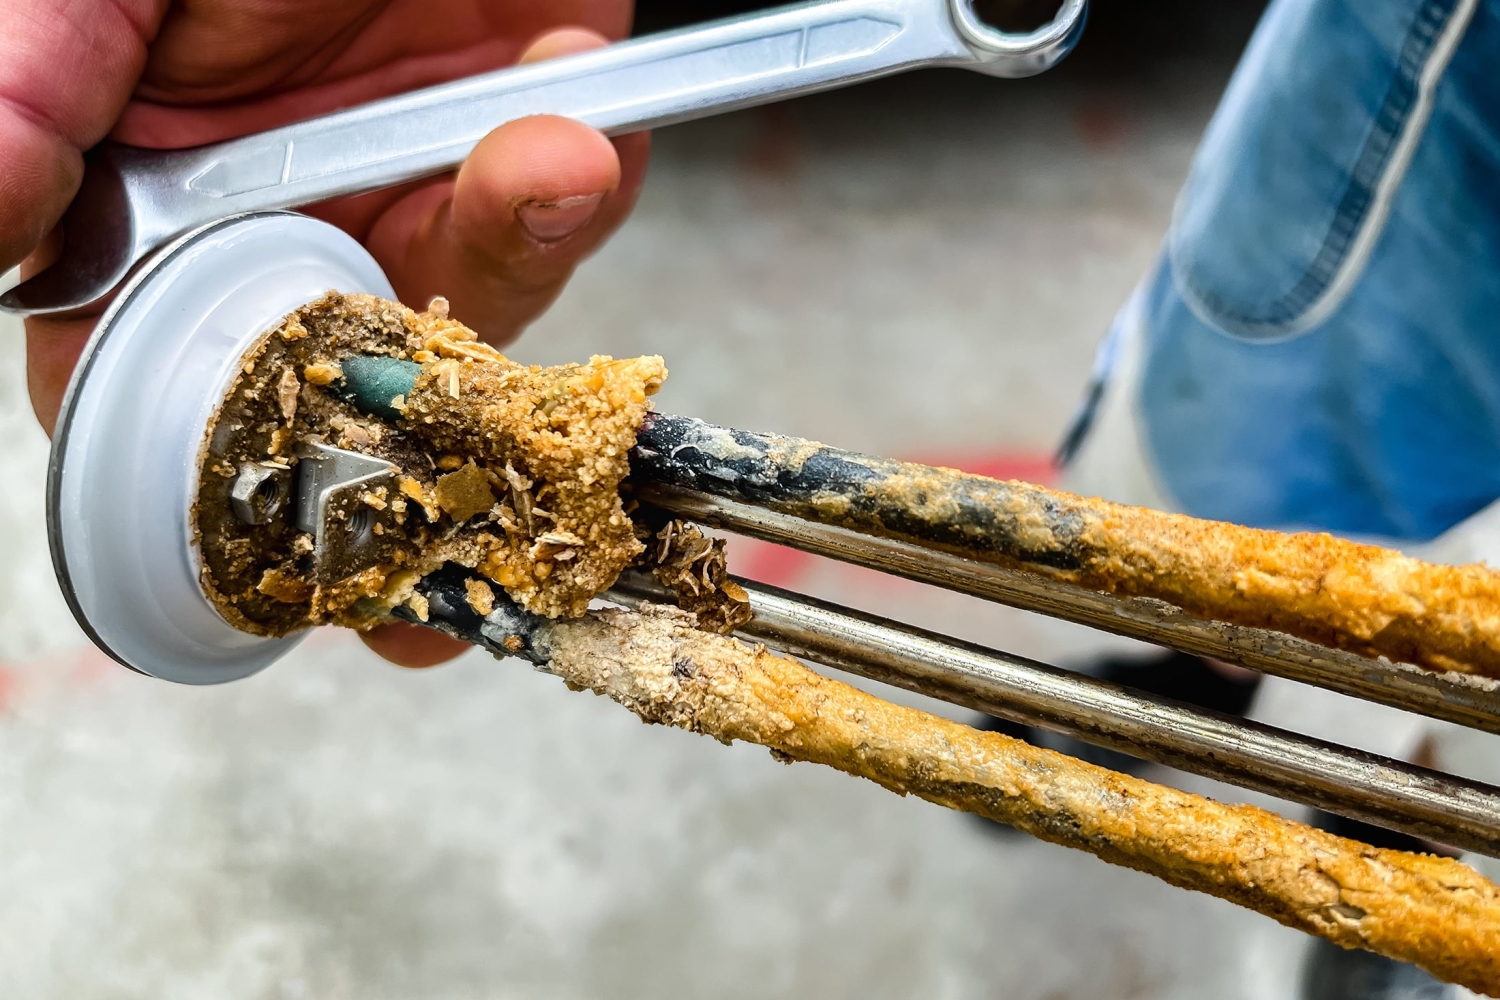
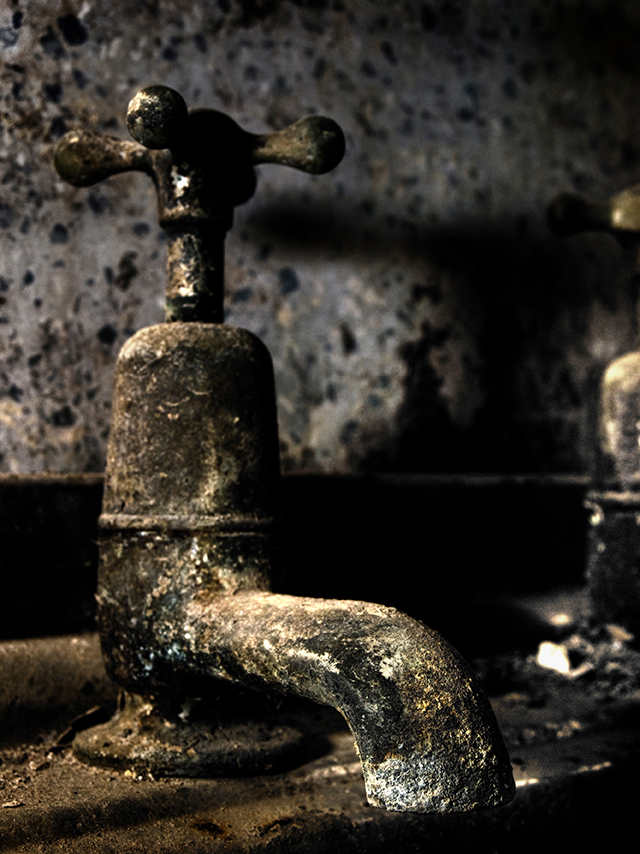
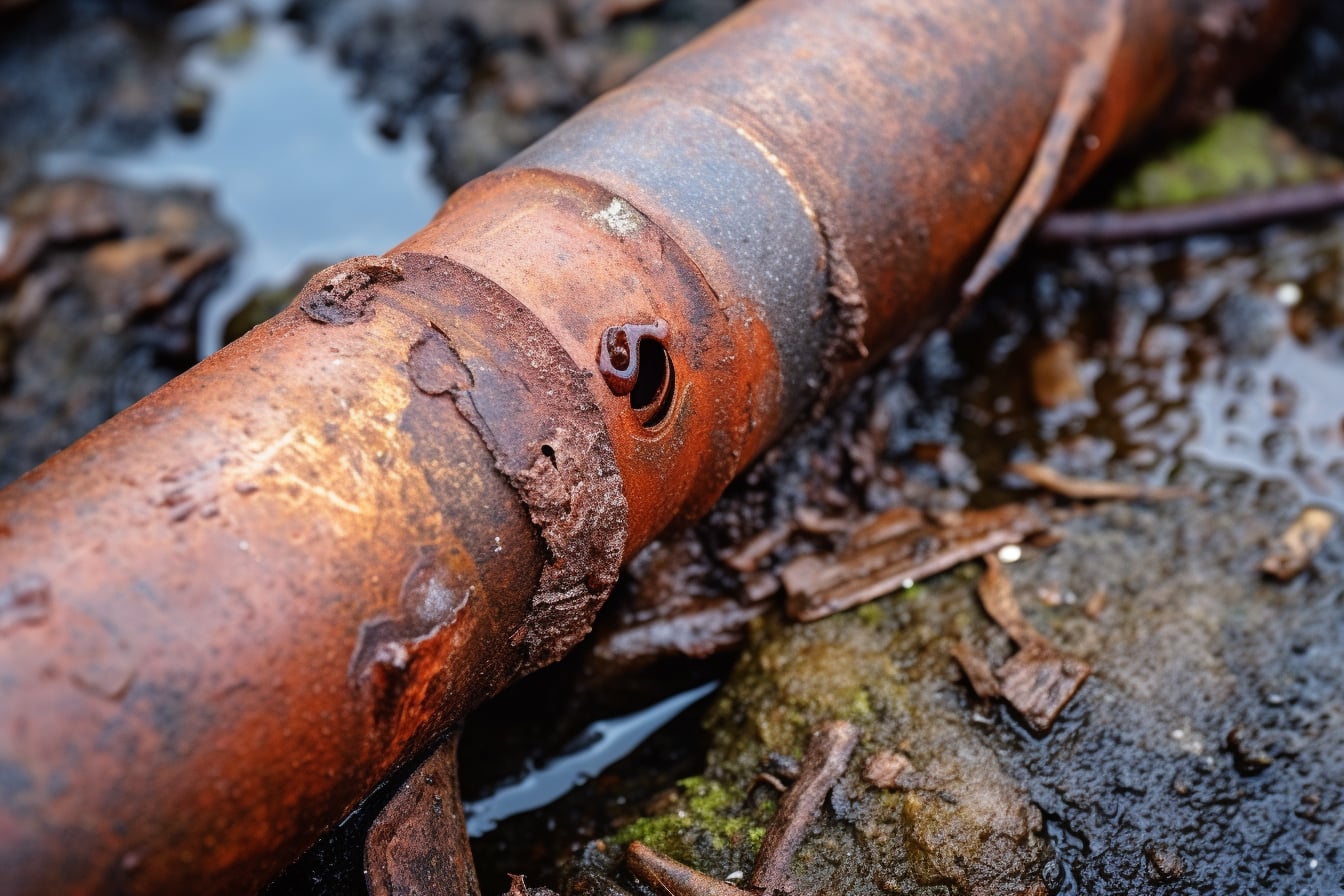
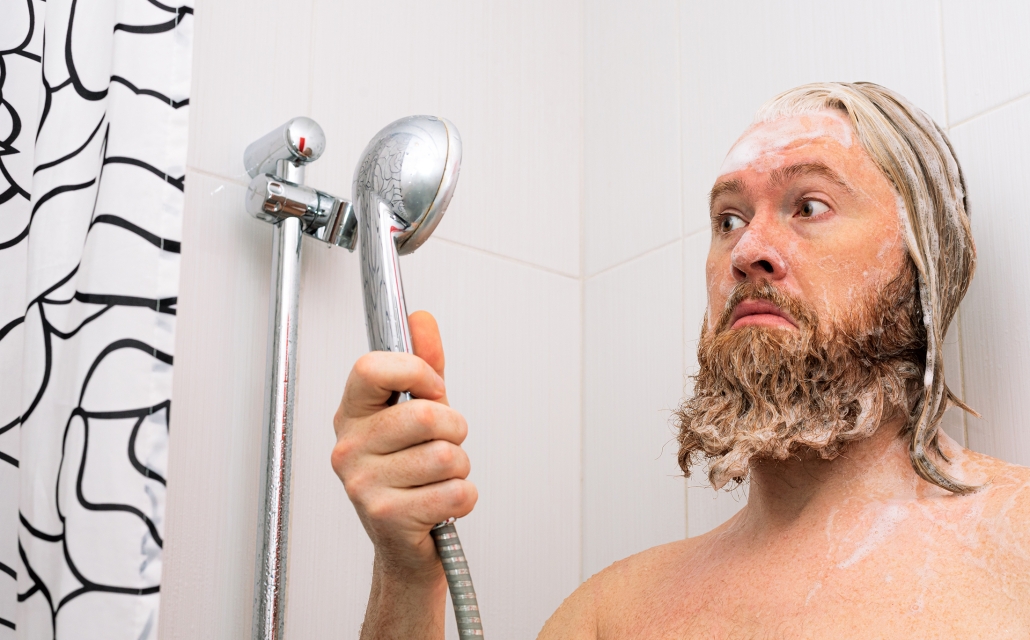
Check Your Water Pressure
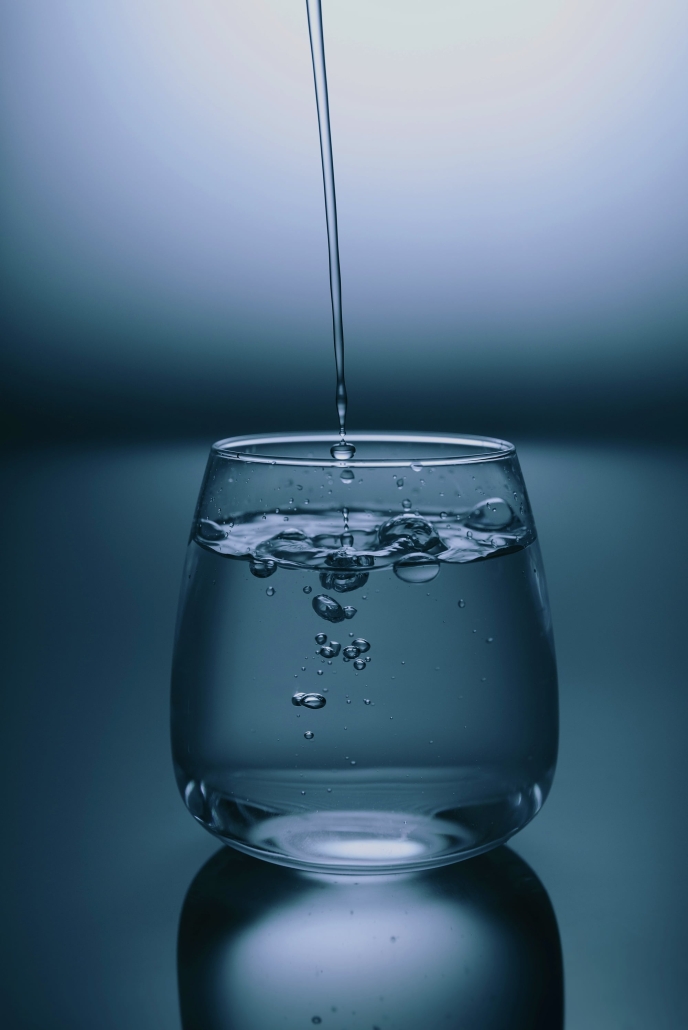
Having low water pressure may indicate an underlying plumbing issue, such as a leak or a clogged pipe. Before your date night, take a few minutes to check the water pressure in your home. You can do this by simultaneously turning on all faucets and showers and seeing if the pressure is consistent. Call a plumber to inspect for potential problems if there is a notice of any significant changes or fluctuations in pressure.
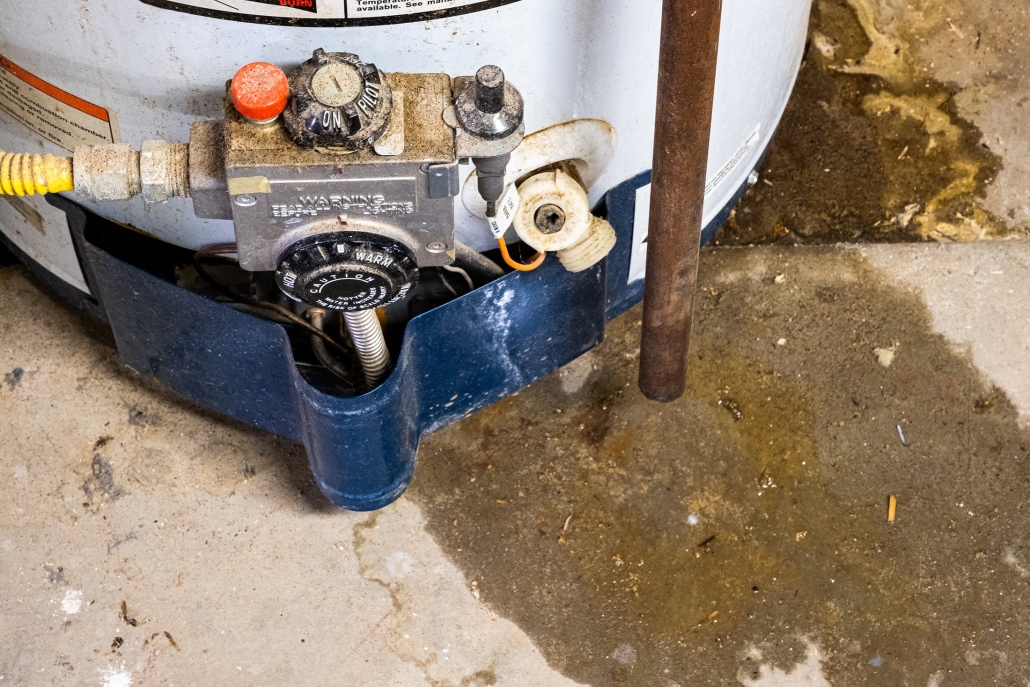
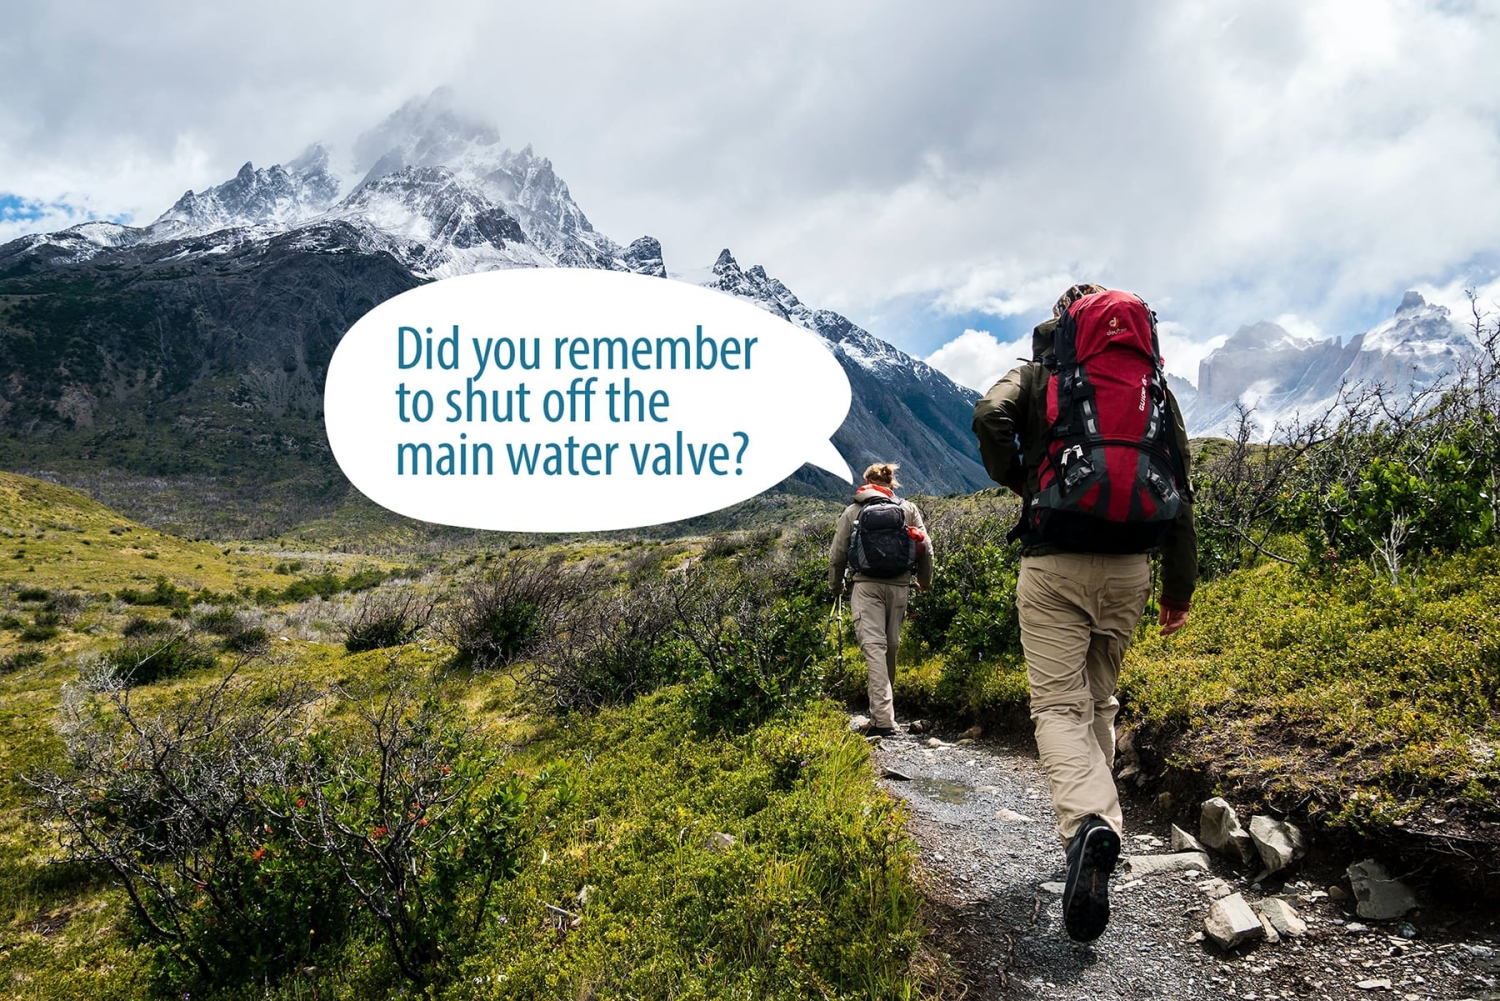
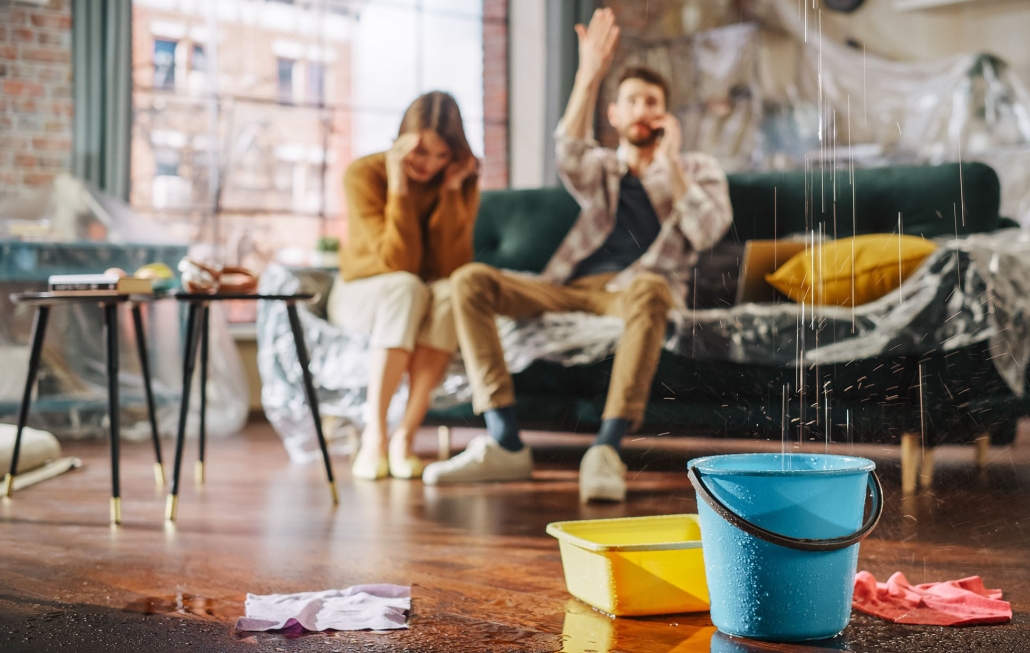
Know Your Shut-Off Valves
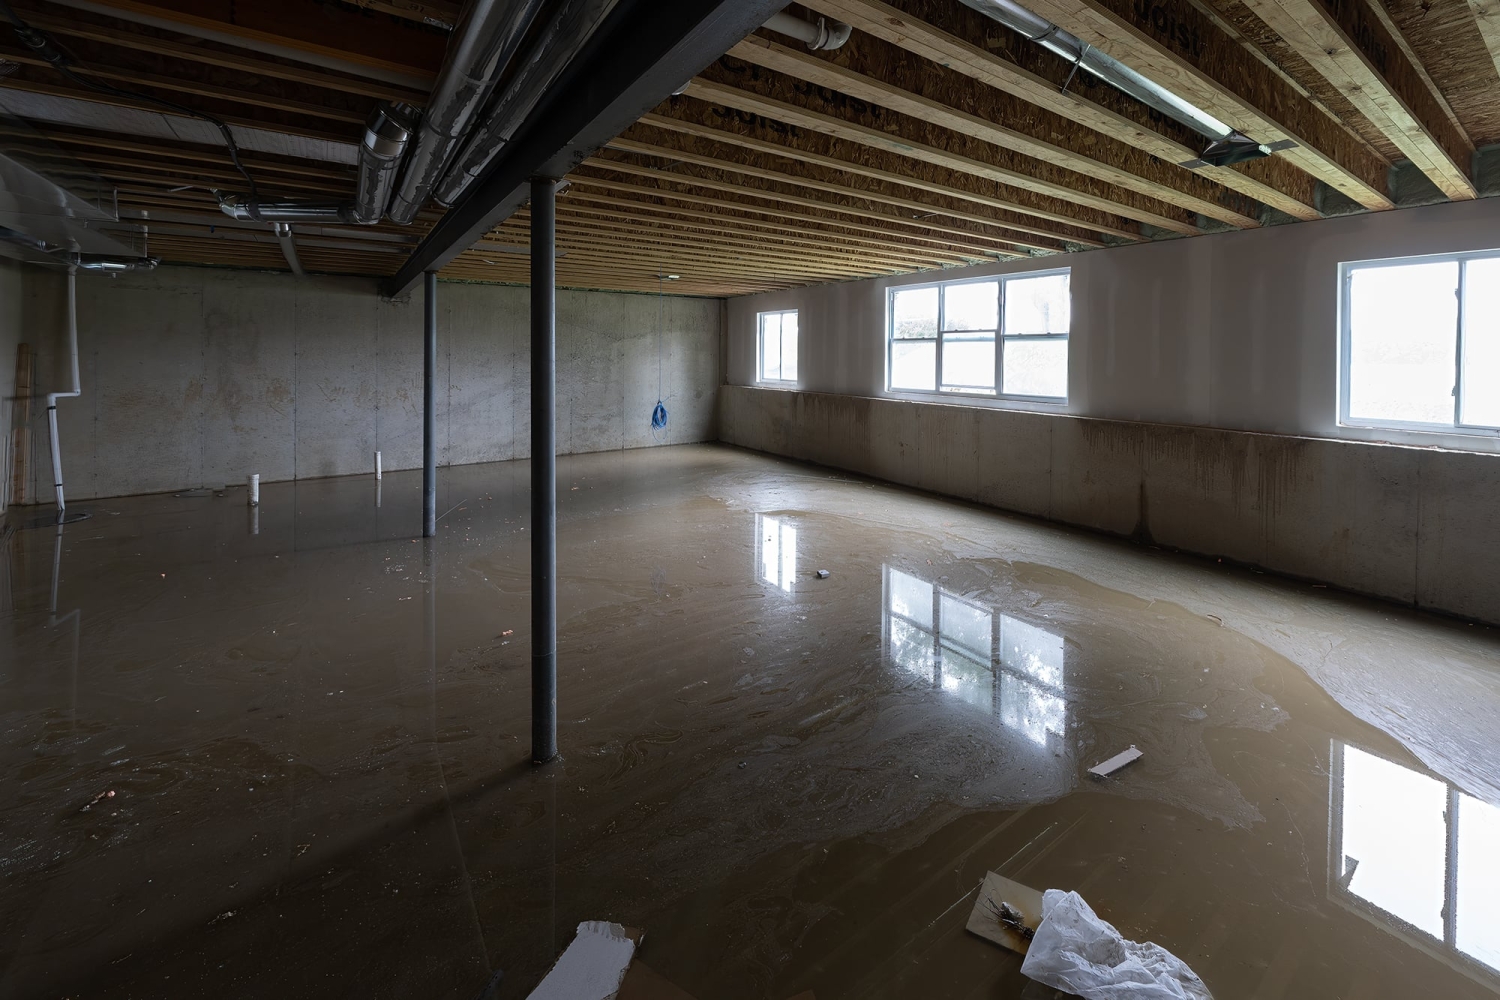
It’s essential in a plumbing emergency to know, locate, and mark precisely where the main water shut-off valve is situated in your home. This valve controls water flow into your home and can be crucial in preventing further damage from a burst pipe or severe leak. Ensure you and your household members know how to shut off the water supply in an emergency.
Have a Plunger Handy
Even with proper maintenance and precautions, emergencies can still happen. That’s why it’s always a good idea to have a plunger on hand in case of a clogged toilet or sink. Ensure you know how to use one properly – you don’t want to worsen the situation by misusing it.
Conclusion
Date nights are meant to be unique and stress-free, and with these tips, you can ensure that your plumbing won’t get in the way. Remember to schedule regular maintenance, be mindful of what goes down the drain, check your water pressure, know your shut-off valves, and have a plunger handy. By taking these precautions, you’ll be able to enjoy your date night without any unexpected plumbing disasters. Happy dating! So, these are some tips from a professional plumber’s perspective on avoiding plumbing disasters before a date night. With proper maintenance and precautions, you can prevent any unpleasant surprises and ensure that your special evening goes smoothly. Remember, taking care of your plumbing avoids disasters and maintains the functionality and longevity of your plumbing system. So, don’t wait for an emergency – schedule regular maintenance and keep your plumbing in top shape.